Animal safety eyes and other nice looking animal eyes can be hard to find. When I started making amigurumi, I couldn’t find stores where I could buy them, so I had to come up with an alternative.
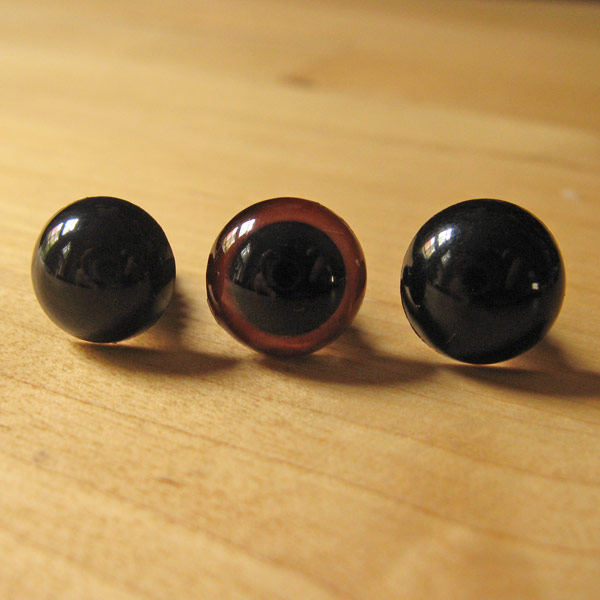
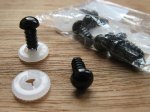
I went to my local hobby store to see what they had to offer. There I found something very suitable, called brads. They come in all kind of sizes and shapes and the black round ones make perfect eyes. The one thing that wasn’t perfect, they aren’t shiny. I had to make them shiny myself then. The first thing I thought of was transparent nail polish and that actually did the job very well. A few layers of it and an afternoon of drying made the eyes perfectly shiny and smooth.
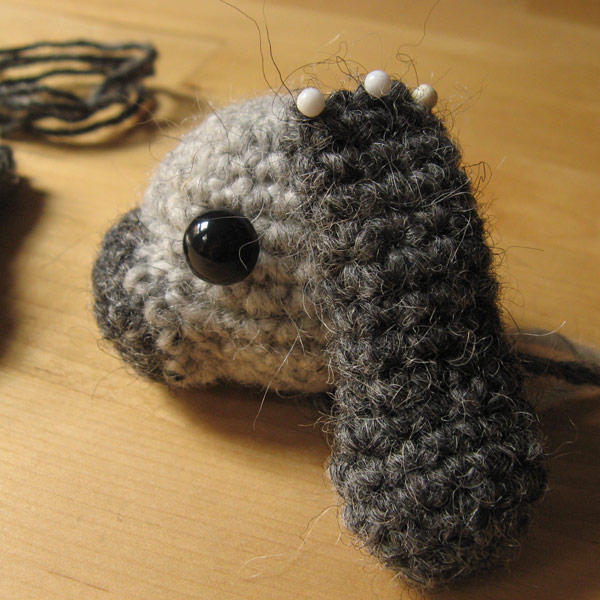
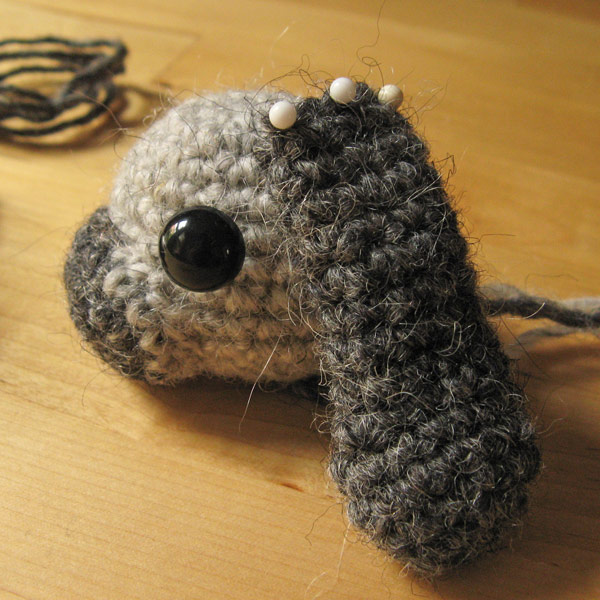
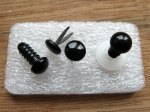
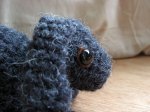
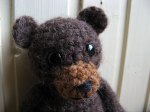
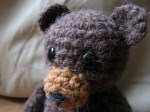
Here are some pictures of the brads and how they look as eyes on a crochet animal. There’s also a picture of another way to make particular eyes. Below the images I’ll explain how it works. (You can click on the image to get a larger version.)
The last image is of normal safety eyes with a felt patch behind it.
How does it work?
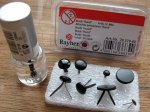
First, pin the brads to a pin cushion or something else you can put them into, so they stand up steady and you can nail polish them. Attach a layer of nail polish. If the first layer looks perfect, it’s good, if it’s not smooth enough yet, add another layer when the first layer is dry. When you’re satisfied, let your brads dry for a while, I let them dry for a night before using them.
Make sure the nail polish is completely dried out when you attach the eyes, otherwise you’ll damage them. At first only the upper layer is dry and not very steady. When it’s perfectly dry, it should stay undamaged even if you scratch it. If you like, you can paint various coloured eyes with nail polish, like a blue eye with a black pupil. And my advice, polish a bunch of eyes in advance and keep them safe till you need them.
When you use brads as eyes you need to make sure the paws won’t stick out of the crochet ‘skin’. If you crochet very tight it might not happen but you can also add a piece of paper(board) or felt between the paws and the inside of the piece, so when the paws are spread they only touch felt or paper.
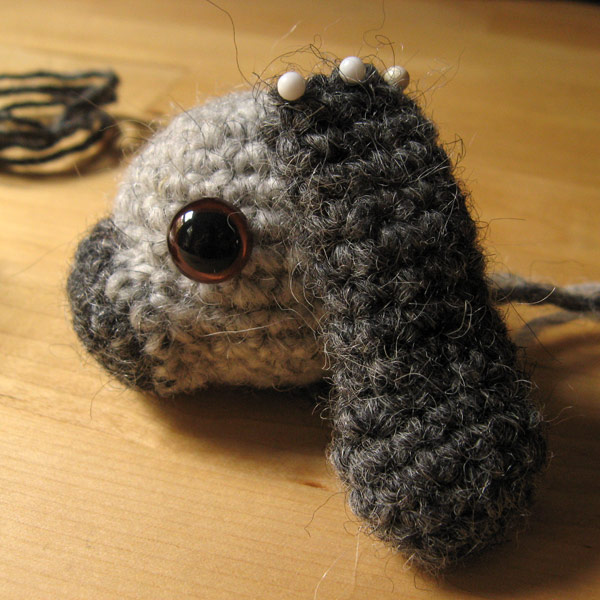
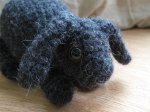
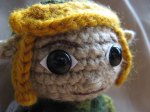
To give more character to some eyes, you can add a piece of felt behind the eyes on the outside. In the crochet bunny picture you can see I used brown felt behind the eyes, and the Link amigurumi has white felt behind normal safety eyes.
Another tip:
If you use felt for characteristic eyes, you can dye it first with acrylic paint, to make it more strong. I did that with the Link amigurumi’s eyes. Because without the paint the felt fell apart when I cut it in the right shape. Whit the paint on it, it stayed felty but much stronger and easier to cut.
One last note:
I do NOT think the alternative eyes are safe for little kids toys, so use safety eyes if you make them for a little kid.
I hope this post comes in handy, good luck!