Uncategorized

Dapper Poochey, crochet rabbit pattern

Well, what happened here? I liked Poochey in his trendy cardigan so very much that I decided to add him as a “dapper rabbit pattern” to my shops. Would you’ve been able to resist it? Just look at this utterly adorable crochet rabbit in his fancy outfits!

I cannot give myself all the credit for this. After I released the little cardigan pattern, Jan made a delightful collection of lovely little cardi’s for her crochet bunnies. After seeing her ever-so-cheerful pictures, I decided I just had to make a separate pattern for Poochey in the cardigan. I made Poochey’s cardigan just for fun after seeing a knitted rabbit wearing a sweater on Instagram, but when I put the sweater on and took that picture of him a while back, I began to get the idea of making a separate pattern. But because it felt a bit strange to re-launch an existing pattern, I wasn’t sure if it was a good idea. Jan made me realise that it is! Not everyone who visits my blog would want this version, but I don’t want other crafters missing out on this.

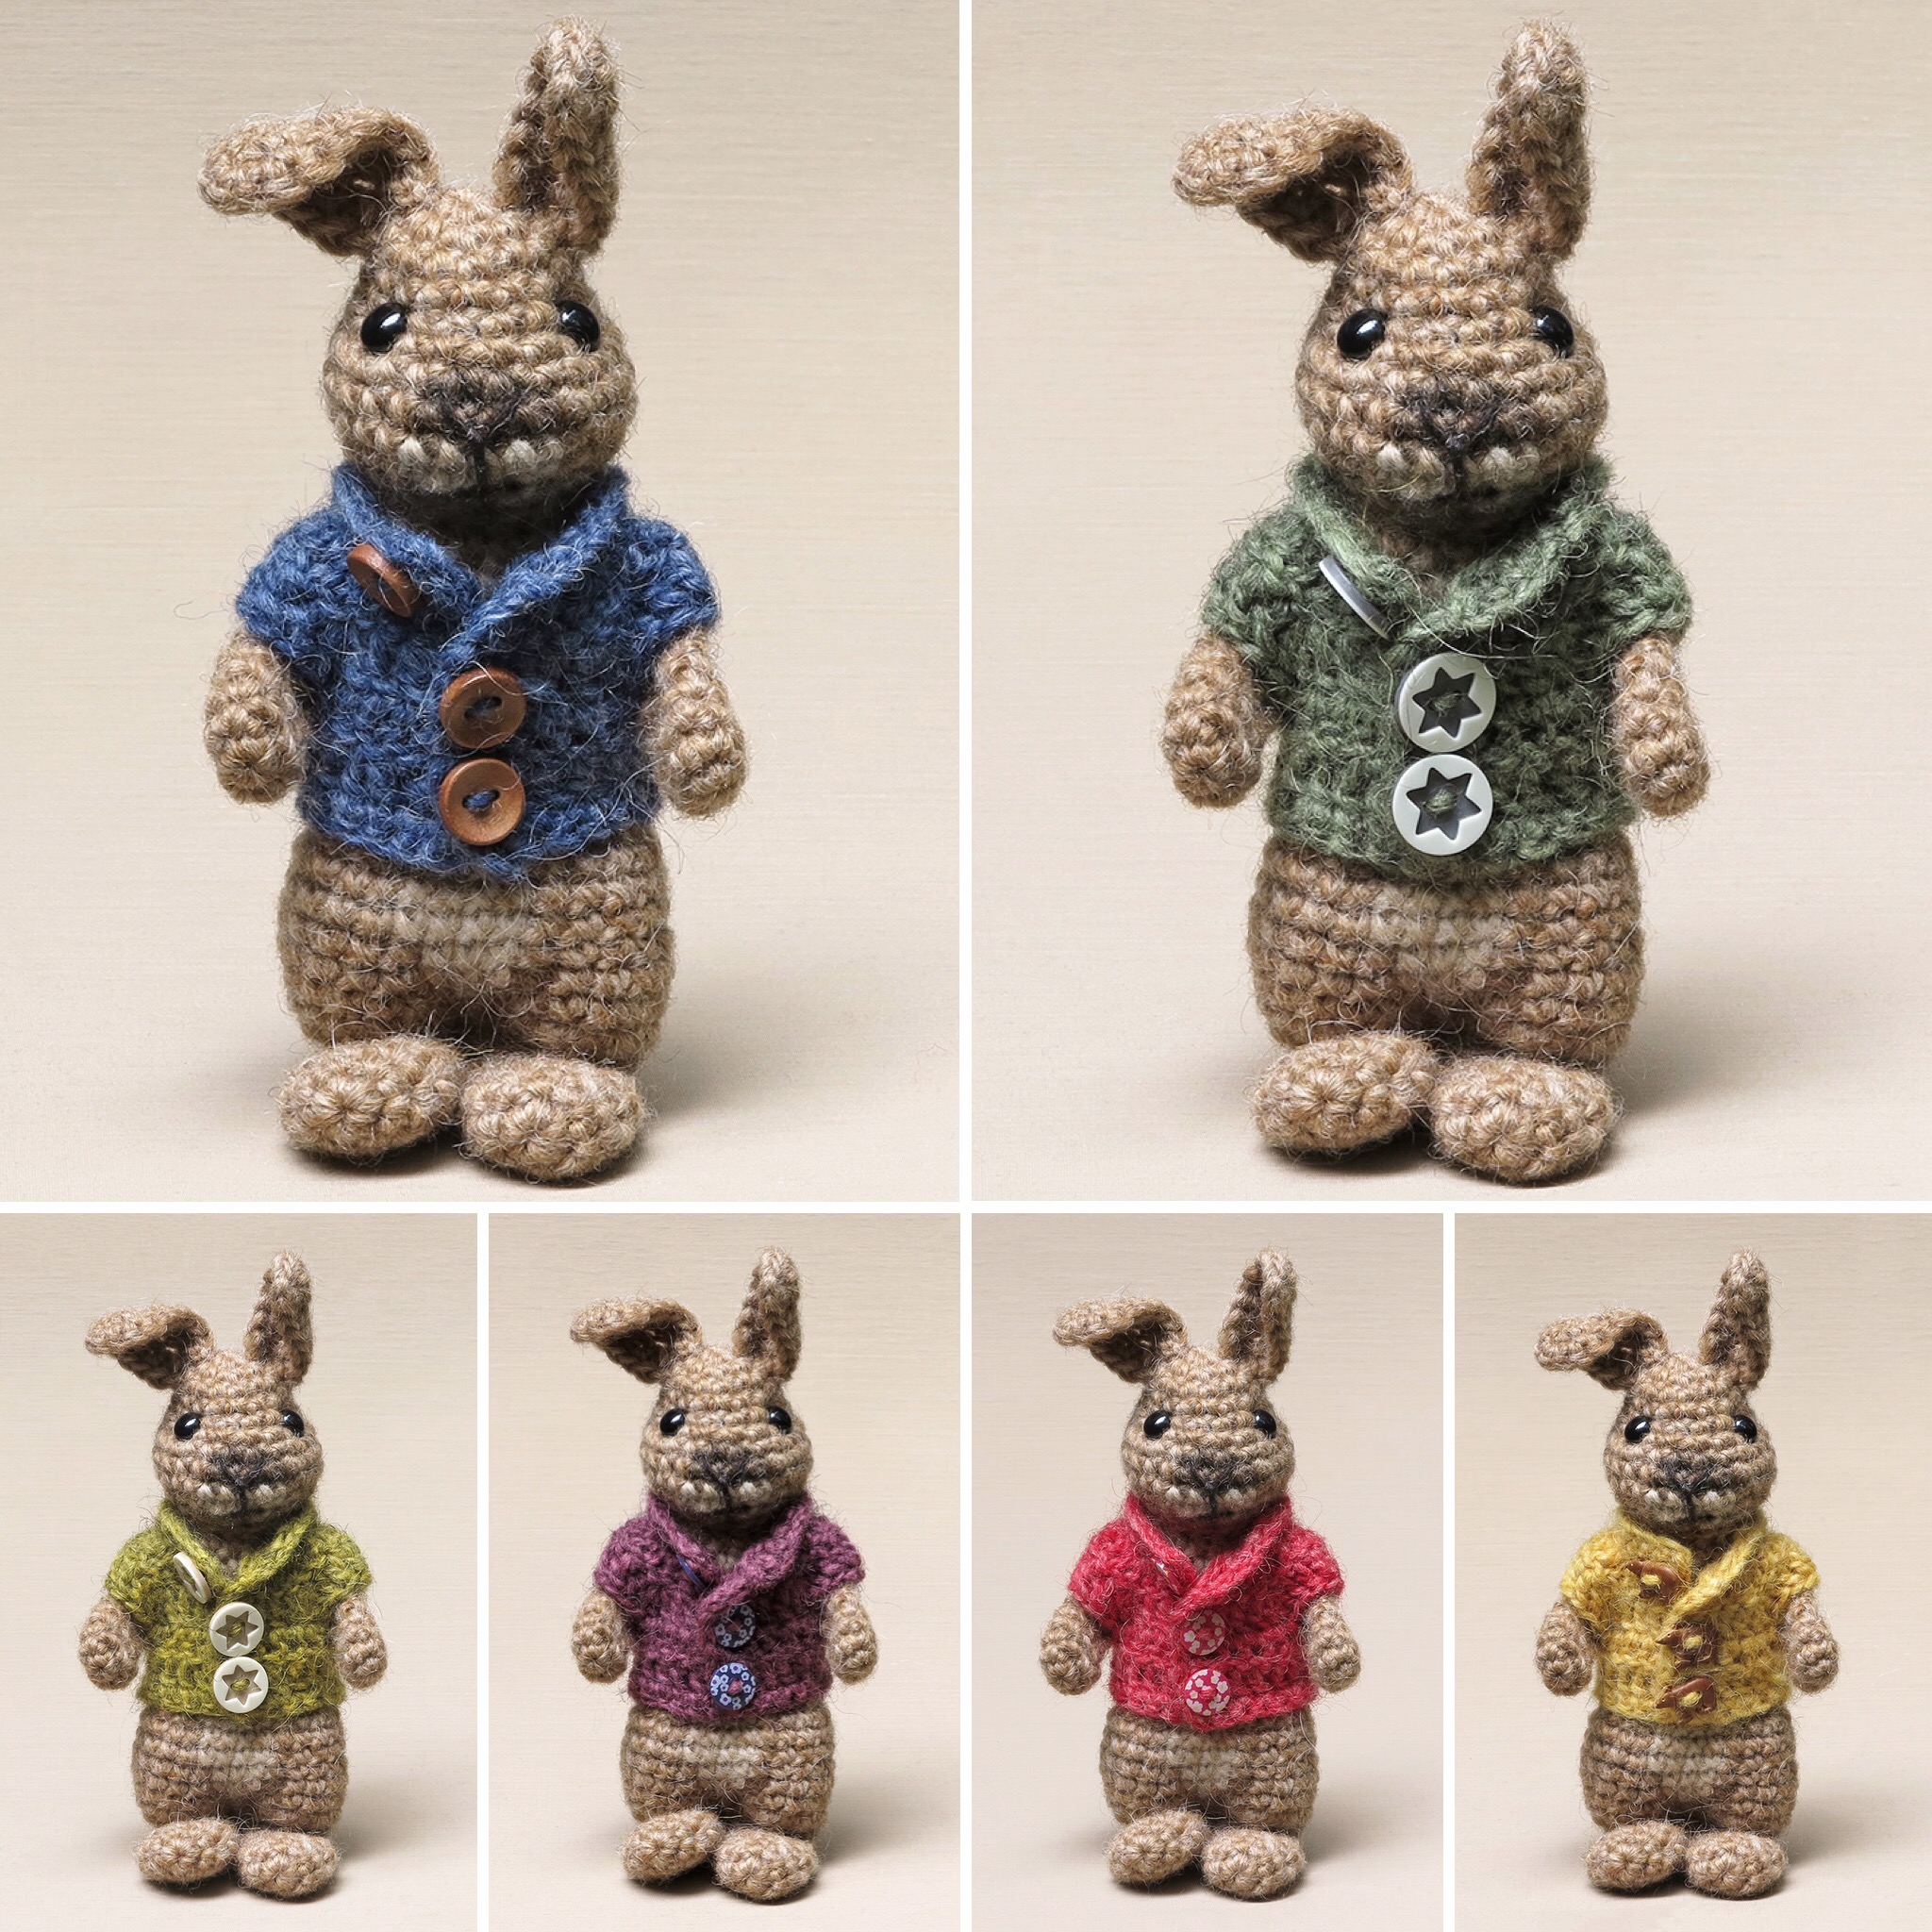
And how much fun it is to make all those little cardigans! Not only that, but all the tiny cute buttons you can’t put on your own garments, you can use for little bunny cardigans. I had so much fun looking for buttons that matched my bright-coloured sweaters. I found buttons with flowers and stars, animal-shaped ones – oh, there are so many fabulous buttons to find! And I cannot help laughing at Poochey’s expression every time I see it. In every single picture he has that same look of utter confusion. Which cardigan is your favourite? Mine is the green one with the star buttons.

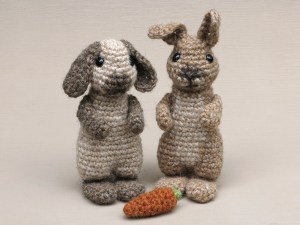
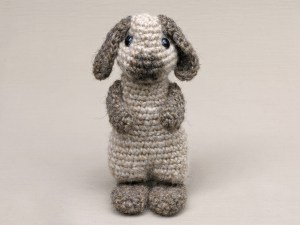
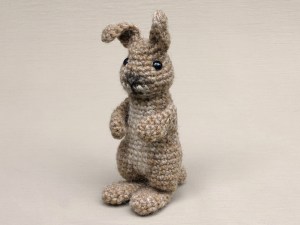
Here are few original pattern pictures of this dapper crochet rabbit; below them you can find info about and links to buy the pattern.

Info about & links to buy the pattern

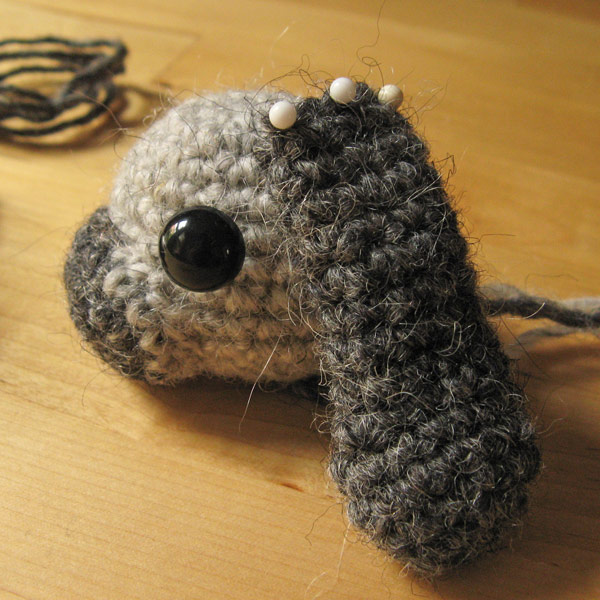
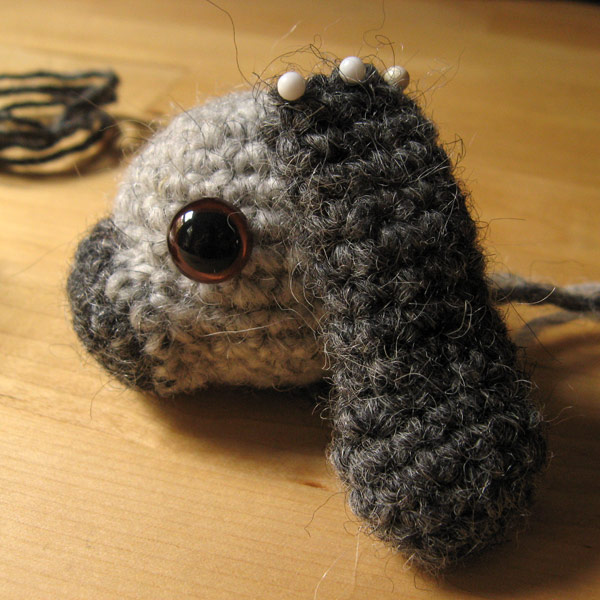
Poochey and his cardigan are made with Istex Lett Lopi, a 100% wool with a lot of fuzziness. If you use the recommended yarn, he will be 7 inch / 17 cm high. I would strongly recommend a fuzzy yarn, because it hides the seams of the colour changes.

The pattern is written in US terms and contains a clear and colour-coded description of how to crochet and assemble the crochet rabbit amigurumi, with extra illustrations and example pictures at the bottom to help you get everything right. In the pattern you can also find what materials you need, the yarn colour numbers, in short, everything you need to know to make your own dapper rabbit(s). All the additional information you need to know about this pattern you can find in the shop listings. You can buy this pattern in my shop at Ravelry, on Etsy or order it here.

Heads up: it has a one-dollar release discount till Thursday the 11th of June. If you already have the pattern for Poochey and Fudge but want to make Poochey like this, you can find the free pattern for the cardigan here.

Patterns

Poochey and Fudge, crochet rabbit pattern

How did this happen? I wasn’t going to create new standing rabbits?! I wanted to redesign my lop rabbit pattern. But oh, my, they are so fabulously funny and cute, how could I stop making them? I very proudly present to you Poochey and Fudge, a new crochet bunny and lop rabbit amigurumi!

easter bunny, crochet rabbit pattern

It all started with pears. When designing the crochet rabbit’s head, I realised a rabbit head is pear-shaped. Basically, when you draw a pear, then draw a little circle at the bottom of it with a nose and mouth in it, ears at the top and eyes over the sides in the middle, you have a perfect bunny head. Knowing that, I didn’t immediately know how to translate that into crochet, but it helped a lot and made me discover the not-so-obvious head shape I now so love. Yes, my rabbits have pear-shaped heads too.

At this point, I still was working on a realistic lop rabbit, but having fun designing, I decided to also try a different-coloured head with the ears up. And that made all the difference! Not only did I love this version, so did many of you when I showed a little preview on Instagram. When contemplating this funny-looking character (yes, just a head, but I saw the rest of him), I knew an on-all-fours body would not work with this design. I imagined a silly, chubby, standing rabbit.

I also realised the leg/ feet shape of the sea otter would work perfectly for a flexible crochet rabbit body. Very cute, playful, and soft! These little bunnies have become so very whimsical. I adore their silly curly ears and surprised expressions. With crochet rabbits like these, there is no need to try to make them look perfect. It’s their wonkiness that makes them so utterly adorable.

You might be wondering about the differences between Poochey and Fudge. There aren’t many more than the eyes can see. They are practically the same with different colouring, except Fudge’s head is a bit narrower at the top and the lop ears are longer and shaped a bit differently, that’s all.

Here are some more pictures of these funny-looking crochet rabbits, and below them you can find info about and links to buy the pattern.

Info about & links to buy the pattern

Poochey & Fudge are made with Istex Lett Lopi, a 100% wool with a lot of fuzziness. If you use the recommended yarn, Poochey will be 7 inch / 17 cm high and Fudge 6 inch / 15 cm. If you are making a Poochey, I would strongly recommend a fuzzy yarn, because it hides the seams of the colour changes.

The pattern is written in US terms and contains a clear and colour-coded description of how to crochet and assemble the crochet rabbits, with extra illustrations and example pictures at the bottom to help you get everything right. In the pattern you can also find what materials you need, the yarn colour numbers, in short, everything you need to know to make your own utterly cute duo. All the additional information you need to know about this pattern you can find in the shop listings. You can buy this pattern in my shop at Ravelry, Etsy or order it here.

This pattern has a one dollar release discount till Thursday the 3rd of April.

Face & expression, Tips & Tricks

Animal safety eyes

When I tried different eyes for my lop bunny pattern, I noticed that if I used coloured eyes, they seemed smaller than the same size of black eyes. Because I hadn’t taken that into account, I ordered a bunch of eyes in black and brown and couldn’t use the brown ones because they looked much too small. I had to buy new eyes.

I decided to write a post about this in my ‘Tips & Trick’s’  section to give you a heads up.

I made some pictures to illustrate this topic. (The eyes are not attached completely but are just inserted loosely without the safety backs.)

From left to right: 11 mm/0,43 inch black safety eyes, 12 /0,47  black safety eyes, same size brown safety eyes, the eyes in 11 mm, 12 brown and 12 black. I’m going to use the 11 mm black eyes or the 12 mm brown ones. The 12 mm black ones look too big.

Actually it’s quite logical a coloured eye looks smaller, because it has a transparent ‘orb’ on top of the flat coloured circle, which reflects the light a bit. You can also look a bit through the eyes.

Conclusion. If you’re going to use coloured eyes, keep in mind that they look smaller and buy them one step bigger or buy a few sizes so you have the right size for sure.


Stories

Next project

It’s been a while since I’ve posted something after Starfox. I’m already working on my next project and have a long list of ‘popkes’ I want to design. I’ve posted that list a while back but the dolls on it have to wait a bit longer to be made…..

The project I’m working on now is a ‘crochet bunny with floppy ears’, a lop rabbit. Some time ago I made such a bunny pattern, in memory of our sweet pet Boefje. Because it was a very personal doll, I didn’t want to share the pattern I made for it, even though I got a lot of enthusiastic comments and request for it. That’s why making a similar crochet bunny got priority above the dolls on list.

This is the bunny I made back then.

"crochet lop rabbit"

I’m also setting up a Craftsy ‘shop’, and the pattern for the lop rabbit I’m going to offer there for a small amount.