Patterns

Finse, crochet rabbit pattern

My crochet rabbit amigurumi is the second pattern I have given a make over.

rabbit amigurumi crochet

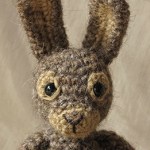
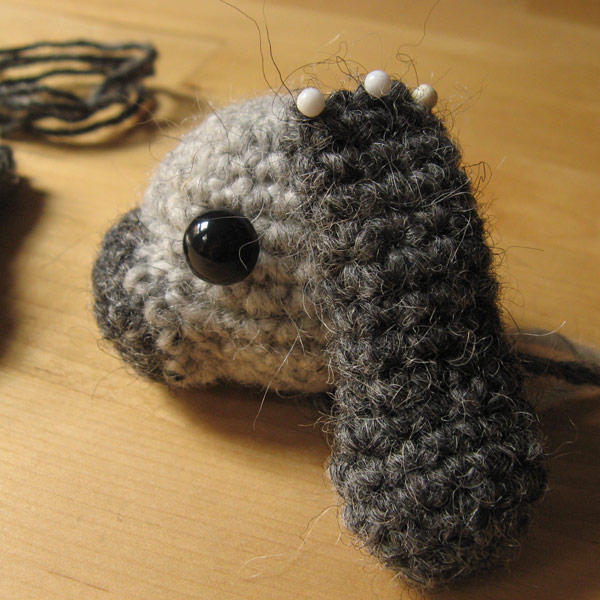
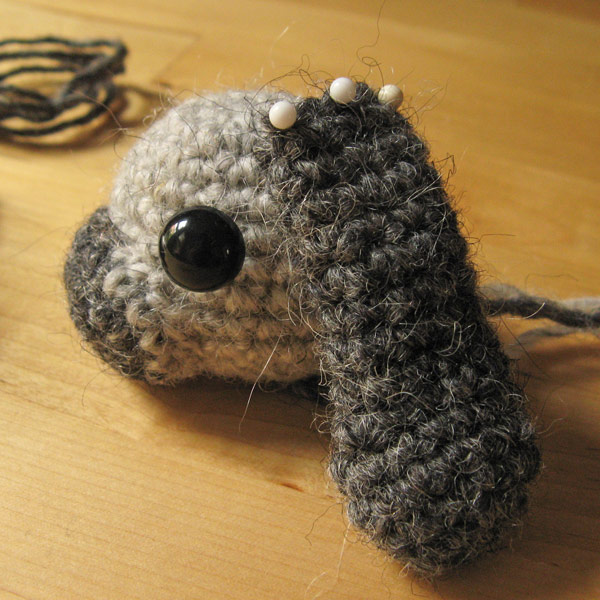
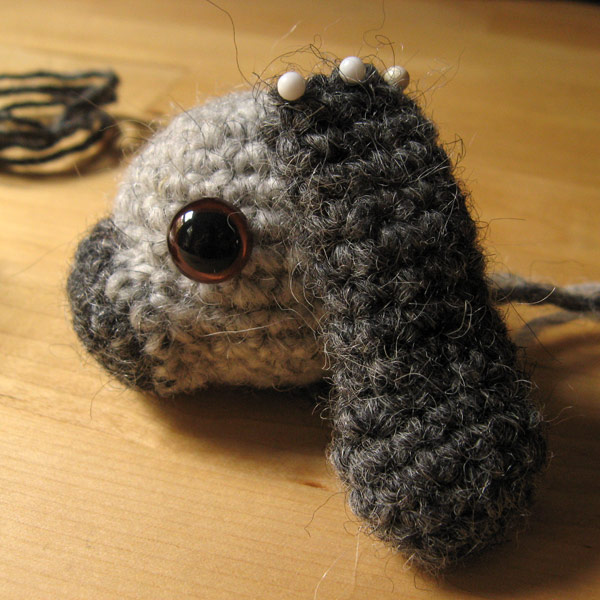
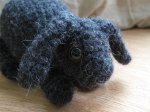
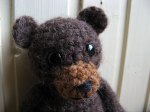
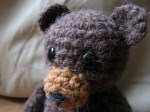
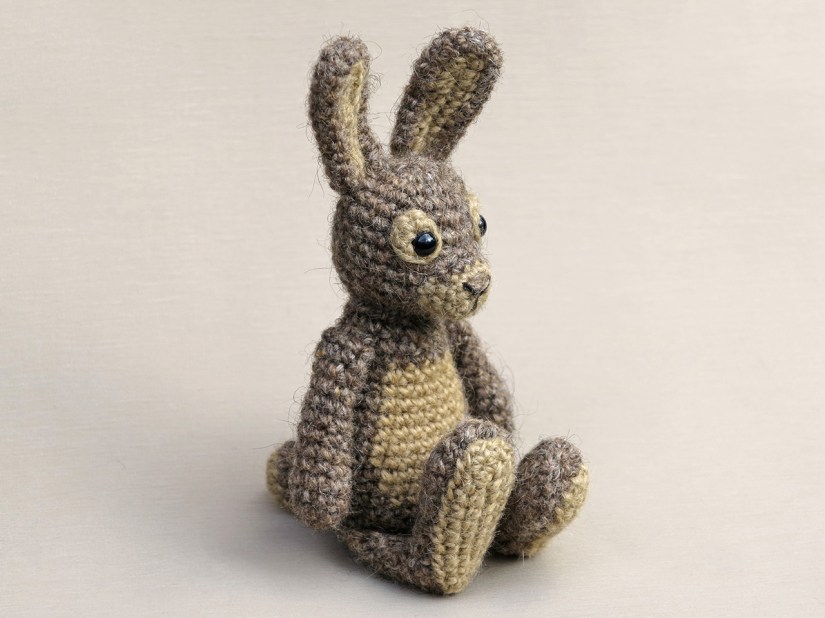
Here he is, my little star. Now probably, many of you looking at this picture are thinking ‘but he looks the same’ and you are right, he does look the same. How could I change my utterly whimsical looking crochet rabbit. I thought about changing the eye patches like I did for Floro and tried a few things, but Finse lost his character with those new looks. His funny expression has become so recognisable that I just couldn’t change the eyes. The eye patches create that look and work perfectly for this rabbit amigurumi.

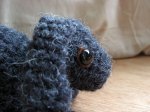
But something has changed. Good old Finse has a new body. My skills for creating light coloured bellies have improved a lot since I started designing these crochet animals. Nowadays, I use a little trick to make them look much rounder than before. Not only did I change the light belly, I also improved the shape of the body. I found his body too much pear-shaped, so I slimmed it down a little bit at the bottom. Finse still is chubby enough but the proportions are better now. The funny thing is, ‘common’ people won’t even see the changes I made, it is all in the details. But for me those details are very important and make my first animals look as good as the ones I design now.

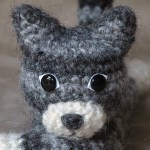
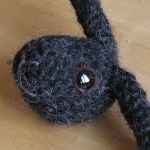
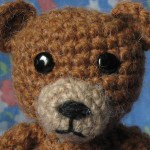
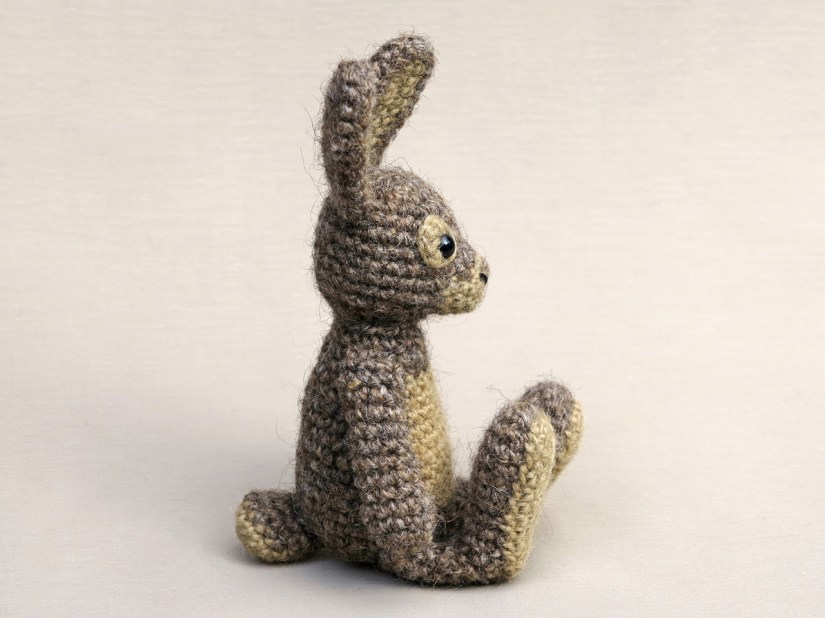
Here are a few more pictures of Finse and below them you can find info about and links to buy the pattern.


Info about & links to buy the pattern

This crochet rabbit amigurumi is made with Istex Lett Lopi, a 100% wool. Finse is sitting 6.7 inch / 17 cm, when made with worsted weight yarn.

The pattern contains a clear and colour coded description of how to crochet and assemble this animal, with extra illustrations and example pictures at the bottom to help you get everything right. In the pattern you can also find what materials you need, the yarn colour numbers, in short, everything you need to know to make your own whimsical rabbit amigurumi. All the additional information you need to know about this pattern you can find in the shop listings. You can buy this pattern in my shop at Ravelry, Etsy or order it here.

Despite this being an update, the new pattern has a one dollar release discount till Wednesday the 14th of March.

If you purchased the previous version of this pattern, you will receive a message with a download link to get the new version for free.

Temporary note: I am going to update a few more older patterns and will give you a heads up about it, but won’t always write new posts. For most of them, I will replace the images and update the new pattern to my shops.

Why am I updating these patterns? Well, not because they are not good enough as they are. It is mainly because of the pictures. The backgrounds in the older pictures are messy and I want the same clean look for all my patterns.

Face & expression, Tips & Tricks

Expressions for amigurumi

This post is a renewed version of an older post of mine. Because I developed new skills and discovered more techniques, I found the old expression post to be a bit outdated. In this post I’ll explain how I design a crochet animal face.

One of the most challenging elements in making crochet dolls is giving them the right expression. That’s what finishes the doll and can make it either beautiful and striking or kind of ridiculous looking. Making the face is complicated and comes very closely, even though it seems quite simple, just a few stitches right? It usually takes me a while and I have to ‘take it out’ a few times before my doll has the right expression. Here are a few samples of faces I’ve made so far. Below the images I’ll explain how I get the right expression.

1. A patch behind the eyes makes him look more like a wild bunny. The starting chain forms his mouth.

2. A playful cat needs wide eyes, so a felt patch behind the eyes. He also has a perplexed little mouth, like real cats.

3. Wolfs have a brighter spot above their eyes. For this crochet wolf I decided to add a small thread to create that wolf expression.

4. Starfox really has a sturdy expression, he also has green eyes. So I made a felt patch, black lashes and big white eyebrows.

5. This is a very happy brown eyed bunny. Just the eyes looked a bit dull I decided. So he has felt patches behind his eyes and a cheerful embroidered mouth.

6. I wanted to give this crochet bear a funny looking face. To get that expression I made his mouth unsymmetrical.

To give my Popke the right expression, I play a little with the embroidery thread. A symmetric mouth for example gives a neat look, but maybe not the right one. The distance between the eyes is also very important. A description of how to set them, I don’t think will help much, you just have to experiment on each and every doll you make. There are some rules, like far apart is cute and close together not very smart looking, but I tend to ignore those rules and just see what looks best for a particular doll. The tip in this topic is therefore, don’t underestimate the importance of the expression. Take your time and experiment. If you’re not satisfied after trying many times, just stop and try again the next day or so, when you’re fresh again. That usually does the trick for me.

And another small tip, it’s very important to see for yourself and experiment on your version of a Popke. Maybe you don’t like the felt patch for your lop rabbit or the white eyebrow on your wolf. Just rock out and do what you like.


Face & expression, Tips & Tricks

Animal safety eyes

When I tried different eyes for my lop bunny pattern, I noticed that if I used coloured eyes, they seemed smaller than the same size of black eyes. Because I hadn’t taken that into account, I ordered a bunch of eyes in black and brown and couldn’t use the brown ones because they looked much too small. I had to buy new eyes.

I decided to write a post about this in my ‘Tips & Trick’s’  section to give you a heads up.

I made some pictures to illustrate this topic. (The eyes are not attached completely but are just inserted loosely without the safety backs.)

From left to right: 11 mm/0,43 inch black safety eyes, 12 /0,47  black safety eyes, same size brown safety eyes, the eyes in 11 mm, 12 brown and 12 black. I’m going to use the 11 mm black eyes or the 12 mm brown ones. The 12 mm black ones look too big.

Actually it’s quite logical a coloured eye looks smaller, because it has a transparent ‘orb’ on top of the flat coloured circle, which reflects the light a bit. You can also look a bit through the eyes.

Conclusion. If you’re going to use coloured eyes, keep in mind that they look smaller and buy them one step bigger or buy a few sizes so you have the right size for sure.


Stories

Next project

It’s been a while since I’ve posted something after Starfox. I’m already working on my next project and have a long list of ‘popkes’ I want to design. I’ve posted that list a while back but the dolls on it have to wait a bit longer to be made…..

The project I’m working on now is a ‘crochet bunny with floppy ears’, a lop rabbit. Some time ago I made such a bunny pattern, in memory of our sweet pet Boefje. Because it was a very personal doll, I didn’t want to share the pattern I made for it, even though I got a lot of enthusiastic comments and request for it. That’s why making a similar crochet bunny got priority above the dolls on list.

This is the bunny I made back then.

"crochet lop rabbit"

I’m also setting up a Craftsy ‘shop’, and the pattern for the lop rabbit I’m going to offer there for a small amount.


Face & expression, Tips & Tricks

Alternative animal eyes

Animal safety eyes and other nice looking animal eyes can be hard to find. When I started making amigurumi, I couldn’t find stores where I could buy them, so I had to come up with an alternative.

I went to my local hobby store to see what they had to offer. There I found something very suitable, called brads. They come in all kind of sizes and shapes and the black round ones make perfect eyes. The one thing that wasn’t perfect, they aren’t shiny. I had to make them shiny myself then. The first thing I thought of was transparent nail polish and that actually did the job very well. A few layers of it and an afternoon of drying made the eyes perfectly shiny and smooth.

Here are some pictures of the brads and how they look as eyes on a crochet animal. There’s also a picture of another way to make particular eyes. Below the images I’ll explain how it works. (You can click on the image to get a larger version.)


The last image is of normal safety eyes with a felt patch behind it.

How does it work?

First, pin the brads to a pin cushion or something else you can put them into, so they stand up steady and you can nail polish them. Attach a layer of nail polish. If the first layer looks perfect, it’s good, if it’s not smooth enough yet, add another layer when the first layer is dry. When you’re satisfied, let your brads dry for a while, I let them dry for a night before using them.

Make sure the nail polish is completely dried out when you attach the eyes, otherwise you’ll damage them. At first only the upper layer is dry and not very steady. When it’s perfectly dry, it should stay undamaged even if you scratch it. If you like, you can paint various coloured eyes with nail polish, like a blue eye with a black pupil. And my advice, polish a bunch of eyes in advance and keep them safe till you need them.

When you use brads as eyes you need to make sure the paws won’t stick out of the crochet ‘skin’. If you crochet very tight it might not happen but you can also add a piece of paper(board) or felt between the paws and the inside of the piece, so when the paws are spread they only touch felt or paper.

To give more character to some eyes, you can add a piece of felt behind the eyes on the outside. In the crochet bunny picture you can see I used brown felt behind the eyes, and the Link amigurumi has white felt behind normal safety eyes.

Another tip:

If you use felt for characteristic eyes, you can dye it first with acrylic paint, to make it more strong. I did that with the Link amigurumi’s eyes. Because without the paint the felt fell apart when I cut it in the right shape. Whit the paint on it, it stayed felty but much stronger and easier to cut.

One last note:

I do NOT think the alternative eyes are safe for little kids toys, so use safety eyes if you make them for a little kid.

I hope this post comes in handy, good luck!