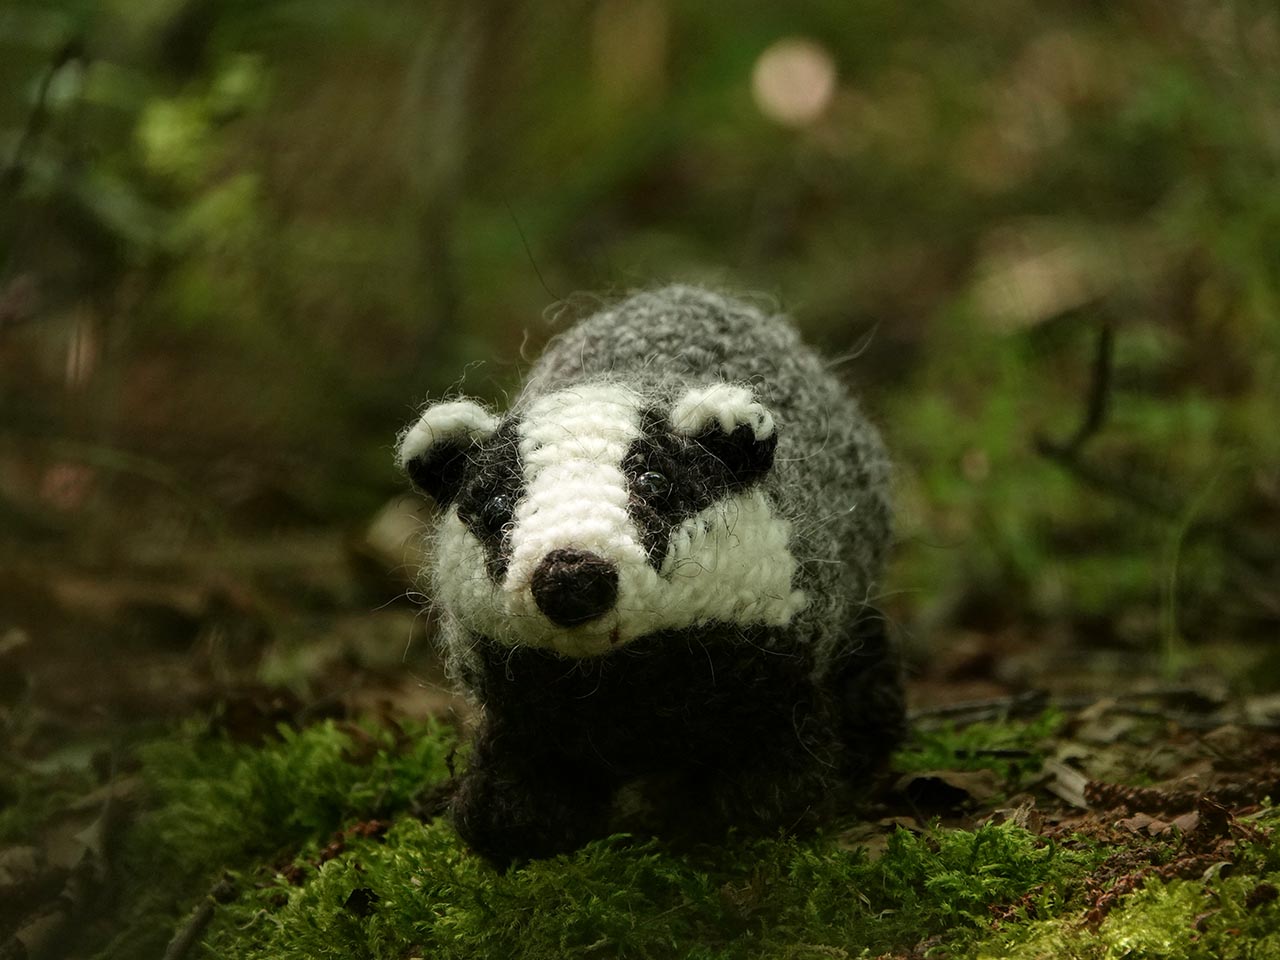
For a long time I have wanted to design a seamless badger, and I finally did! This is Broebel, a new and improved badger amigurumi.
You might be wondering why it took me so long. The answer is simple: I didn’t know how to make round legs for this kind of seamless body. When you create a cylinder-shaped body by crocheting forward from the head, you get vertical rounds when you look at your project from the side. To create a hole, you skip some stitches and add a chain, but that makes a hole of only one round, which isn’t enough if you want realistic-looking paws. Maybe I’ve missed an ingenious method (if you know one, please let me know in the comments!), but that was my conclusion.
Then some pieces of the puzzle fell into place. When I designed some of my other seamless animals, the ones where you connect the paws with chains and then continue the body, I used a trick to heighten the body and get a shorter neck. I realised I could use that same trick to create bigger holes. That’s what I did for Broebel, and as you can see, it worked perfectly! It’s rather simple too. I’m not going to reveal my little trick (like magicians don’t), but believe me, it doesn’t make crocheting the badger more difficult.
Because I was also finalising the drawings for a lovely book about badgers that will be published this winter, I wanted a pattern that didn’t take too long to create. For the overall shape I could use both Flunsie and the realistic badger patterns. This badger will replace the realistic badger.
I’m so pleased with how Broebel turned out and how easy it is to crochet! The only slightly tricky part at the start are the colour changes, but most crocheters can manage those. The rest is a piece of cake. The only parts you need to attach afterwards are the nose and ears. This badger slowly takes shape as you make it!
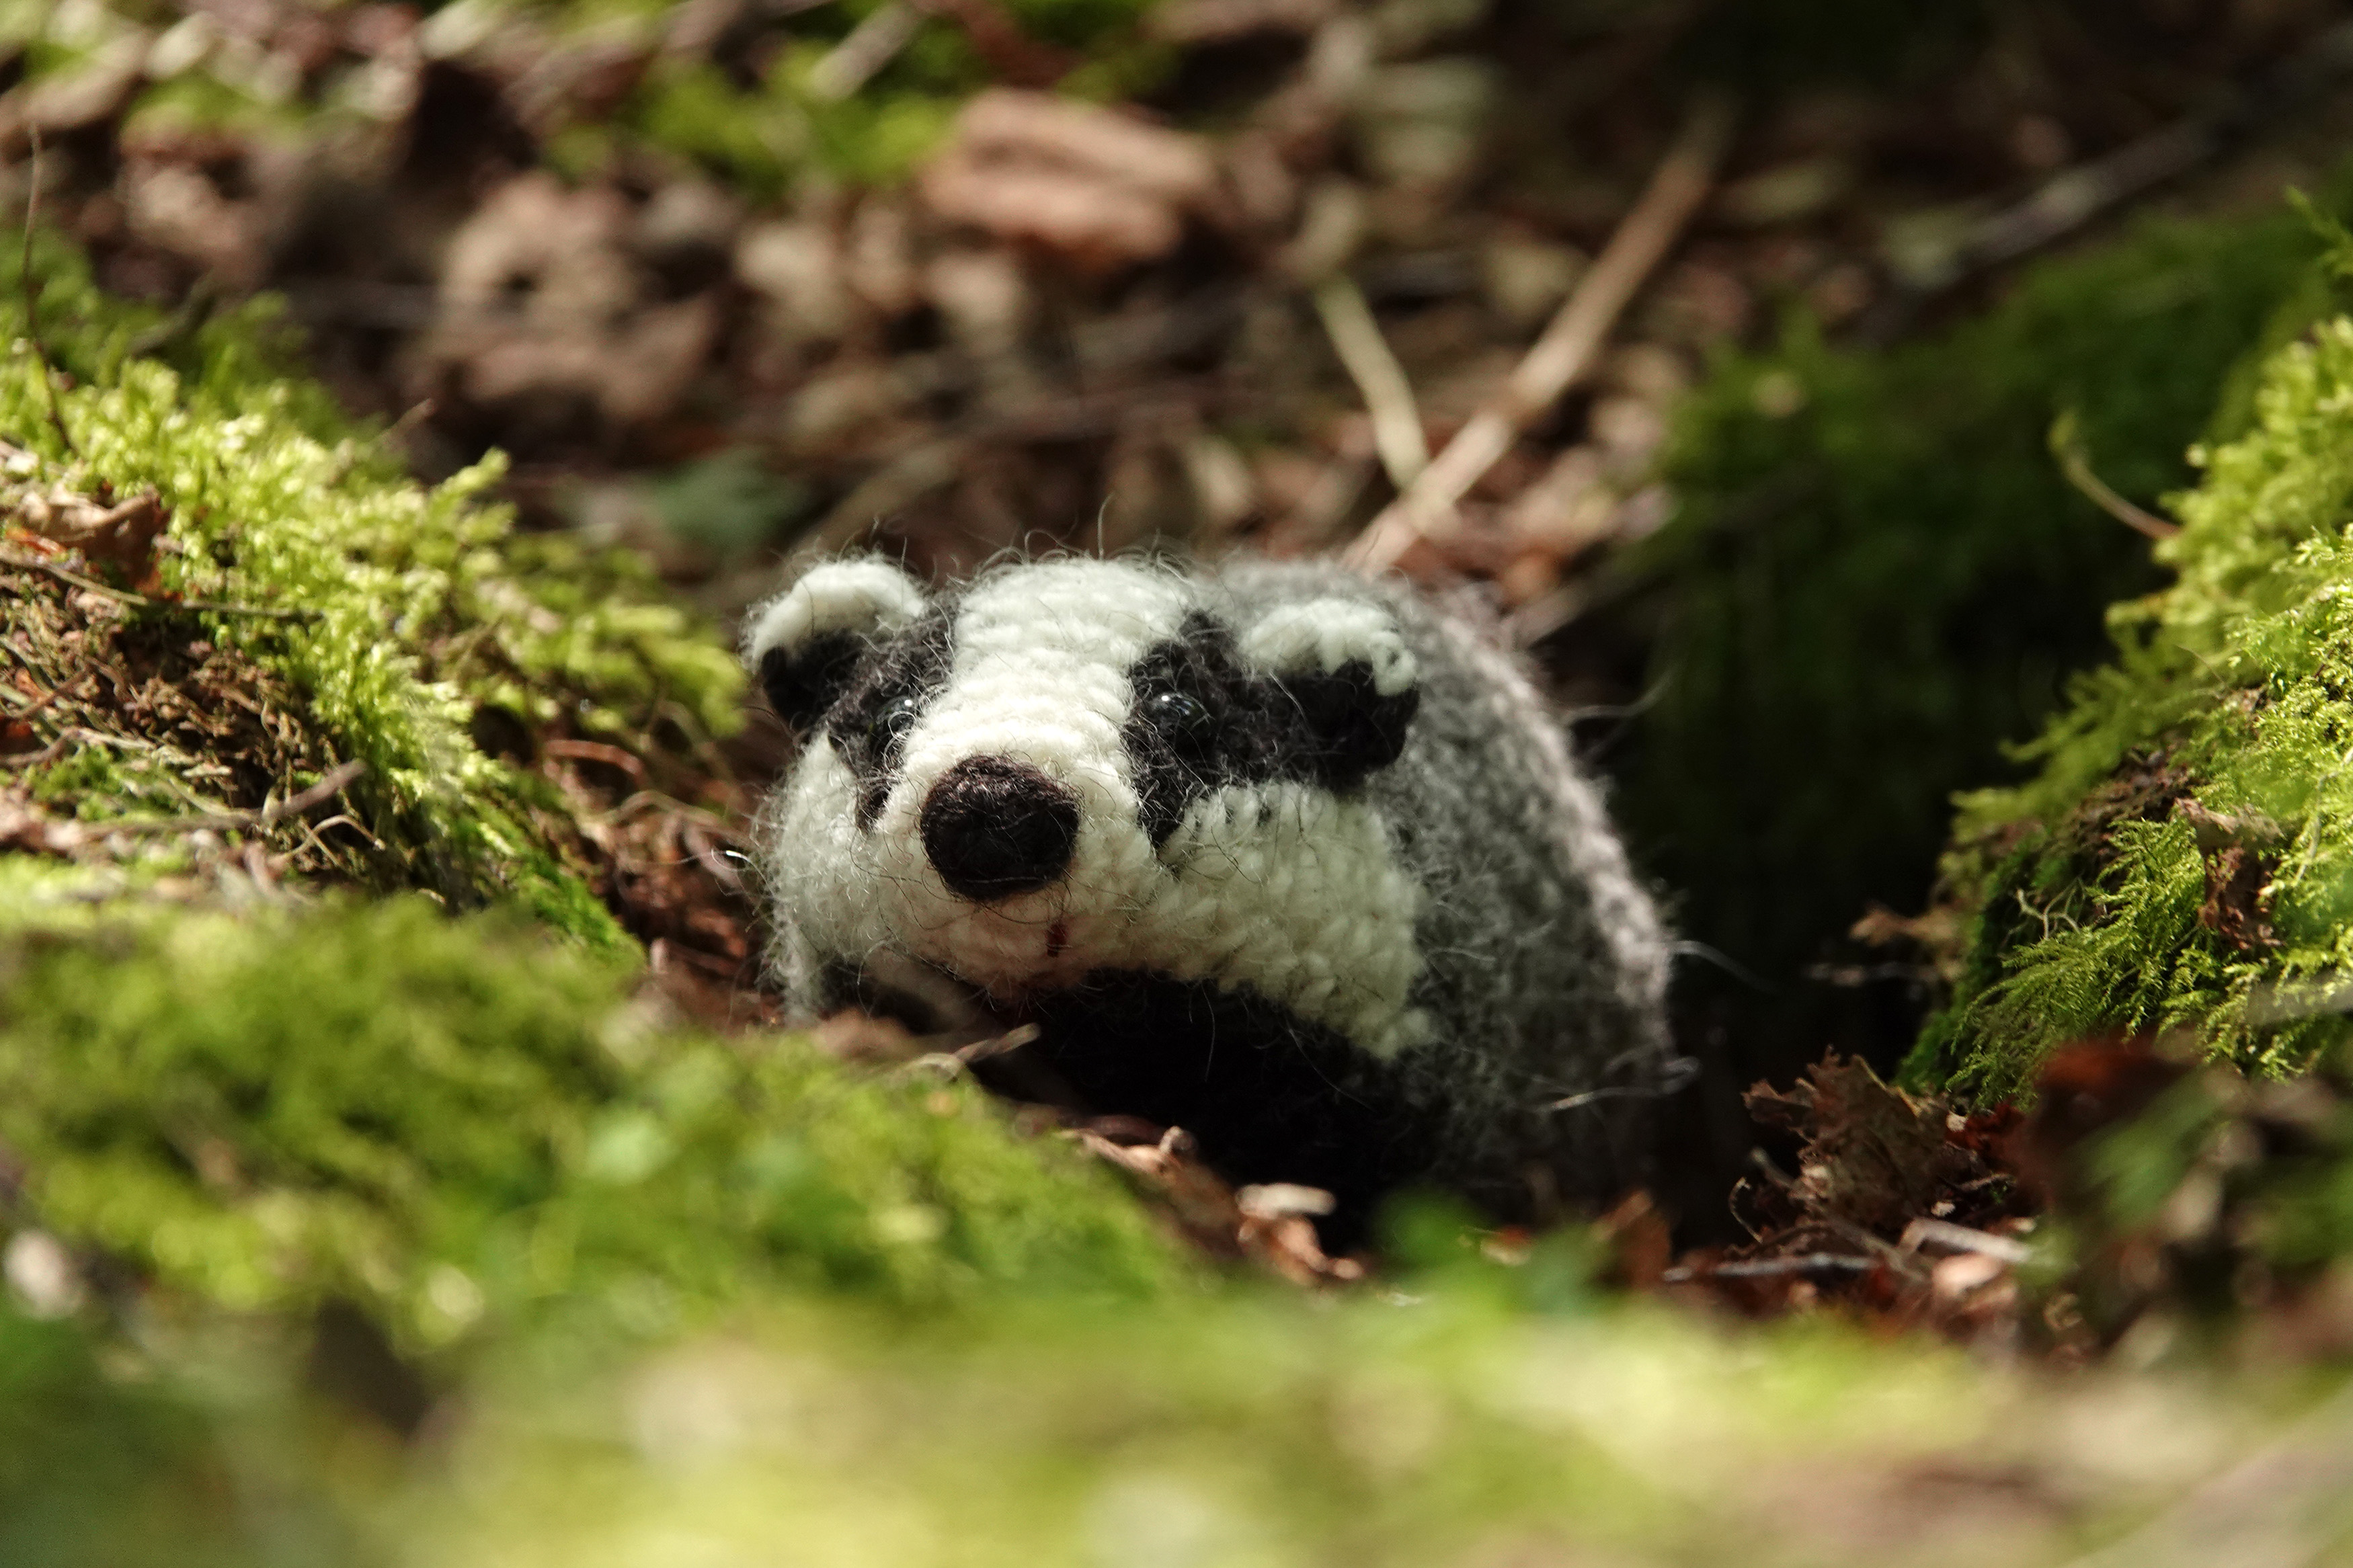 I always take my finished crochet animals outside for a photo in their “natural habitat,” and I did the same with Broebel. Our first trip didn’t go well: I was annoyed after failing to get a decent photograph of a rare bird, so I wasn’t in the mood to photograph Broebel. On the second trip I found a hole that looked like a badger’s burrow and made a fabulous picture of Broebel sitting in it. It may not be ideal for promoting the pattern because you only see the head, but I’m delighted to share it here
So yes, I’m really excited about this badger amigurumi. This opens doors for other animals that need this kind of body, like a bison, a beaver or a new guinea pig.
Below are more pictures of Broebel the realistic crochet badger, followed by information about the pattern and links to buy it. You can also buy it directly from me using this link; I’ll then email the pattern manually.


This is an easy pattern made with basic stitches, with each step explained in detail to ensure that even beginners can create this realistic badger amigurumi. My pattern format includes instructions like ‘sc in next, 2 sc in next, invdec,’ etc. I chose this format because it works better for creating realistic amigurumi.
This crochet badger is made with Istex Lett Lopi (a 100% wool yarn known for its fuzziness) and measures 6.6 inch / 17 cm measured from nose to tail. The pattern includes clear and colour-coded instructions on how to crochet and assemble the doll, along with instructional images with extra notes. You’ll also find pictures of the finished doll at the end. In the pattern, you’ll discover what materials you need as well as the yarn colour numbers, in short, everything necessary to create your own realistic owl amigurumi! All the additional information you need to know about this pattern you can find in the shop listings. You can purchase it in my shop at Ravelry or Etsy.
And heads up! This pattern has a permanent discount if you use this link. I will have to email the pattern manually so it can take a bit longer, but I promise, you’ll have it in a day. If not, check your spam and if it is not there either, message me to wake me up, as I might have fallen asleep or something…