Am I serious? Yes, I thought it would be fun to make a crochet snail, a little friend who can accompany the hedgehog in pictures. So why not make a free pattern as well. I know you all yearned for a crochet snail. Who doesn’t want to make a crochet snail?!

Crochet snail pattern
Before you start
This pattern is written in standard American crochet terms. It’s useful to read it before you start. If you use the recommended yarn, your snail will be 3 inch / 7 cm long. The yarn I’ve used is Istex Lètt lopi, a 100% wool. Use a stitch marker to mark the beginning of a round, move it up each time you start a new round.
Materials
For these snails you’ll need worsted weight yarn and an E US/3.5 mm crochet hook. You need 2 colours of yarn (left-over bits are enough): I’ve used light beige (0086) and acorn (0053) for the light snail and oatmeal (0085) and chocolate (0867) for the darker one. I’ve split a strand of the darkest colour to embroider a mouth. You will also need fibrefill to stuff the snail and a pipe-cleaner to bend the body is optional. Not really my style, but I painted the eyes, using acrylic paint. I couldn’t think of another way the create dark dots. (Needle felting could do the trick, but most people don’t have the tools for that.)
Accessories
Hook E US / 3.5 mm, scissors, embroidery needle, stitch markers or paper clips.
Abbreviations: ch = chain, sc = single crochet, st = stitch, sl st = slip stitch, hdc = half double crochet stitch, dc = double crochet stitch, s2tog = invisible decrease, dec = normal decrease.
Instructions
Shell
The whole shell (round 2 – 5) is worked in the backloops only, so the unworked frontloops form a visible spiral on the outside of the shell.
1. magic ring of 4 = 4
2. 2 sc in each around = 8
3. (sc in next, 2 sc in next) x 4 = 12
4. sc in each around = 12
5. (sc in next, dec) = 8, sl st in 1st backloop and leave yarn end for sewing.
Body
1. magic ring of 4 = 4
2. sc in each around = 4
3. (sc in next, 2 sc in next) x 2 = 6
4-9. sc in each around = 6
10. sc in next, s2tog, sc in next, 2 sc in next 2 = 7
11. sc in next, s2tog, sc in next 2, 2 sc in next, sc in next = 7
12. s2tog, sc in next 2, 2 sc in next, sc in next 2 = 7
13. repeat round 12 = 7
14. sc in next, 2 sc in next, sc in next, s2tog x 2 = 6, sl st and leave yarn end for sewing.
 You can now insert a pipe cleaner if you like to use one. Sew the hole closed by putting the needle from the inside out through all the outside loops of the 6 st, clockwise. If you do it correctly, you can now pull the end and it will close the gap. Weave in the end.
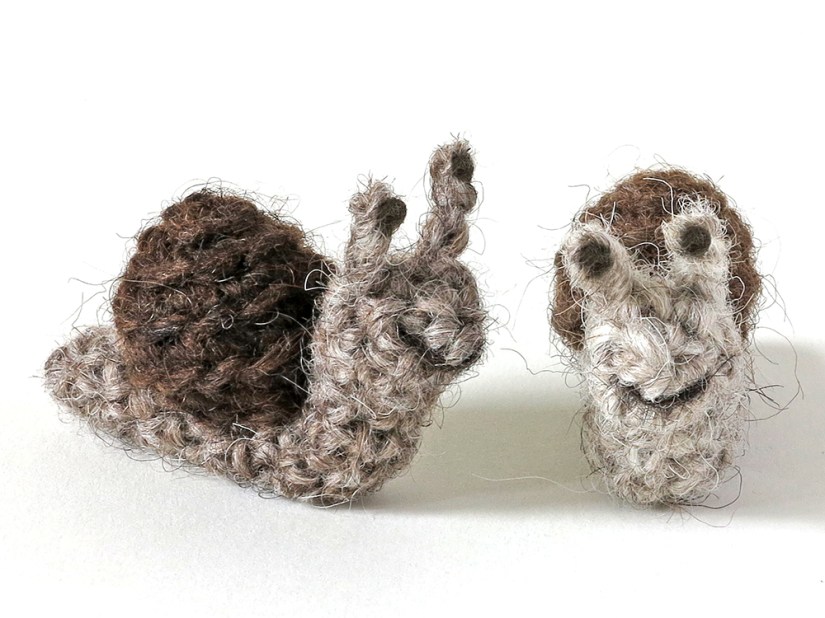
Make the eyes by attaching the yarn at the side of the head, between round 2 and 3. Ch 3 st, in 2nd ch from hook sl st and weave in the yarn ends as shown in the image. You can embroider the mouth between round 1 and 2.
Now stuff the shell and attach it to the body. Position the shell as shown in the image and sew between the frontloops of the last round so you don’t change the edge. I’ve sewn back and forth between the side of the snail.
There, your not-so-slimy slimy new friend is finished!