With great excitement, I present to you the pattern for a crochet skunk!
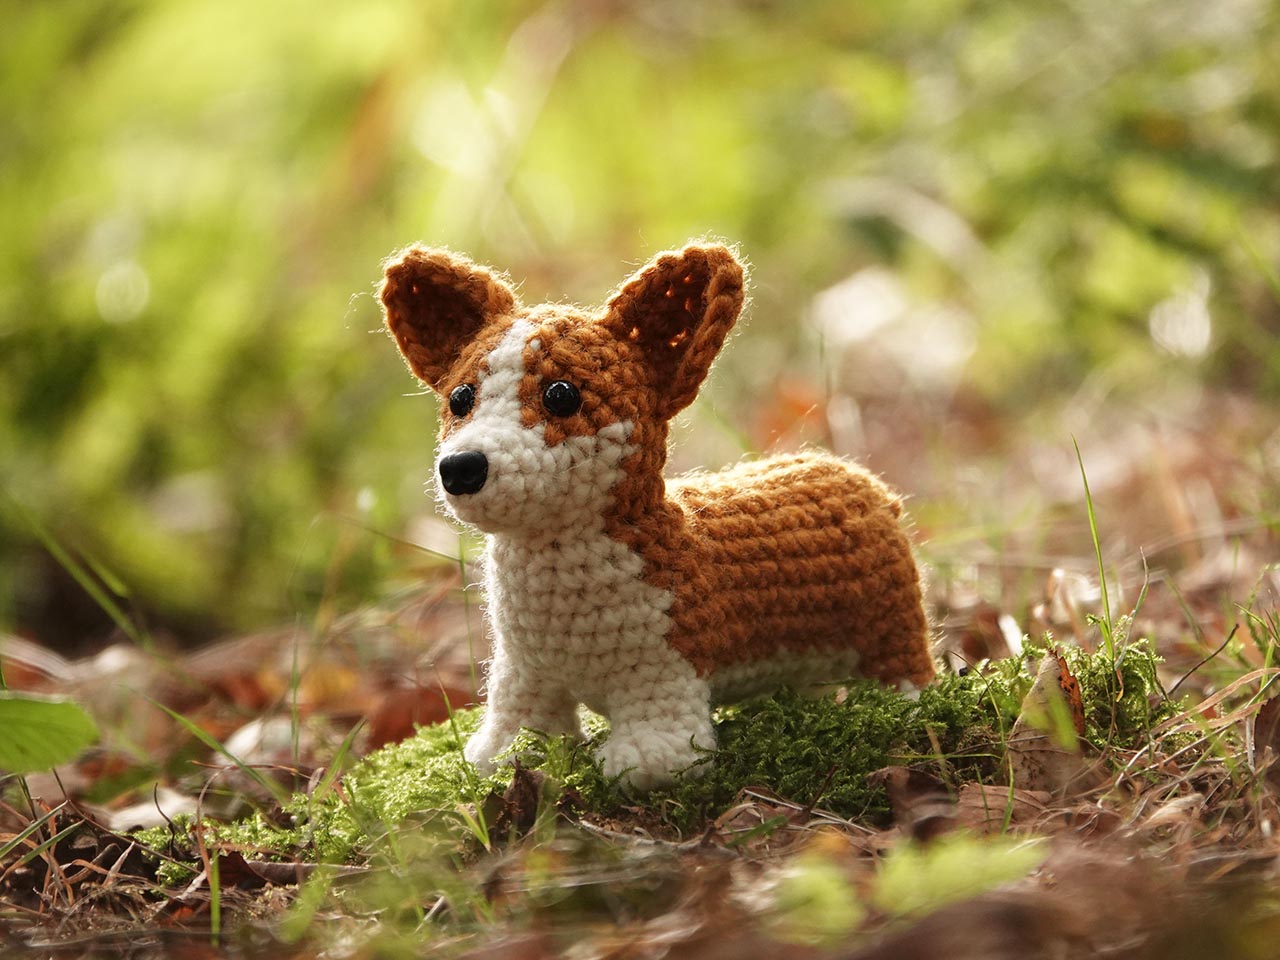
For a long time, I wanted to create a skunk amigurumi pattern, but the complexity held me back. After I posted the Corgi photo on Instagram, a lovely girl from Poland asked if I’d ever considered designing a skunk pattern. That very week, the idea of a skunk pattern was on my mind, so I decided to go for it. Since she is a skunk lover, I wanted to ask if she’d like to test the pattern once ready, but she was ahead of me and volunteered first.
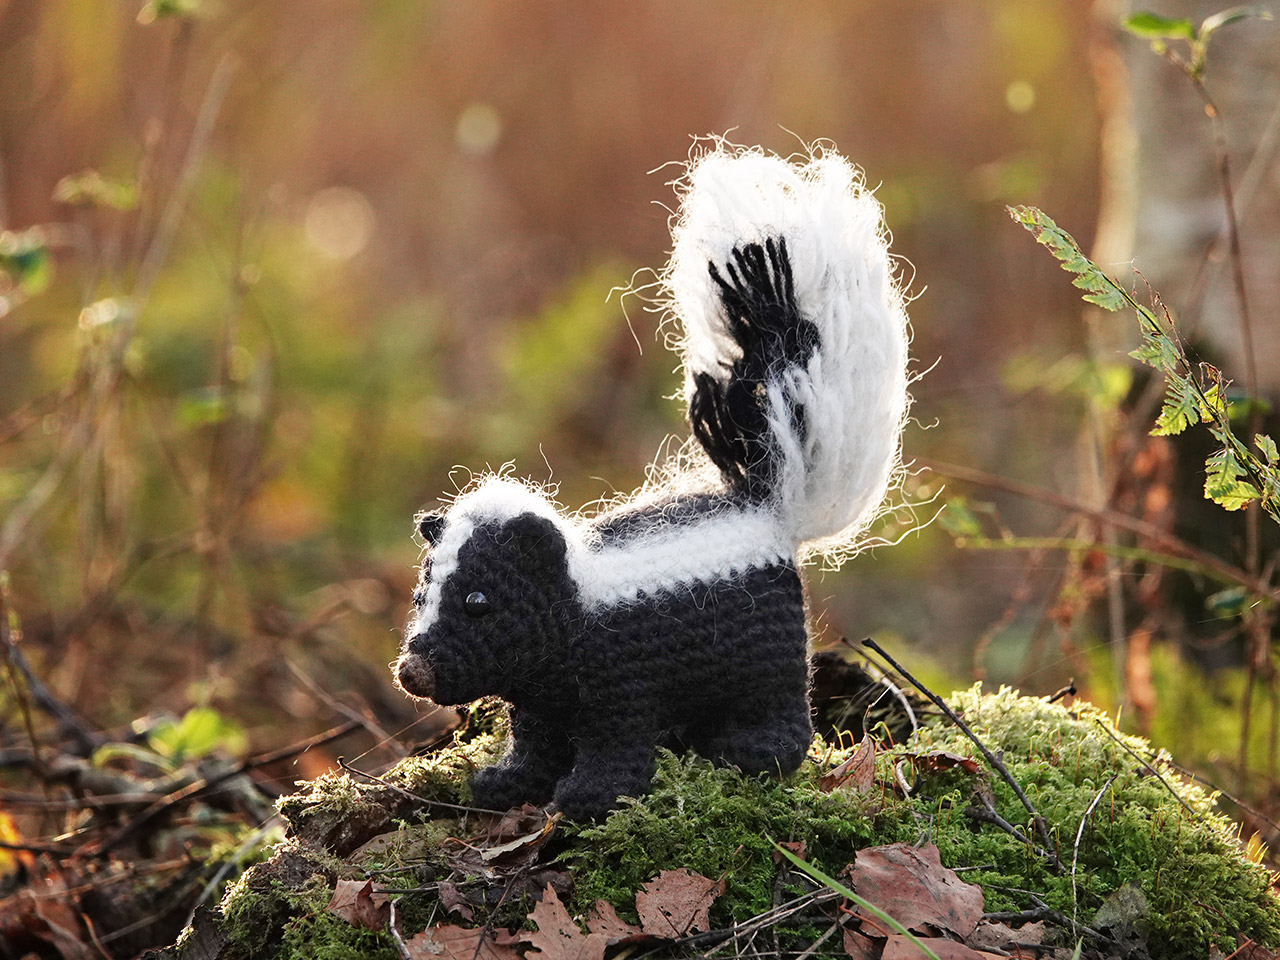
I knew this would be a tricky animal to crochet, and I soon encountered some challenges. I aimed for the white stripe on the face to be as narrow as possible, but how could I do that when increases needed to be made there as well? After several versions, I decided a two-stitch-wide stripe would suffice for now; I could revisit it after completing the body.
For the body, I knew there was only one way to construct it, but that meant the head would sit higher than I preferred. I didn’t have many options because of the white stripes on the back of skunks, which run horizontally from front to back; an additional challenge. However, this body shape made it relatively easy to keep it straight, so I needed to figure out how to position the head. Ultimately, that wasn’t too difficult.
Then came the tail, which gives this animal its grace. Before starting, I thought a mixed-colour tail in thinner yarn held together would work perfectly. However, once finished, my wonderful partner suggested that the white line of the body should extend into the tail (he also gave the skunk its fabulous name!). I didn’t really felt like making a complex tail, but I couldn’t shake the idea, knowing he was right. So, I made a new tail, despite my desire to avoid reversed loop stitches. After three hours of eager work, I decided to add an alternative version for older crafters. Even my hands got sore from the RLS, so the option where you attach the fur later will surely be appreciated.
Once the body and tail were finished, I revisited the face. Even though I had been focused on the other parts of the pattern, I had been contemplating a way to achieve a one-stitch-wide stripe. I tested my idea, and it worked wonderfully! Now, the adorable little skunk was complete!
As often happens, my fabulous pattern tester Kendra from Kendra’s Crafty Crafts provided the best feedback I could ask for. She said that once her skunk was finished, it reminded her of those videos featuring feisty baby skunks stomping at people with their tails up. We must have seen the same videos because they inspired me as well. Skunks are wonderful animals and not as stinky as people think; they only use their spray when there is a serious threat. So, if you get sprayed, you probably deserved it!
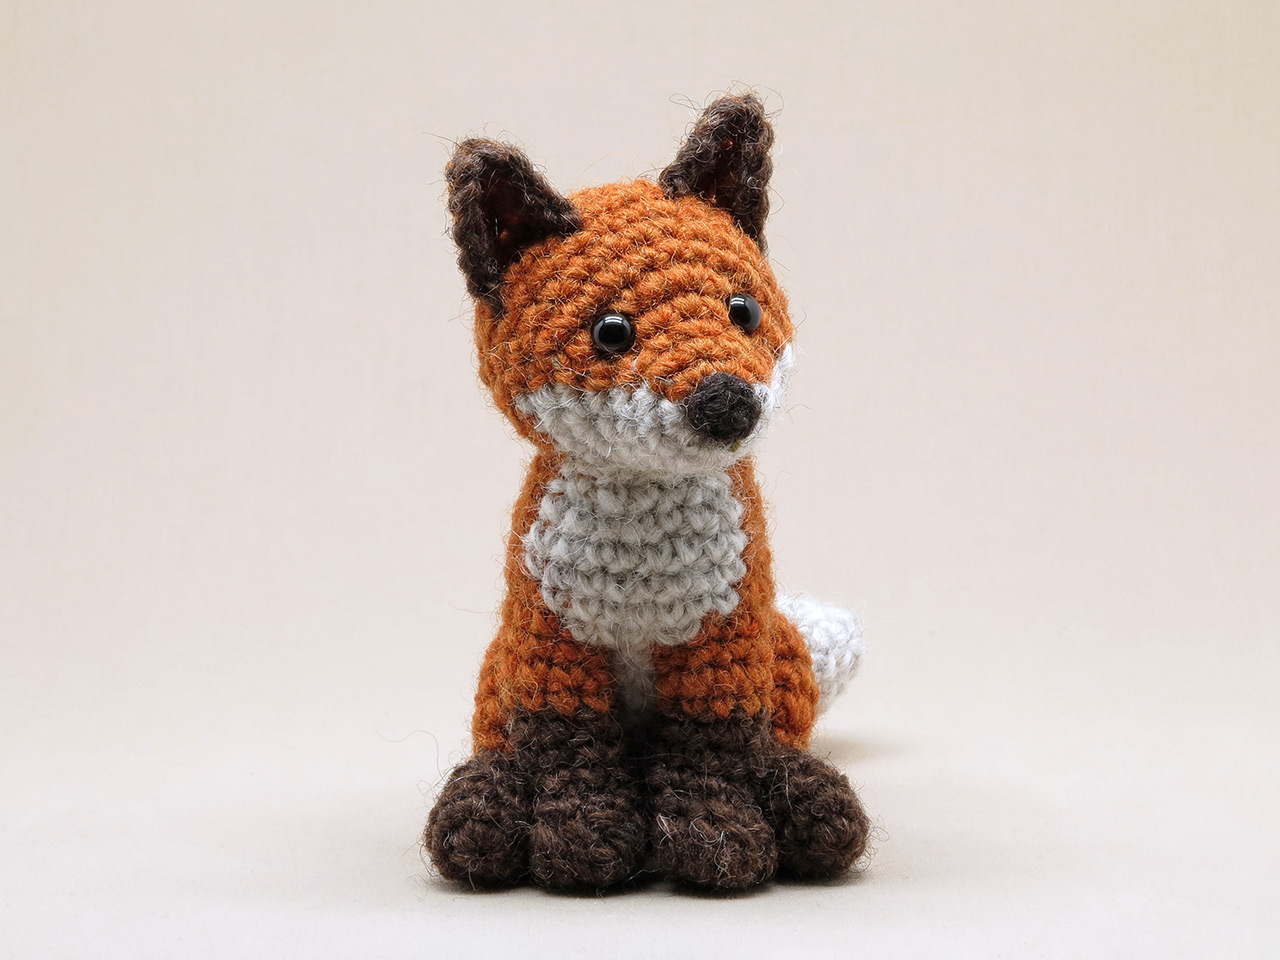
I’m so proud of this little crochet skunk; it turned out even better than I imagined. The downside now is that I worry people might think it looks fake. Let’s hope they find my blog and read this post. Below are some more pictures of Opidori the crochet skunk, along with all the information you need.


This is an intermediate pattern made with basic stitches. The difficulty lies in creating the seamless body. Instructions for working up the body are well explained.
This crochet skunk is made with Istex Lett Lopi, a 100% wool yarn known for its fuzziness. It is 6 inches (15 cm) from nose to bottom and from feet to end of tail. The pattern includes clear and colour-coded instructions on how to crochet and assemble the animal, along with instructional images with notes. You’ll also find pictures of the finished animal at the end. In the pattern, you’ll discover what materials you need as well as the yarn colour numbers; in short, everything necessary to create your own realistic skunk amigurumi! All the additional information you need to know about this pattern you can find in the shop listings. You can purchase it in my shop at Ravelry or Etsy.
And heads up! This pattern has a one-dollar release discount until November the 27th. Feel free to let me know if you need any additional information!