Patterns

Broebel, realistic crochet badger pattern

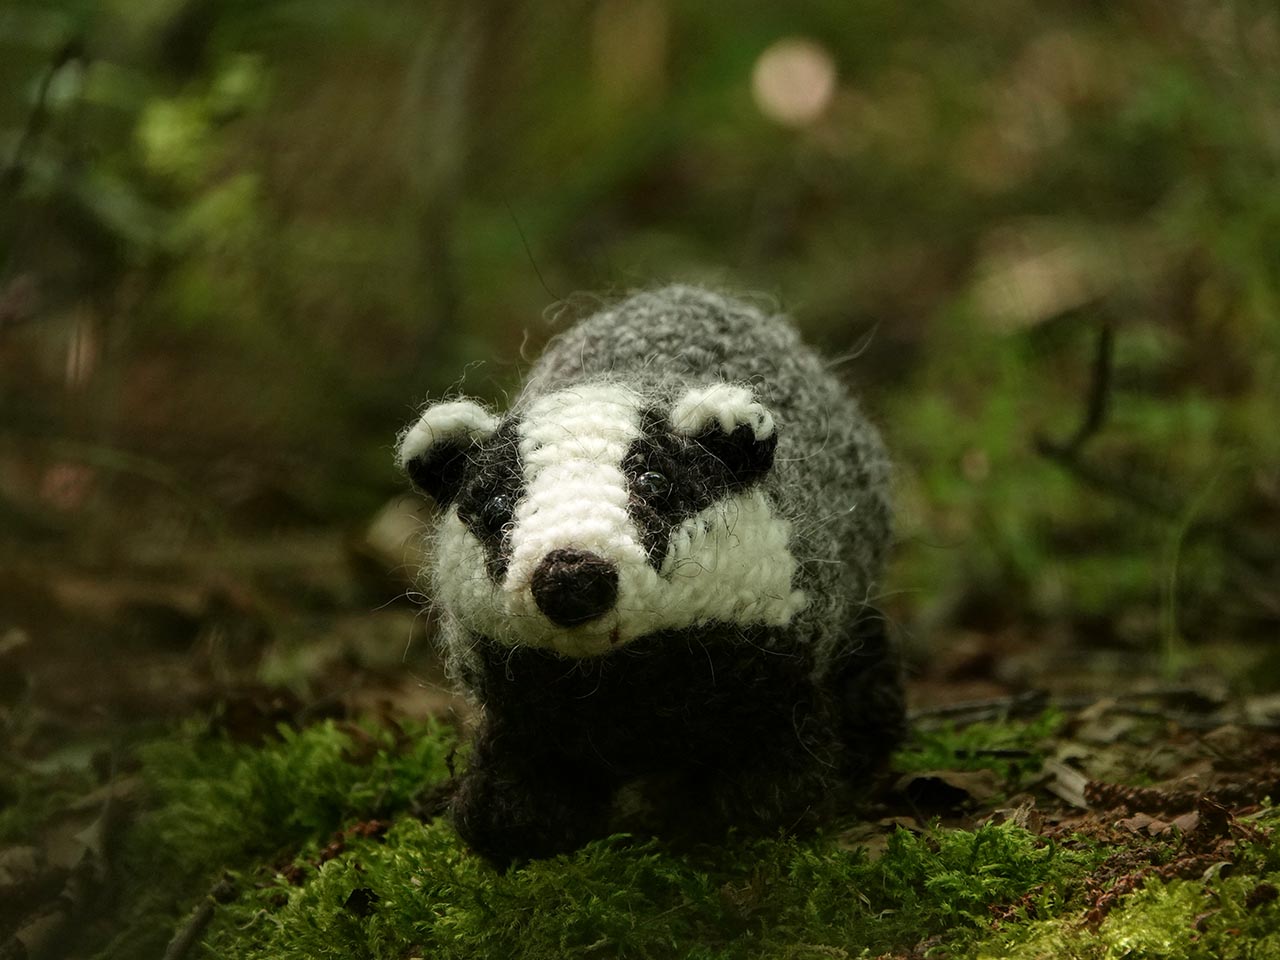
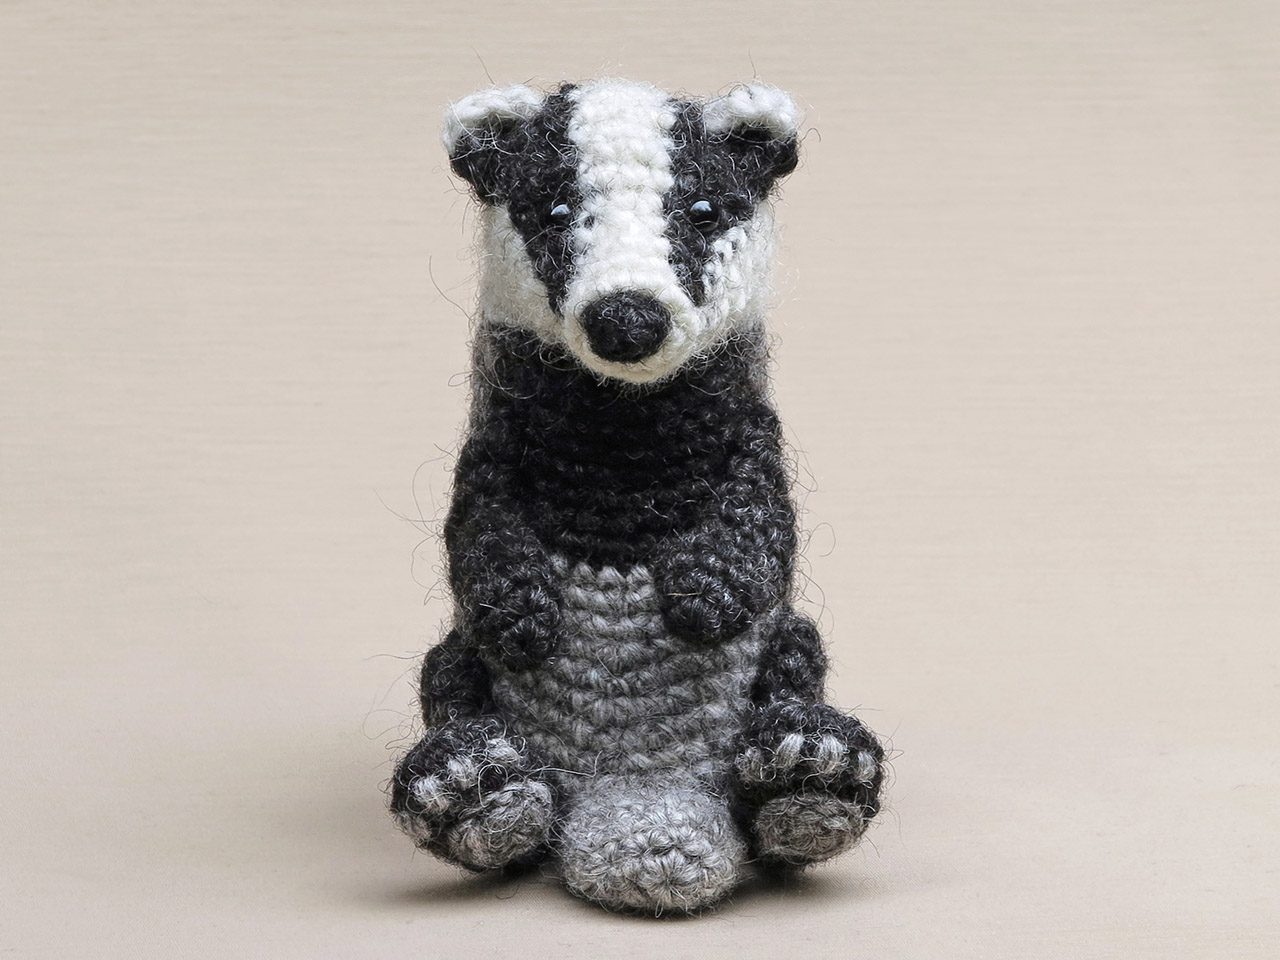
For a long time I have wanted to design a seamless badger, and I finally did! This is Broebel, a new and improved badger amigurumi.

You might be wondering why it took me so long. The answer is simple: I didn’t know how to make round legs for this kind of seamless body. When you create a cylinder-shaped body by crocheting forward from the head, you get vertical rounds when you look at your project from the side. To create a hole, you skip some stitches and add a chain, but that makes a hole of only one round, which isn’t enough if you want realistic-looking paws. Maybe I’ve missed an ingenious method (if you know one, please let me know in the comments!), but that was my conclusion.

Then some pieces of the puzzle fell into place. When I designed some of my other seamless animals, the ones where you connect the paws with chains and then continue the body, I used a trick to heighten the body and get a shorter neck. I realised I could use that same trick to create bigger holes. That’s what I did for Broebel, and as you can see, it worked perfectly! It’s rather simple too. I’m not going to reveal my little trick (like magicians don’t), but believe me, it doesn’t make crocheting the badger more difficult.

Because I was also finalising the drawings for a lovely book about badgers that will be published this winter, I wanted a pattern that didn’t take too long to create. For the overall shape I could use both Flunsie and the realistic badger patterns. This badger will replace the realistic badger.

I’m so pleased with how Broebel turned out and how easy it is to crochet! The only slightly tricky part at the start are the colour changes, but most crocheters can manage those. The rest is a piece of cake. The only parts you need to attach afterwards are the nose and ears. This badger slowly takes shape as you make it!
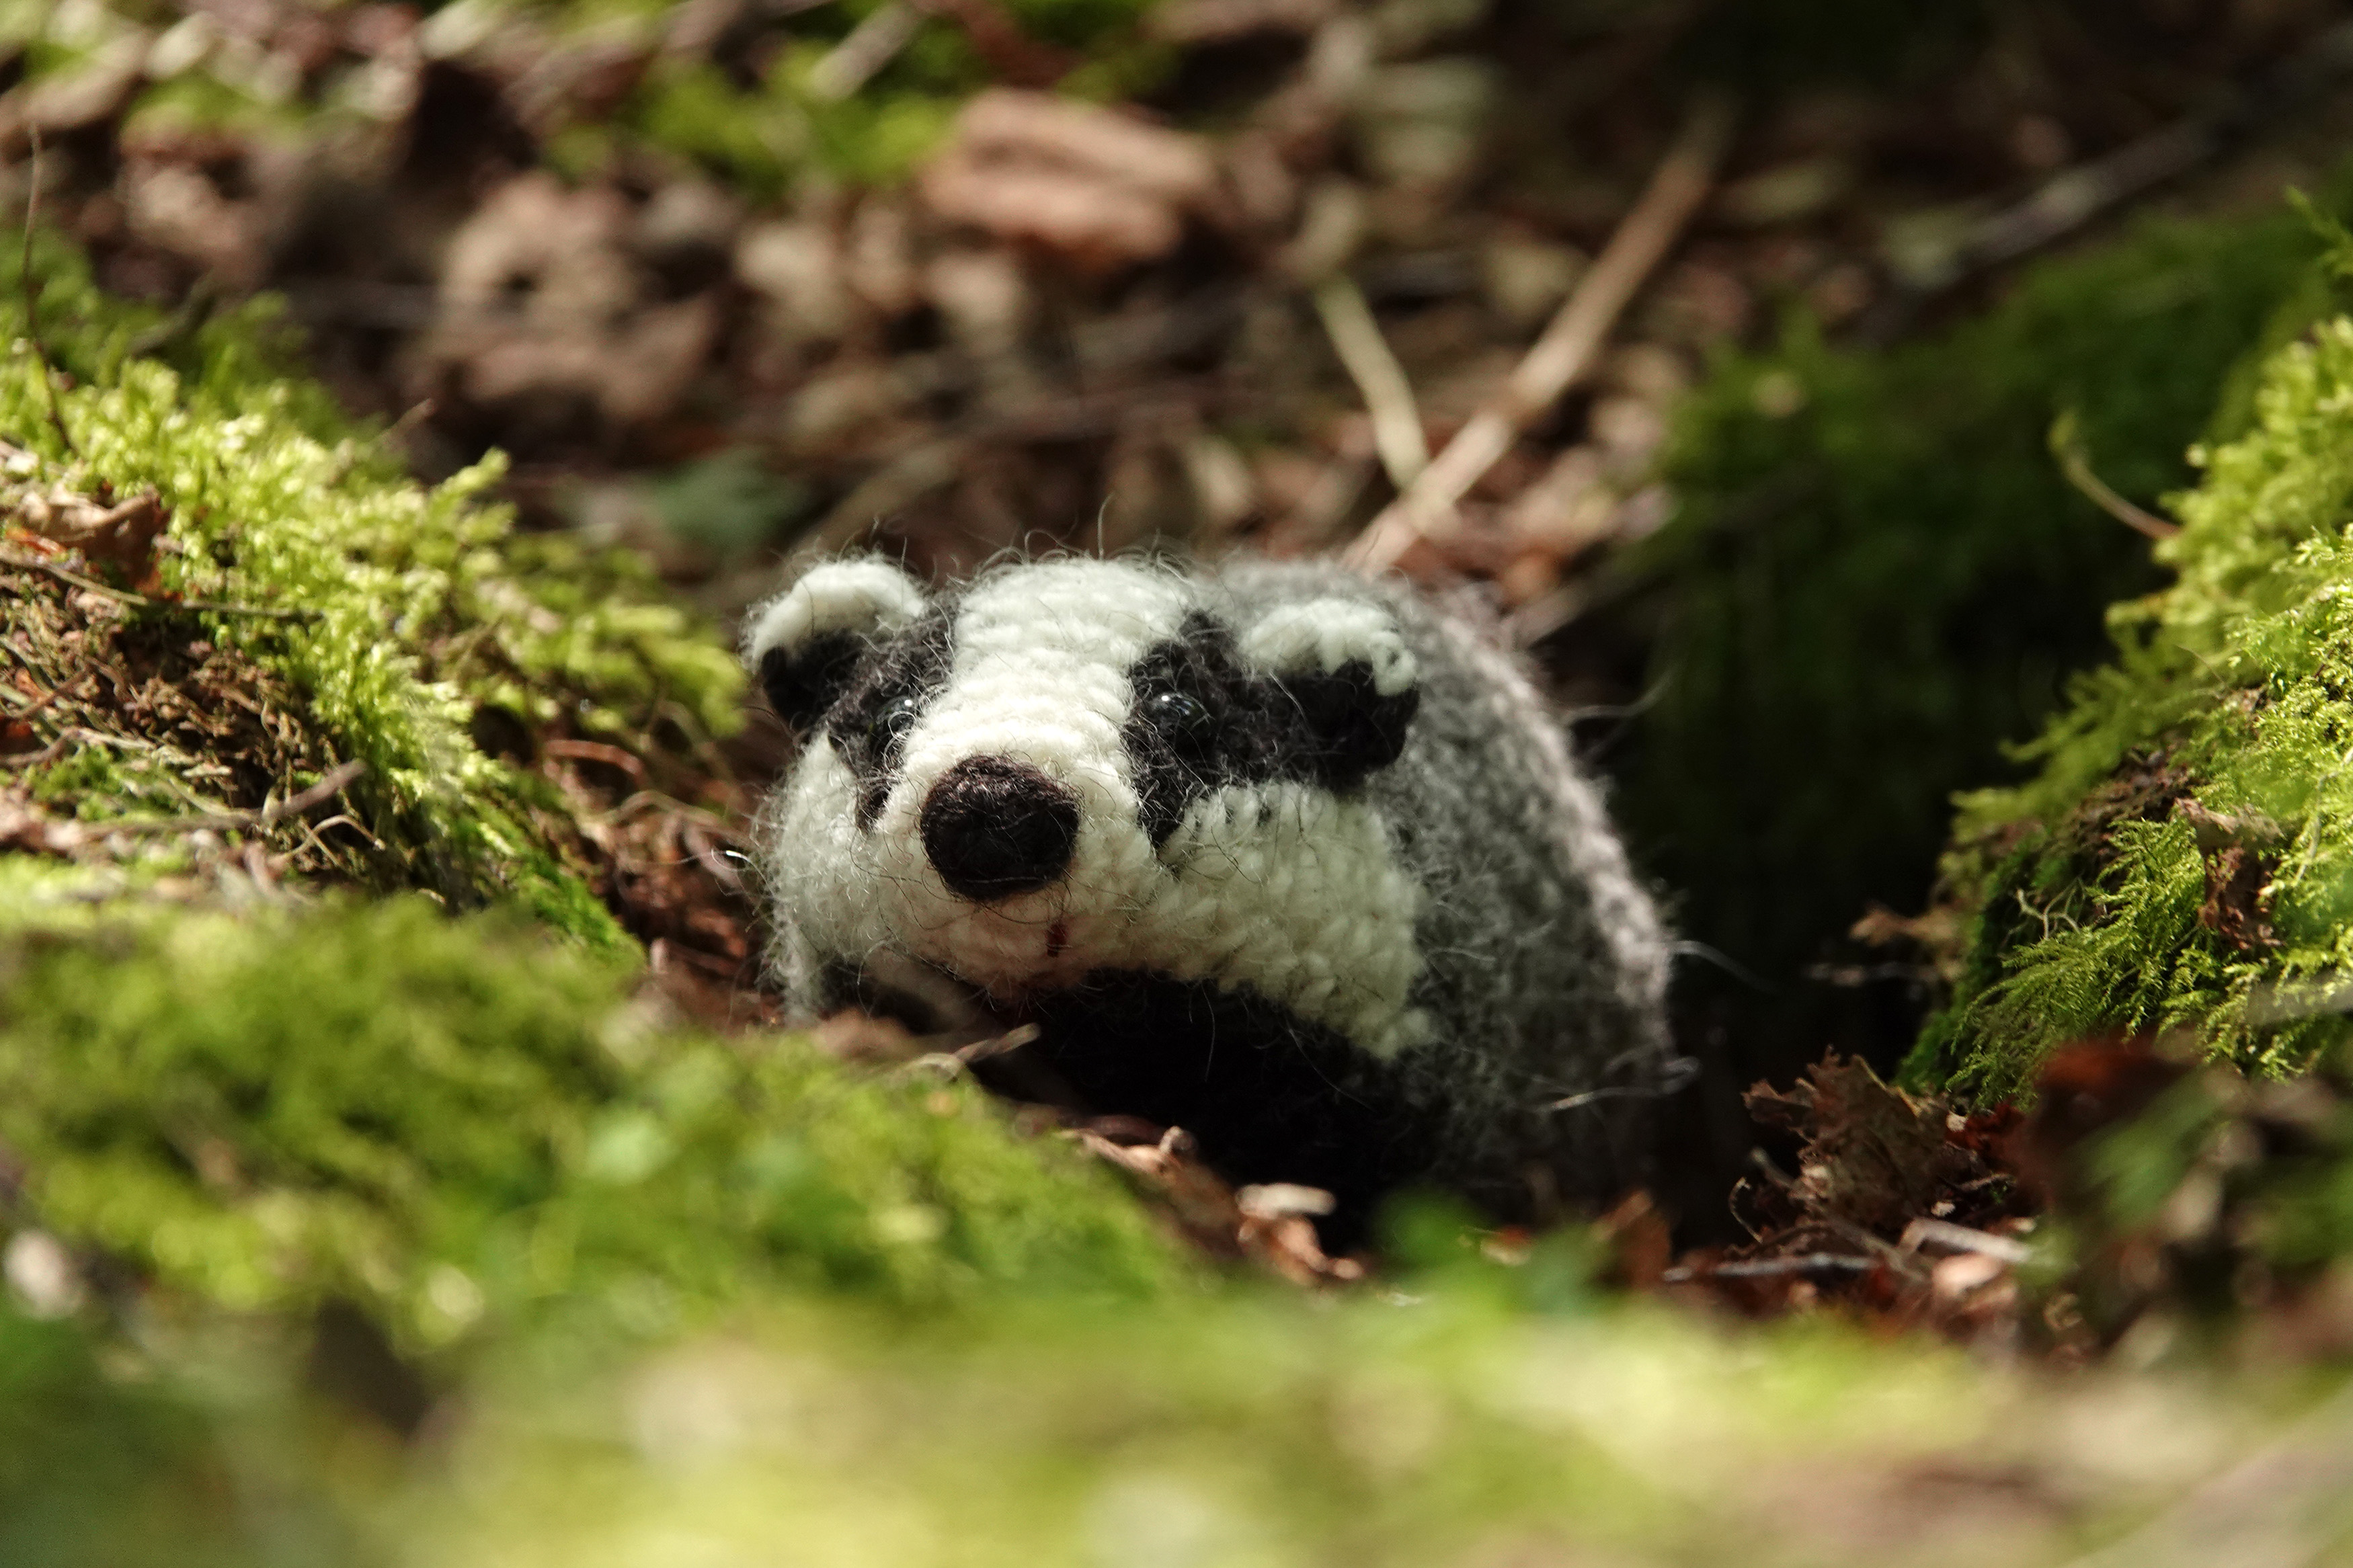
I always take my finished crochet animals outside for a photo in their “natural habitat,” and I did the same with Broebel. Our first trip didn’t go well: I was annoyed after failing to get a decent photograph of a rare bird, so I wasn’t in the mood to photograph Broebel. On the second trip I found a hole that looked like a badger’s burrow and made a fabulous picture of Broebel sitting in it. It may not be ideal for promoting the pattern because you only see the head, but I’m delighted to share it here

So yes, I’m really excited about this badger amigurumi. This opens doors for other animals that need this kind of body, like a bison, a beaver or a new guinea pig.

Below are more pictures of Broebel the realistic crochet badger, followed by information about the pattern and links to buy it. You can also buy it directly from me using this link; I’ll then email the pattern manually.

This is an easy pattern made with basic stitches, with each step explained in detail to ensure that even beginners can create this realistic badger amigurumi. My pattern format includes instructions like ‘sc in next, 2 sc in next, invdec,’ etc. I chose this format because it works better for creating realistic amigurumi.

This crochet badger is made with Istex Lett Lopi (a 100% wool yarn known for its fuzziness) and measures 6.6 inch / 17 cm measured from nose to tail. The pattern includes clear and colour-coded instructions on how to crochet and assemble the doll, along with instructional images with extra notes. You’ll also find pictures of the finished doll at the end. In the pattern, you’ll discover what materials you need as well as the yarn colour numbers, in short, everything necessary to create your own realistic owl amigurumi! All the additional information you need to know about this pattern you can find in the shop listings. You can purchase it in my shop at Ravelry or Etsy.

And heads up! This pattern has a permanent discount if you use this link. I will have to email the pattern manually so it can take a bit longer, but I promise, you’ll have it in a day. If not, check your spam and if it is not there either, message me to wake me up, as I might have fallen asleep or something…
Patterns

Flunsie, relaxed and realistic crochet badger pattern

My experimental holiday project has turned into this utterly cute crochet badger! I proudly present to you this exciting new pattern for Flunsie, the realistic relaxing badger.

realsitic crochet badger

You’re right to think this took me a long time, because it really did! It started out as a summer project, to try out new techniques with a different yarn. It seemed like a fun idea to make myself a badger in this (un)charming pose that I often see when I watch videos of badgers taken with wildlife cameras. When they come out of their set at night, they’ll often sit in front of it for a while scratching and washing, and I just love that silly look. It seemed like the perfect pose to try out a new technique: short rows to make the head and body as one piece. But there was one thing I overlooked in my enthusiasm: my favourite animal has a striped head, and short rows combined with stripes aren’t the easiest combination when trying this for the first time. It was a disaster, and I gave up. It was only when I started working again that I grabbed my courage and decided to give it one more go. If it would work, how awesome would that be?! It had to become a pattern, too, not just a doll for me.

I decided to use my beloved Lopi yarn instead of the DK yarn I tried during my vacation, to have something familiar to work with. I also had the notes I had made, so I didn’t have to start from scratch. My idea was to go slow, one row at the time, because eventually the colours should line up. That approach worked well because I wasn’t feeling any pressure. I could undo rows as often as needed, and after many attempts, I finally had a head with a neck in the shape I desired and with perfect black and white badger stripes. I was so delighted!

Designing the body was easier because no short rows were needed there. I also made a drawing to scale, so I could lay the badger on top of it to check if the size and shape were good. Designing the paws was manageable, because I could use paws from other creatures have I designed and I only needed to adjust them. I also had the idea to make the feet extra special by adding ‘animal’ prints to them, and when I tried it out it looked amazing, very suitable it for this amigurumi badger.

When I was working on the pattern, I got a funny image in my mind of a knitting badger. I remembered this tiny knitted hat I have, added some toothpicks as knitting needles, took a picture, and posted it on Instagram. Every time I look at it I smile, and everyone totally loved it. So if you feel like it, you could make a knitting badger yourself! Here are some more pictures of Flunsie, and below them you can find more info about the pattern and links to buy it, so read on!

Info about & links to buy the pattern

I’m rating this crochet badger pattern as ‘advanced’ in my shops, but hope I made it so easy to work with that less experienced crocheters can make it, too. The short rows may sound difficult, but you just go back and forth sometimes instead of working into a continuous spiral. I added lots of instruction photos so you can see how to do the short rows.

This badger is made with Istex Lett Lopi, a 100% wool with a lot of fuzziness. He’s 5.1 inch /13 cm high. The pattern contains a clear and colour-coded description of how to crochet and assemble the doll, with instruction images next to the text and example pictures at the bottom to help you get everything right. In the pattern you can also find what materials you need, the yarn colour numbers — in short, everything you need to know to make your own badger amigurumi. All the additional information you need to know about this pattern you can find in the shop listings. You can buy this pattern in my shop at Ravelry, Etsy or order it here.

And heads up! This pattern has a one dollar release discount till Thursday, the 8th of October!

Patterns

Realistic crochet badger pattern

realistic amigurumi crochet badger

This is the first animal I have made in a realistic position, well actually the second. Last year I made a guinea pig on all fours but lets be honest, guinea pigs are little potatoes and therefor not the hardest animals to make. This one was much more complicated. In the series of realistic animals I started with a badger because it is my favourite animal, but also because I thought the shape of a badger is easier to design than that of a fox or squirrel for example.

Despite thinking that, I had a hard time designing the body. When I had finished my first prototype, it looked like a potato with a badger head. How on earth would I get a proper badger shape? I got completely stuck there and had to stop and think about how I was going to design the body. After some thinking I had a few ideas and set behind my desk again. The first idea did not work, made the badger look like an armadillo. However, the second solution I had in mind did work. The thing was, I needed to get a shape where the paws seemed to come out of the fur instead of looking attached to it. The simple solution of shoulder and hip pathes did the trick. Even without the fur brushed, the badger looked like a sturdy burrower.

If you would ask me what I like most about this badger, it is the face. I am so happy with it. On my desk I have this framed postcard with a portrait of a realistic badger wearing a jumper. That serious badger is looking at me all the time and I used that face as my example. And the result is so similar I even surprised myself!

The good thing about this pattern is, I did all the hard work. All you crocheters need to do is follow the instructions, easy peasy. This is not a very complicated pattern to make.

In this image you can see how the badger looks before brushing, to get a better idea of the basics before you buy the pattern. My editor complimented me on how extensively I have written the assembling instructions.

I did that to be sure everyone gets all the pieces in the right place, with the correct distances between them etcetera.

Here are some more pictures of the finished badger amigurumi to get you all enthusiastic and below them you can find more info about & and links to buy the pattern.

Info about & links to buy the pattern

This crochet badger is made with Istex Lett Lopi, a 100% wool with a lot of fuzziness that works very well with brushing. He is 7.8 inch/ 20 long from tail to nose when made with this yarn.

The pattern contains a clear and colour coded description of how to crochet and assemble this animal, with extra illustrations and example pictures at the bottom to help you get everything right. In the pattern you can also find what materials you need, the yarn colour numbers, in short, everything you need to know to make your own realistic badger amigurumi. All the additional information you need to know about this pattern you can find in the shop listings. You can buy this pattern in my shop at Ravelry, Etsy or order it here.

This pattern has a one dollar release discount till Friday the 1st of December!

Patterns

My dapper crochet badger pattern

Dapper crochet badger

Doesn’t he look dapper, this cute crochet badger amigurumi? Almost a year ago I found in a local bookshop, this utterly amusing postcard with the portrait of a rather realistic badger wearing a striped sweater. It inspired me to make a little sweater pattern for Falun and of course I made a portrait of him wearing it. Some of you may even remember seeing it on my Instagram.

It was my intention to add the pattern for that sweater to Falun’s pattern, but somehow it never really came to it. Because of the lovely reactions I got after posting another picture on IG where Falun was wearing the sweater, I decided to update the pattern as soon as possible.

What has changed and what do you need to do if you already purchased the pattern?

The pattern is completely updated. Falun’s original body was on the chubby side, so I rewrote that part and made a better looking version. There is also an instruction for an even slimmer body, which will fit the dapper sweater. And last but not least, the instruction for the cute sweater is included in the pattern.

Good news for those of you who already have the pattern, you’ll receive an automatic update about this and can download the new version (for free) anytime you like, how about that!

If you don’t have the pattern yet, you can buy it in my shop at Ravelry, Etsy or order it from me here.

Now go and make yourselves a bunch of dapper creatures. Have a lovely end of summer dear crafters!