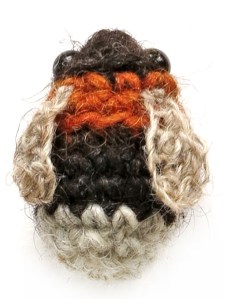
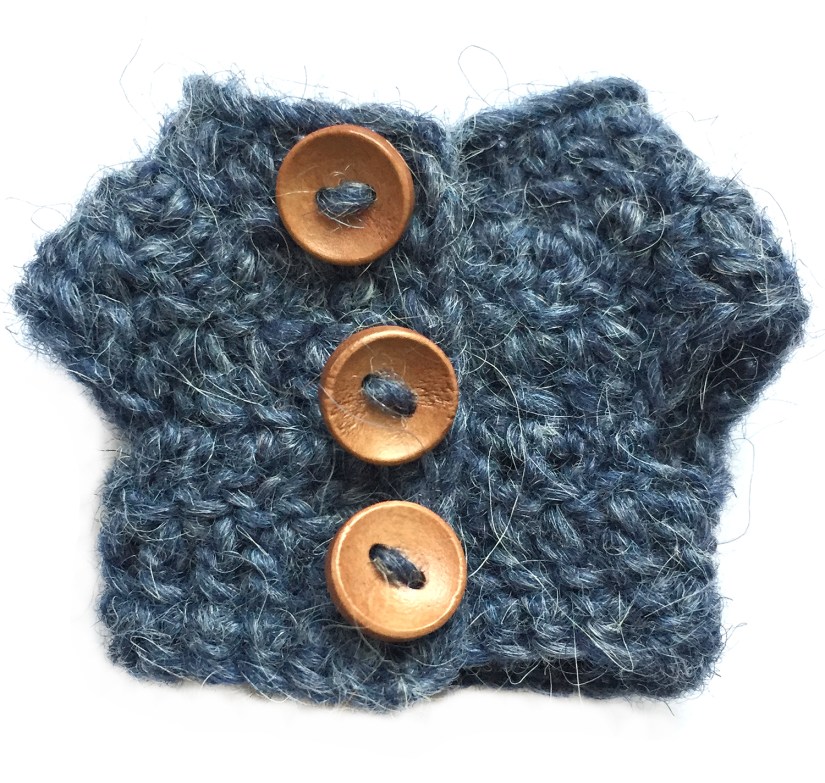
Maybe I should call it ‘Popke crochet cardigan pattern’. How cute is this?!


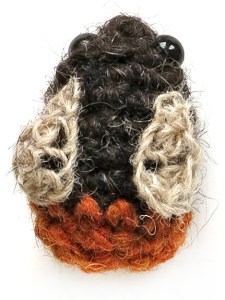
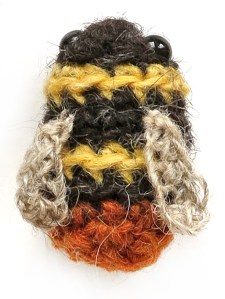
Most of you have already seen Poochey in his dapper outfit on my Instagram page and I got many requests for the little cardigan pattern. Because I wanted to design another little cardigan for the squirrel, I wanted to publish both when the squirrel was finished. And now is the time! Here are two free patterns for very trendy Popke cardigans. The cardigans are about the same size but the rabbit cardigan has different shaped sleeves, the squirrel cardigan doesn’t really have sleeves.
Instructions


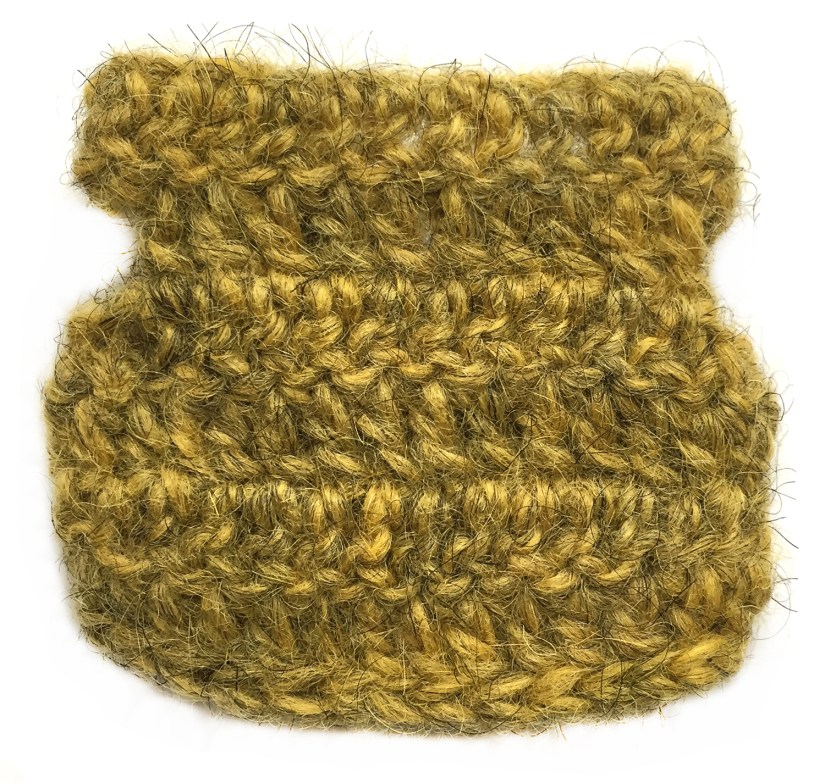
I’ll keep this pattern very basic. The cardigans are approximately 7 cm / 3 inch wide and high, when made with worsted weight yarn and hook 3.5 mm/ E. I’ve used Istex Lett Lopi for the cardigans, the same yarn as the animals are made with.
Abbreviations: ch = chain, sc = single crochet, st = stitch, sl st = slip stitch, hdc = half double crochet stitch, BLO = work in back (inside) loops only, lst = loop stitch, s2tog = invisible decrease, pm = place marker.
The cardigans are made in rows. After you’ve made the starting chain, you do a first dc in the 4th ch from hook. You’ve actually made two dc’s because the top of the chain that forms when you work into the 4th stitch will be the 1st dc. After each turn, you ch 3 and dc in 5th ch from hook. Here you also make two dc’s in one and by skipping the 1st dc (that’s why you work into the 5th st) you keep the stitch count the same. It’s useful to keep marking the 1st stitches, because you might overlook them.
Rabbit cardigan
1. ch 26, in 4th ch from hook dc (pm in 1 st before this dc), dc in next 22 = 24, turn
2. ch 3, in BLO: in 5th ch from hook dc (pm in 1 st before this dc too), dc in next, 3 dc in next, dc in next 4, 3 dc in next, dc in next 6, 3 dc in next, dc in next 4, 3 dc in next, dc in next 3 = 32, turn
3. ch 3, in 5th ch from hook dc (make sure to mark the right stitch as 1st), dc in next 2, 3 dc in next (this is in the middle st of the 3 you did in the previous row), dc in next 6, 3 dc in next, dc in next 8, 3 dc in next, dc in next 6, 3 dc in next, dc in next 4 = 40, turn
4. ch 3, in 5th ch from hook dc, dc in next 3, dc in next (in the middle of 3), skip 8 st, dc in next (middle of 3), dc in next 10, dc in next (middle of 3), skip 8, dc in next (middle of 3), dc in next 5 = 24, turn
5. ch 3, in 4th ch from hook dc, dc in next 22, 2 dc in last = 26, turn
6.ch 1, in 2nd ch from hook sc, sc in next 5, hdc in next 2, dc in next 10, hdc in next 2, sc in next 5, sl st in last = 26, weave in yarn end.
Now sl st a neat seam all the way around the cardigan (not the collar) by starting at the top left corner. Make sure you have the same number of stitches on each front. The unworked loops from round 2 should be on the inside of the cardigan. You can add some buttons if you like, there is enough space between the stitches to form the buttonholes.

Squirrel cardigan
1. ch 26, in 4th ch from hook dc (pm in 1 st before this dc), dc in next 22 = 24, turn
2. ch 3, in 5th ch from hook dc, dc in next 2, skip next 3, ch 4, dc in next 10, skip next 3, ch 4, dc in next 4 = 26, turn
3. ch 1, in 2nd ch from hook sc (1st stitch), sc in next 7, dc in next 10, sc in next 8 = 26, turn
4. ch 1, in 2nd ch from hook sc, sc in next 4, hdc in next 3, dc in next 10, hdc in next 3, sc in next 5 = 26, turn
5. ch 1, in 2nd ch from hook 2 sc, sc in next 4, hdc in next 3, dc in next 10, hdc in next 3, sc in next 4, 2 sc in next = 28, turn
6. ch 1, in 2nd ch from hook sc, sc in next 4, hdc in next 4, dc in next 10, hdc in next 4, sc in next 4, sl st in last = 28, weave in yarn end.
Now sl st a neat seam like you did for the other cardigan. I’ve added small beads as buttons because there isn’t much space between the stitches to form buttonholes. But there are of course alternative ways to create ‘buttonholes’.

Note: this 1st version of the pattern isn’t edited professionally as, just by me, so if you notice a mistake, please let me know.
Copyright © 2019 by Sonja van der Wijk.