Patterns

Personal use only

This weekend I got an email from someone, asking me if  I was okay with selling dolls made with my pattern. I was glad she asked me this, because I had to respond to her that I wasn’t okay with it.

I know some crochet character designers don’t mind it if people sell the dolls made with their pattern. But I do mind. I think it’s not fair to sell a doll which you didn’t design yourself. You are making money of someone’s else creations in some way. It’s not a very decent thing to do in my opinion.
Now I also know that when someone bought a pattern, they can do whatever they want with it, I can’t forbid anything. But I just hope ‘my customers’ understand my opinion about this and won’t sell the dolls.
In all my patters I’ll make a note that they are for personal use only, so for yourself or as a present, but not to make money with.
I hope you’ll understand.
 

Patterns

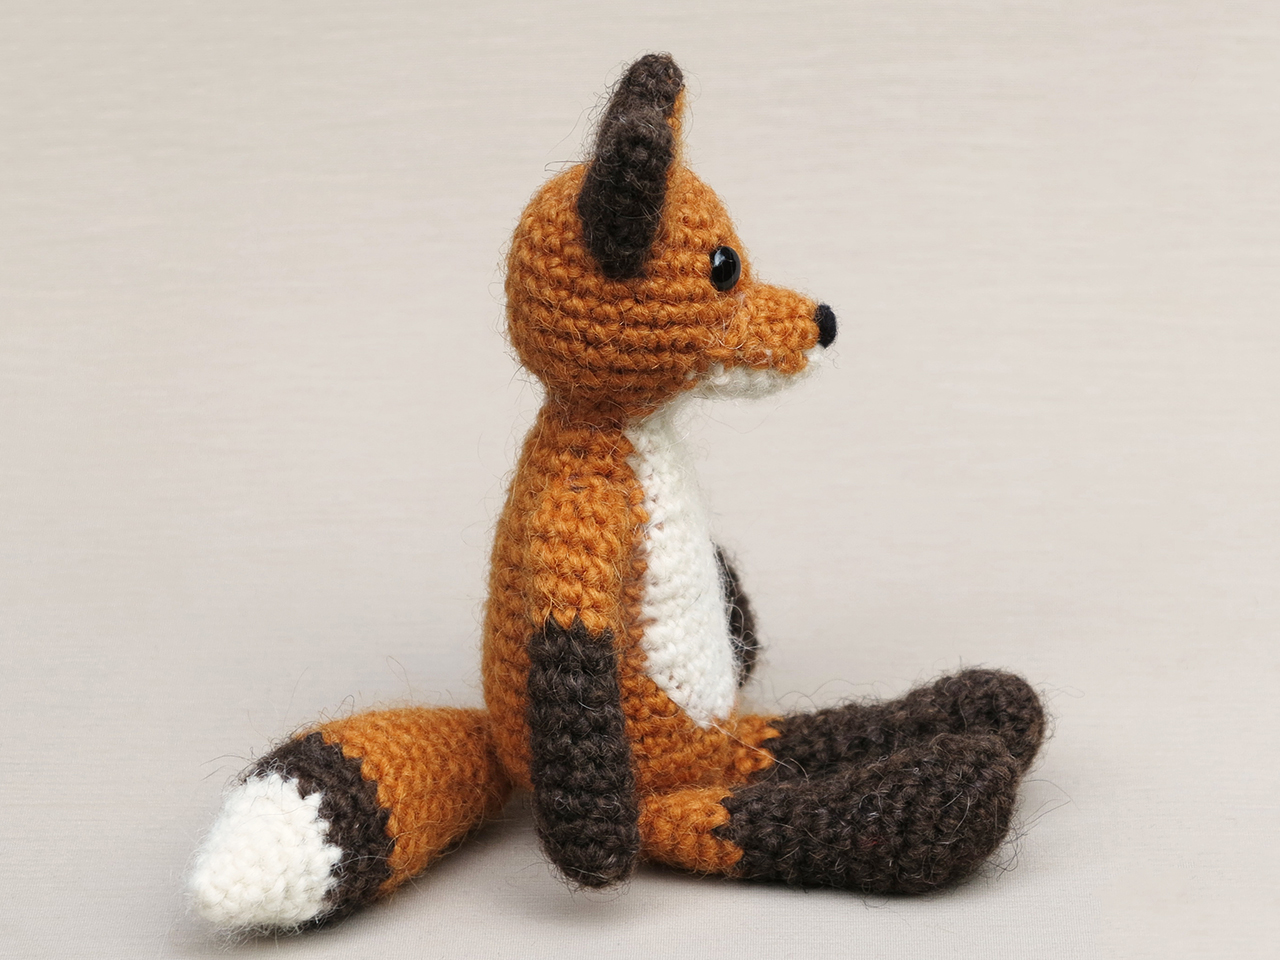
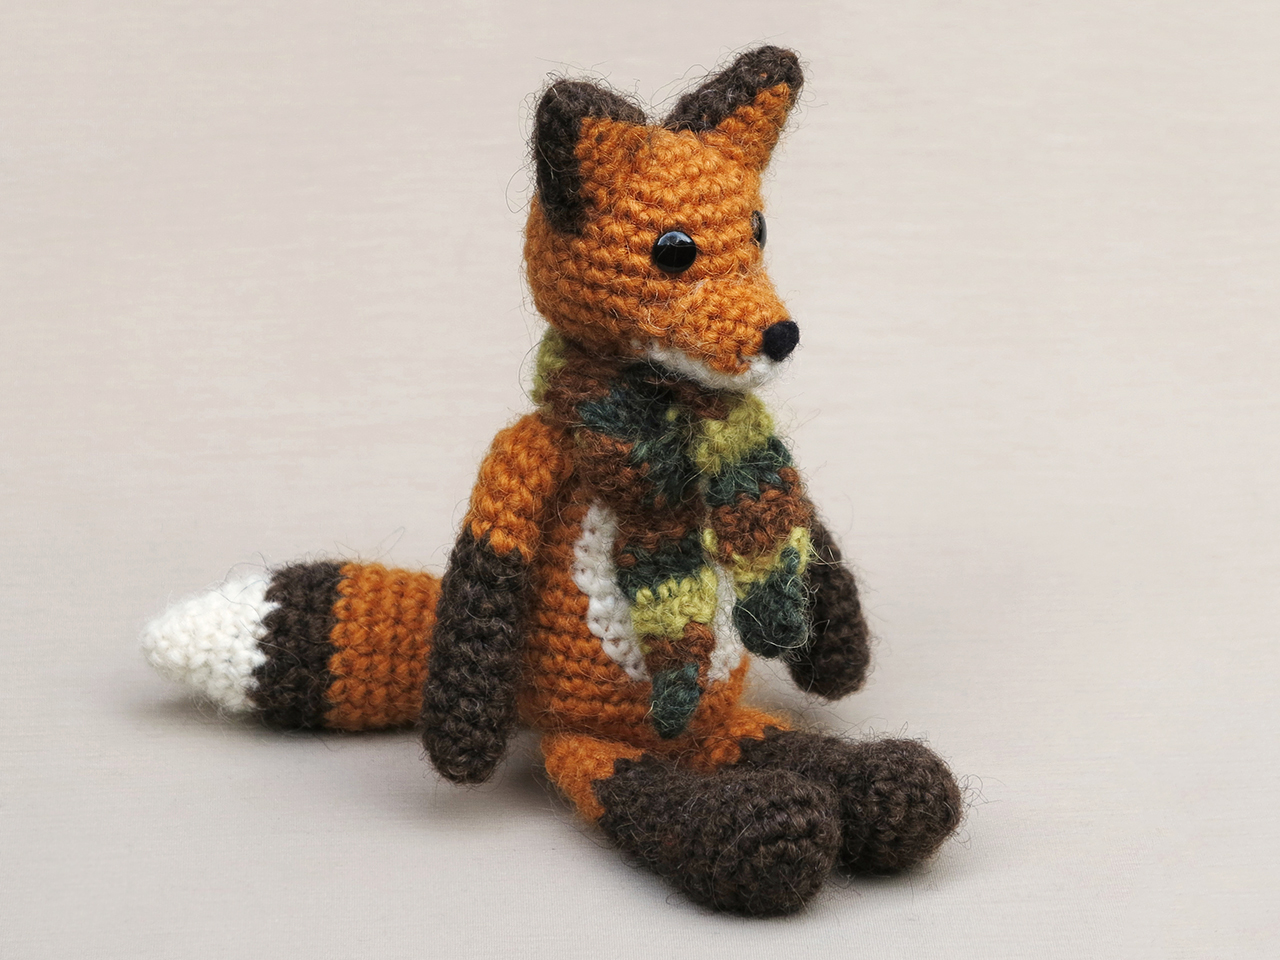
Flam, crochet fox pattern

Very playful, sturdy and cute. Meet my crochet fox amigurumi called Flam. Buy now – directly from me 🐱

Flam, crochet fox

When I first published this crochet fox pattern in 2014, I was just at the beginning of my career as crochet animal pattern designer. Back then, I didn’t know how things would go in the future and what I posted here at my blog did not look as professional as it does today. So that is why this post really needed to be updated, and so did the pattern.

In the original post, I wrote about how pleased I was that the crochet fox doll resembled the sketch I made quite well. I always use a sketch as a guidance for the crochet version. Flam turned out to be such a playful doll and I love every bit of him.

Flam himself hasn’t changed that much, how could I, he actually is my best selling pattern! However, I did change his body and white belly, so it would look much rounder and neater. What really needed an update were the pictures. Nowadays I add many images to a pattern. Some helpful images next to the instructions and much more at the bottom of the pattern of the completed animal from all angles. Flam’s pattern looks all shiny and new now.

Just look at these new images of my crochet fox, I am so happy with the result. Below them you can find info about and links to buy the pattern.

crochet fox

Info about & links to buy the pattern

This crochet fox amigurumi is made with Istex Lett Lopi, a 100% wool. Flam is sitting 5.6 inch / 14.5 when made with worsted weight yarn.

The pattern contains a clear and colour coded description of how to crochet and assemble this animal, with extra illustrations and example pictures at the bottom to help you get everything right. In the pattern you can also find what materials you need, the yarn colour numbers, in short, everything you need to know to make your own playful fox amigurumi. All the additional information you need to know about this pattern you can find in the shop listings. You can buy this pattern in my shop at Ravelry, Etsy or directly from me with the link below.

This pattern has a permanent discount if you use this link. Patterns purchased directly from me cost 5,00 eur. I will have to email the pattern manually so it can take a bit longer, but I promise, you’ll have it in a day. If not, check your spam and if it is not there either, message me to wake me up, as I might have fallen asleep or something…

Patterns

Witch hat pattern

Because Halloween is coming, I made a little free pattern to have fun with.

Teddy is! Or maybe not…..

Here’s the pattern, a picture of just the hat is below.

Crochet Witch Hat pattern.

For this pattern I used a fuzzy worsted weight yarn and a 3,5 mm / hook E. The hat is standing 10 x 12 cm / 3,9 x 4,7 inch.
The hat is made in the round in Double Crochet stitches. Join after each round and add a chain of 3 in the beginning of each round, as I’ve written in the pattern.

GO!

1. magic ring of 4 = 4, join
2. ch 1, sc in each st around = 4, join
3. ch 3, (dc in next st, 2 dc in next st) x2 = 6, join
4. ch 3, (dc in next st, 2 dc in the next 2 st) x2 = 10, join
5. ch 3, dc in next 2 st, 2 dc in next st, dc in next 4 st, 2 dc in next st, dc in next 2 st, = 12, join
6. ch 3, (dc in next st, 2 dc in next st) x6 = 18, join
7. ch 3, dc in each st around = 18, join
8. ch 3, dc in next 4 st, 2 dc in next st, dc in next 8 st, 2 dc in next st, dc in next 4 st = 20, join
9. ch 3, dc in next 4 st, 2 dc in next st, dc in next 9 st, 2 dc in next st, dc in next 5 st = 22, join
10. ch 3, (dc in next 10 st, 2 dc in next st) x2 = 24, join
11. ch 3, (dc in next 3 st, 2 dc in next st) x 6 = 30, join
12. ch 3, (dc in next 4 st, 2 dc in next st) x6 = 36, join.
13. ch 3, (dc in next 5 st, 2 dc in next st) x6 = 42, join, sl st, weave in end.

Little grey band
1. ch of 26, join.
2. ch 3, dc x 26, join and leave long tail for sewing band to hat.

DONE

Mistakes in this pattern? Nooooo, can’t be, well if so, let me know and I’ll fix it!


Patterns

A little autumn pattern

gehaakte eikels

This is a free acorn and nut pattern, for all of you who love autumn. I look forward to the autumn, with all those beautiful colours and leaves that flutter through the air. Even thinking of the moisty smell gives me a happy feeling.

So therefore and hereby, I’ve written a free acorn pattern in this post. The acorns and nut I made for Trin, but I thought it would be nice to offer them for free also.

Here’s the pattern.

Acorns

Bottom in mustard/ apple green or whatever you like.

1- magic ring of 4

2- (sc in next, 2 sc in next) x2 =6

3- (sc in next 2, 2 sc in next) x2 =8

4- (sc in next 3, 2 sc in next) x2 =10

5-6 sc in each around =10 (stuff acorn)

7- (sc in next 3 st, s2tog) x2 =8

8- s2tog x 4 =4, sl st and sew together, weave in end.

Top in dark green

1- magic ring of 5

2- 2 sc in each around =10

3- (sc in next 4, 2 sc in next) x2 =12

4- sc in each around =12, close with sl st and weave tail to top, so you can make a little loop (as stem), make sure your loop won’t close and use the rest of the tail to sew the top to the bottom of the acorn. I needle felted the loop at the top so it forms a tight stem.

Nuts

In brown and beige.

1- magic ring of 4

2- 2 sc in each around =8

3- (sc in next st, 2 sc in next st) x4 =12

4- sc in each around =12 (change colour in last loop and stuff)

5- (sc in next st, s2tog) x4 =8

6- s2tog x 4 =4, close and sew tight, weave in end.

Good luck and enjoy the autumn!


Patterns

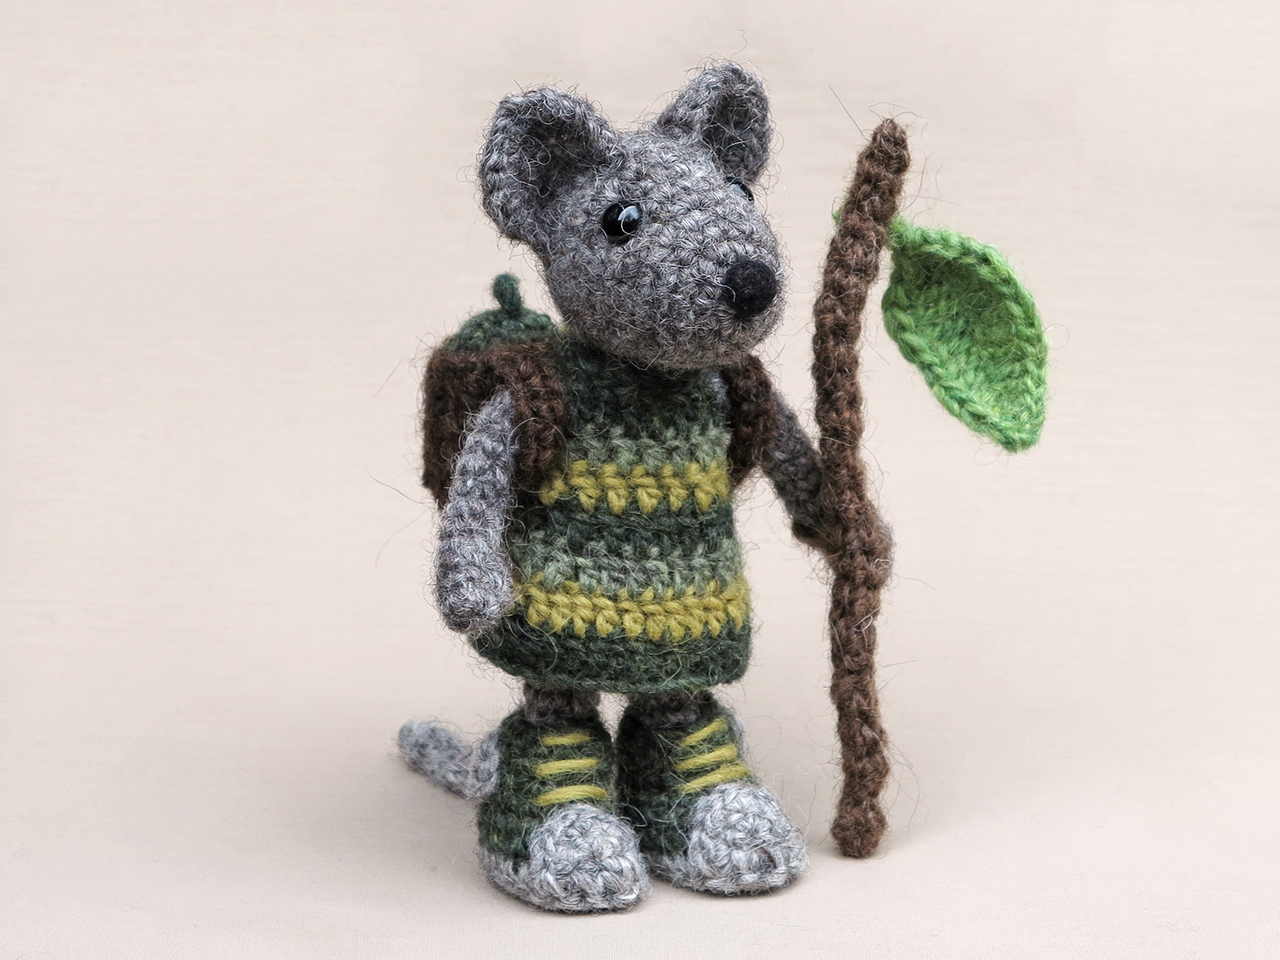
Trin, crochet mouse pattern.

My little friend of the forest, the adventurer mouse Trin, is finished. Buy now – directly from me 🐱

gehaakte muis, amigurumi mouse

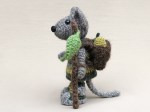
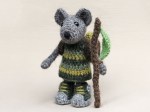
I’m very happy with the result. Making realistic crochet animals is fun, but designing a doll like this is exciting, because I create a completely new character, like a game figure. This crochet mouse amigurumi is an adventurer, travelling through the forest.

Trin is approximately 6.5 inch/16.5 cm tall when made with worsted weight yarn. I’ve used Istex Lett lopi to make this mouse, it is a 100% wool with a lot of fuzziness.

Because this is one of my first patterns, it received an update in march 2018. The new pattern is written like the free ones here, in standard American crochet terms. It contains a clear description of how to crochet and assemble this animal, with extra illustrations and example pictures at the bottom to help you get everything right. In the pattern you can also find what materials you need, the yarn colour numbers, in short, everything you need to know to make your own adventurer mouse. All the additional information you need to know about this pattern you can find in the shop listings.

You can buy this pattern in my Ravelry shop, Etsy shop or you can order it directly from me with the link below.

This pattern has a permanent discount if you use this link. Patterns purchased directly from me cost 5,00 eur. I will have to email the pattern manually so it can take a bit longer, but I promise, you’ll have it in a day. If not, check your spam and if it is not there either, message me to wake me up, as I might have fallen asleep or something…

The acorns you can also find in a free pattern here, ‘the oak leaves and acorns pattern‘.

Trin is extra special to me because he resembles the style of my illustrations. And he could easily be the character in a children’s book.

This mouse is called Trin because of the mouse we tried to safe from a cat attack in Trin-Mulin in Switzerland. The mouse died and the cat went home to his food bowl.


Patterns, Stories

Mouse crochet

After I’ve finished a painting I’m working on at the moment, I’m going to crochet a sturdy mouse, friend of the forest. He will be a grey, standing mouse, with cool boots and a striped little shirt. I’m thinking of making him something like this:

"mouse sketch"

And in these colours with a fuzzy wool:

I’m looking forward to having him :). But first that painting must be finished. I can’t stand unfinished work laying around.


"crochet bunny", "crochet rabbit", "gehaakte hangoor"
Patterns

Crochet lop rabbit pattern

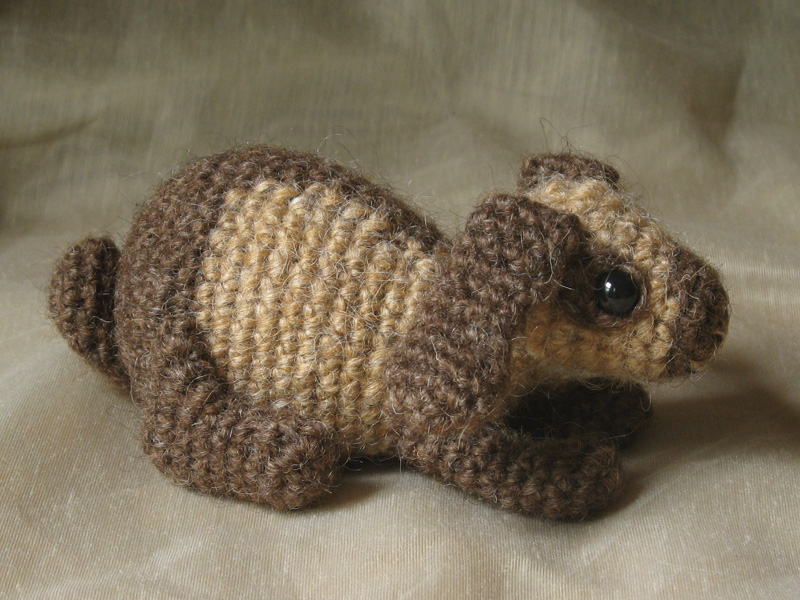
The crochet lop rabbit is finished! In my previous post I wrote about how I’d had some trouble getting everything right, but I did.

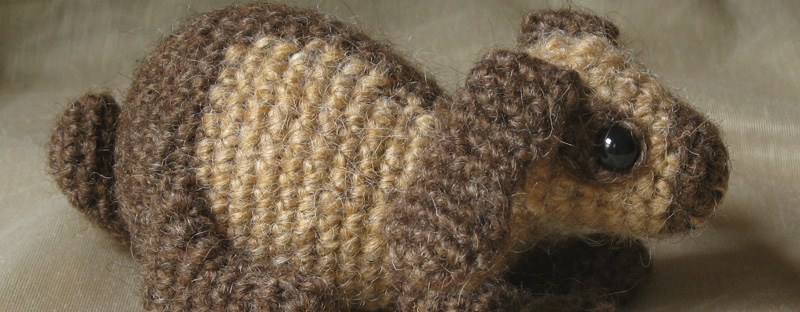
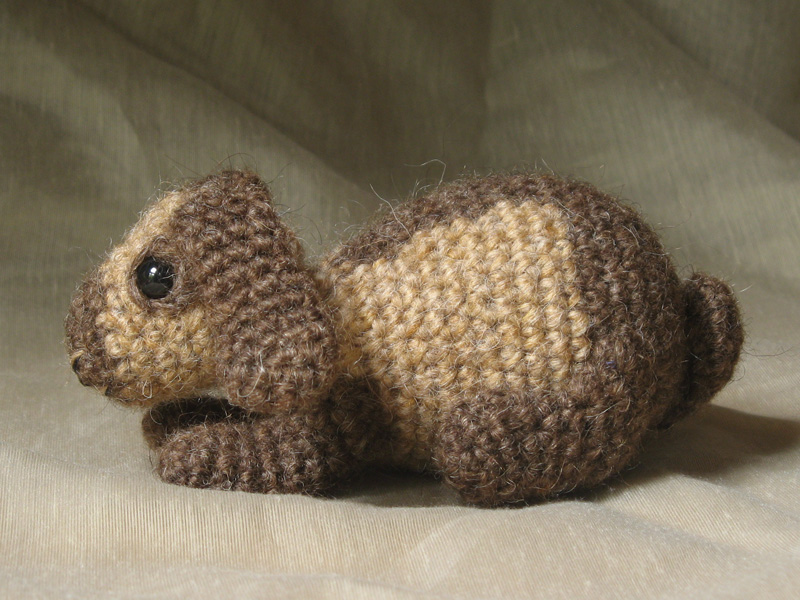
I’m proud to present my crochet lop rabbit, a crochet bunny with a true rabbit personality.

"gehaakte hangoor konijn"

"gehaakte hangoor, gehaakt hangoorkonijn, crochet lop rabbit"

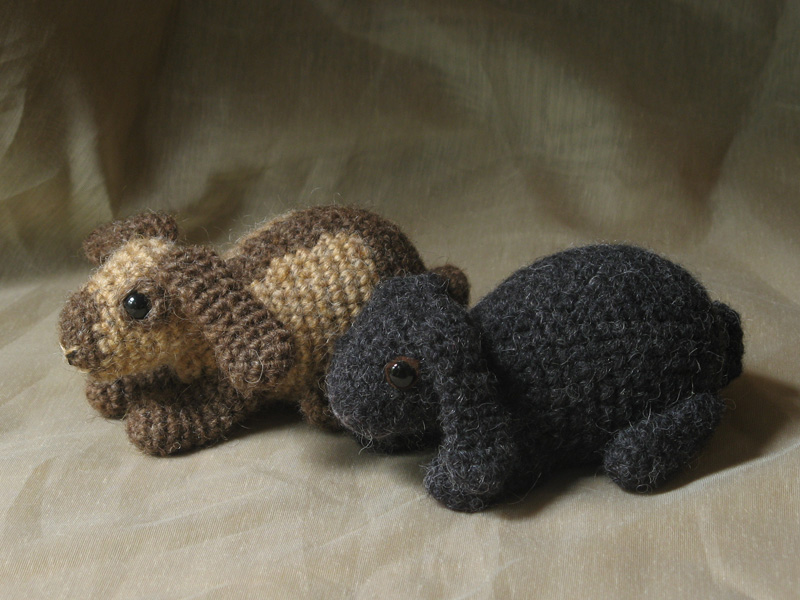
I think this bunny is an improved version of my first crochet lop rabbit. He looks a bit more sturdy I think. I’m really happy with the result. Many lop bunnies are two coloured, so I made a two coloured pattern. Grey and white is probably more common but I preferred to use more ‘wild’ colours. Here’s a picture of the new and the old version.

gehaakte hangoor konijnen

If you’re going to make this crochet bunny, the crocheting part is the easy part. You can of course also make a one coloured version, or a normal bunny, if you make the ears a little bit shorter. When you assemble the pieces, you give your rabbit his character and looks, so do it carefully.

The rabbit is 6 inch/15,3 cm long when made with worsted weight yarn. The pattern is written in standard American terms and contains a clear instruction of how to crochet and attach the rabbit. It also contains many instruction images to help getting the right result. You can find the crochet lop rabbit pattern in my shop and in my Ravelry shop. You can also order it directly from me here. Have fun in making him and if you have questions or comments, don’t hesitate.


Patterns

It turns out….

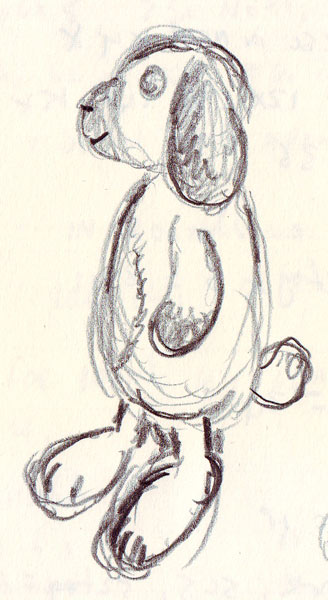
I’m making two lop rabbit patterns! You know it’s funny how the design process goes. I planned to make one better version lop rabbit, but that didn’t go the way I planned to. Whatever I’ve tried so far, it doesn’t look better than Boefje.

The new head looks great though, except when I attach it to the body. But I can’t just let the head go. It’s a sweet little bunny face that needs a body. So another kind of doll popped into my mind. This head asks for a more cartoon-ish body, like the bears, but with big flat bunny feet.

Designing stuffed animals can be a bit unpredictable sometimes. The sketches seem clear enough, but if it doesn’t work out in crochet I need to change plans, this time with a nice advantage. For the realistic lop rabbit I’ve found a solution too.


Patterns

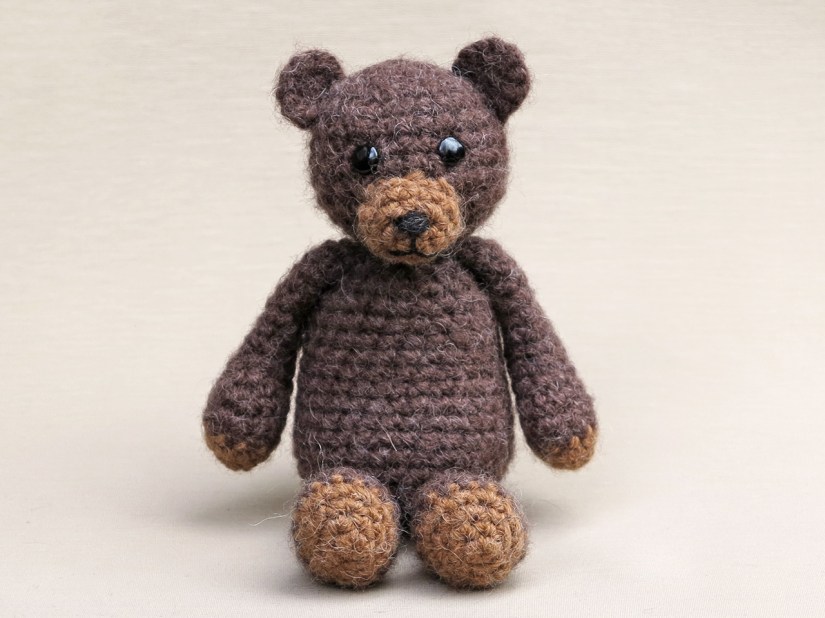
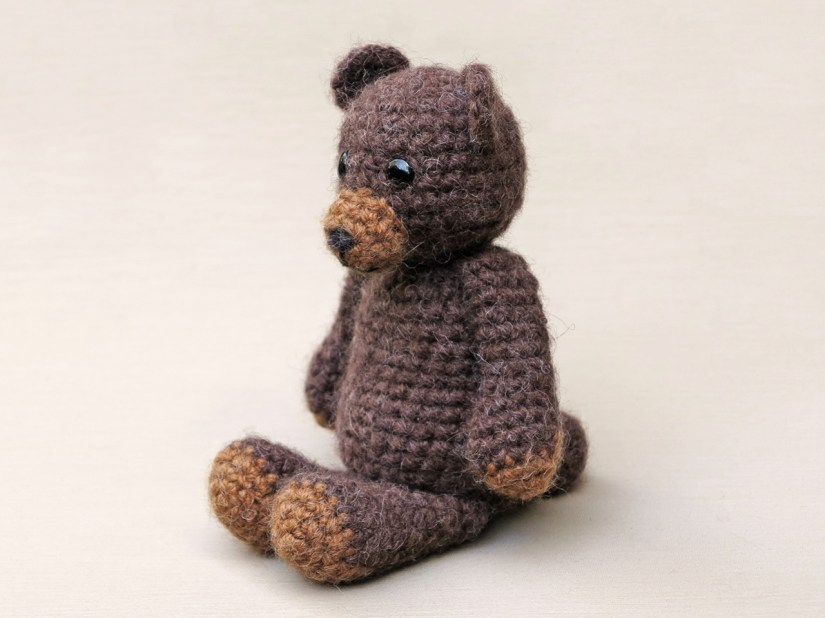
Teddy, crochet bear pattern

And this is Teddy, a very sweet and traditional looking crochet bear amigurumi. Buy now – directly from me 🐱

amigurumi bear, crochet teddy bear

Most of my crochet animals are made with Istex Lett Lopi, a rough and fuzzy 100% wool yarn from Iceland. But this Teddy bear I made with another kind of yarn. I found it in a local shop and just fell in love with it.

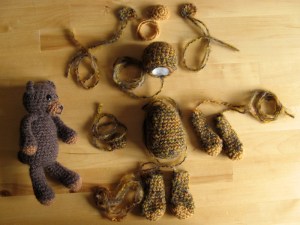
"gehaakte beer onderdelen"It was such a soft and beautiful coloured yarn, just perfect for a little Teddy. All I remember is that it was a Phildar worsted weight yarn. It’s not available anymore but that doesn’t really matter, there are so many suitable yarns to make a cute Teddy and I bet it isn’t hard to find these colours.

I designed this bear as a ‘quick to crochet’ pattern. It will only take you a day to make this bear. It’s not a big bear, but if you want to make a bigger bear, just use the heaviest yarn and the hook that works best with it to get a significantly larger bear.

Here are some more pictures of the finished crochet bear and below them you can find info about & links to buy the pattern.

This crochet bear amigurumi is made with fuzzy worsted weight yarn. The pattern is written in standard American crochet terms. Teddy is sitting 5.5 inch / 14 cm. The pattern contains a clear and colour coded description of how to crochet and assemble this animal, with extra illustrations and example pictures at the bottom to help you get everything right. In the pattern you can also find what materials you need, the yarn colour numbers, in short, everything you need to know to make your own sweet Teddy bear. All the additional information you need to know about this pattern you can find in the shop listings.

The pattern for this crochet teddy bear you can find in my Ravelry shop, Etsy shop or you can order it directly from me with the link below.

This pattern has a permanent discount if you use this link. Patterns purchased directly from me cost 5,00 eur. I will have to email the pattern manually so it can take a bit longer, but I promise, you’ll have it in a day. If not, check your spam and if it is not there either, message me to wake me up, as I might have fallen asleep or something…

I hope you enjoy making this crochet teddy bear!