Patterns

Wasby, crochet raccoon pattern

What’s with all that racket? It is Wasby, my new crochet raccoon pattern. Here he finally is! I’ve called him Wasby, as raccoons are called ‘wasbeer’ in Dutch. With a nice frontal picture, meet my crochet raccoon! Buy now – directly from me 🐱
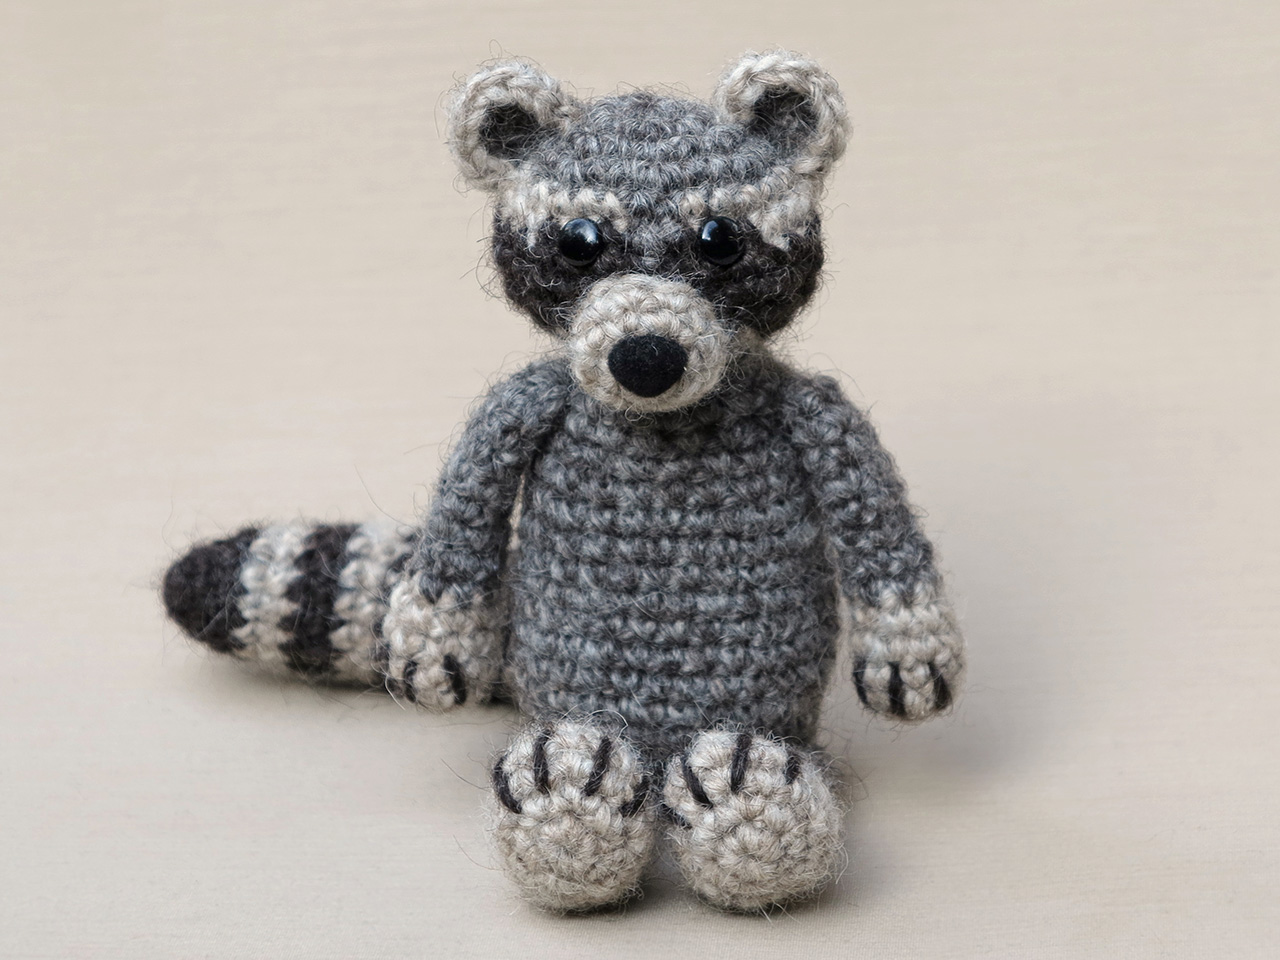
This crochet raccoon pattern was a bit of a tricky one to make. When I started, I had many ideas of how to make this animal. I didn’t want the head to be round but it had to have wide cheeks like a real raccoon. The thing I had in mind of how to shape those cheeks didn’t work out that wel, so I had to think of something different. Also, the raccoon should not become too chubby, but just a bit, which meant I had to make a bunch of bodies before I got the right size. I wasn’t sure about the right colour for the hands and feet….dark or light? I made some test versions and decided to go for light and added some extra little details with the dark yarn.

I am very pleased with the end result. Wasby has become the raccoon doll I pictured. He has the right proportions and I love his realistic looking face. The fun thing about patterns like these are, you can do whatever you like, if you prefer dark feet, just go for dark. I’ve chosen rustic colours to make this raccoon, but white, grey and black will do too. You could even give the raccoon a more brown fur colour instead of grey.

Here are some more pictures of Wasby and below them you can find info about and links to buy this pattern.

Isn’t he a ferocious little crochet raccoon? This is my favourite picture of him. Wasby is sitting 5.1 inch/ 13 cm tall. He is made with Lett Lopi, a 100% wool. I have chosen to use a light beige for the light parts of the raccoon and the darkest brown you can find for the dark parts. It gives him a more warm and rustic look. In the pattern you can find a clear and colour coded description of how to crochet and assemble this animal, with extra illustrations and example pictures at the bottom to help you get everything right. In the pattern you can also find what materials you need, the yarn colour numbers, in short, everything you need to know to make your own whimsical raccoon amigurumi. All the additional information you need to know about this pattern you can find in the shop listings.

The crochet pattern for Wasby the raccoon you can find in my shop at Ravelry, Etsy or you can order it directly from me with the link below.

This pattern has a permanent discount if you use this link. Patterns purchased directly from me cost 5,00 eur. I will have to email the pattern manually so it can take a bit longer, but I promise, you’ll have it in a day. If not, check your spam and if it is not there either, message me to wake me up, as I might have fallen asleep or something…

Patterns

Free mini Santa hat pattern

This is a little gift pattern, a Santa hat for all our Popkes. I was making a little Santa hat for Falun, so he can wear it when he’s posing for my Christmas card, when I realised this could be a fun pattern for all of you.

crochet santa hat pattern

Flims agreed to model for this hat on this dark and cold day….

The Santa hat pattern is very simple and quick to crochet, you can make a bunch in a day if you like. Not all dolls are the same size, so this hat can be easily adjusted to fit every doll, by simply adding a few rounds (explained in the pattern). This hat does fit Flims, Falun, Danylion and Floro (however, Floro thinks it doesn’t look very good on him), if it’s made with the same yarn as they are.

Mini Santa hat pattern

To make this pattern you need worsted weight yarn and hook E US/ 3,5 mm. I’ve used Lett Lopi wool to make the hat, colours white 0051 and dark red 1409. You need sewing materials and a hard brush to get the fuzzy fluff ball and brim. You also need crochet animals to put the hat on.

free crochet santa hat pattern

The red part, work in rows.

1. magic ring of 6 = 6 (really?)

2. sc in each around = 6, close with sl st.

3. ch 2, (dc in next 2, 2 dc in next) x 2 = 8, sl st,

4. ch 2, (dc in next 3, 2 dc in next) x 2 = 10, sl st.

5. ch 2, (dc in next 4, 2 dc in next) x 2 = 12, sl st.

6. ch 2, (dc in next 3, 2 dc in next) x 3 = 15, sl st.

7. ch 2, (dc in next 4, 2 dc in next) x 3 = 18, sl st.

8. ch 2, (dc in next 8, 2 dc in next) x 2 = 20, sl st.

9. ch 2, (dc in next 9, 2 dc in next) x 2 = 22, sl st.

10. ch 2, (dc in next 10, 2 dc in next) x 2 = 24, change colour to white in sl st. If you need a bigger mini hat, don’t change to white just yet and continue like above by adding two stitches each round, till your hat is the right size. Keep in mind there will be white folded rounds (three rounds of sc’s) below the red part of the hat.

11. ch 2, (dc in next 11, 2 dc in next) x 2 = 26, sl st.

12. ch 1, sc in each around = 26, sl st.

13. ch 1, sc in each around = 26, sl st.

14. ch 1, sc in each around = 26, close with sl st and leave a tail for sewing.

Now fold the white rounds upwards, so your hat will have a nice and thicker brim. Make sure you don’t see red on the brim. Sew it tight with the tail you had left.

 Little fluff ball.

1. magic ring of 5

2. 2 sc in each around = 10

3-5. sc in each around = 10

6. (sc in next 3, s2tog) x 2 = 8, sl st and leave tail.

Attach the little ball to the hat by shoving the hat a bit in the gap of the ball. When it’s in the right place, carefully sew it tight and brush it. Also brush the brim of the hat. To get a real Santa hat effect for the white part, cut the too long hairs off so it’ll be hairy but not too much.

At the end of the proces, you can sew the hat together at a point to get it looked bend. I sewed it just above the white brim.

Thadah! It’s finished. Here are some more pictures of this cute little hat.

crochet santa hat

hat-inside

 Note: It’s not permitted to put this hat on real animals, they don’t like it, it reduces their self confidence and they don’t think it’s very funny either.


Patterns

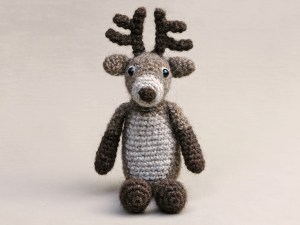
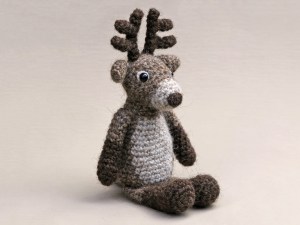
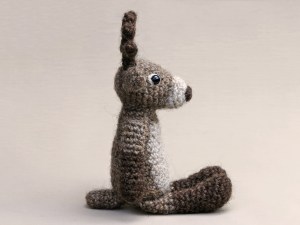
Rupert, crochet reindeer pattern

Meet Rupert, a distant relative of Rudolph. He’s a crochet reindeer that feels like winter, with hot coco and chocolate chip cookies. Buy now – directly from me 🐱

crochet reindeer pattern, haakpatroon rendier, red nosed reindeer, rudolph

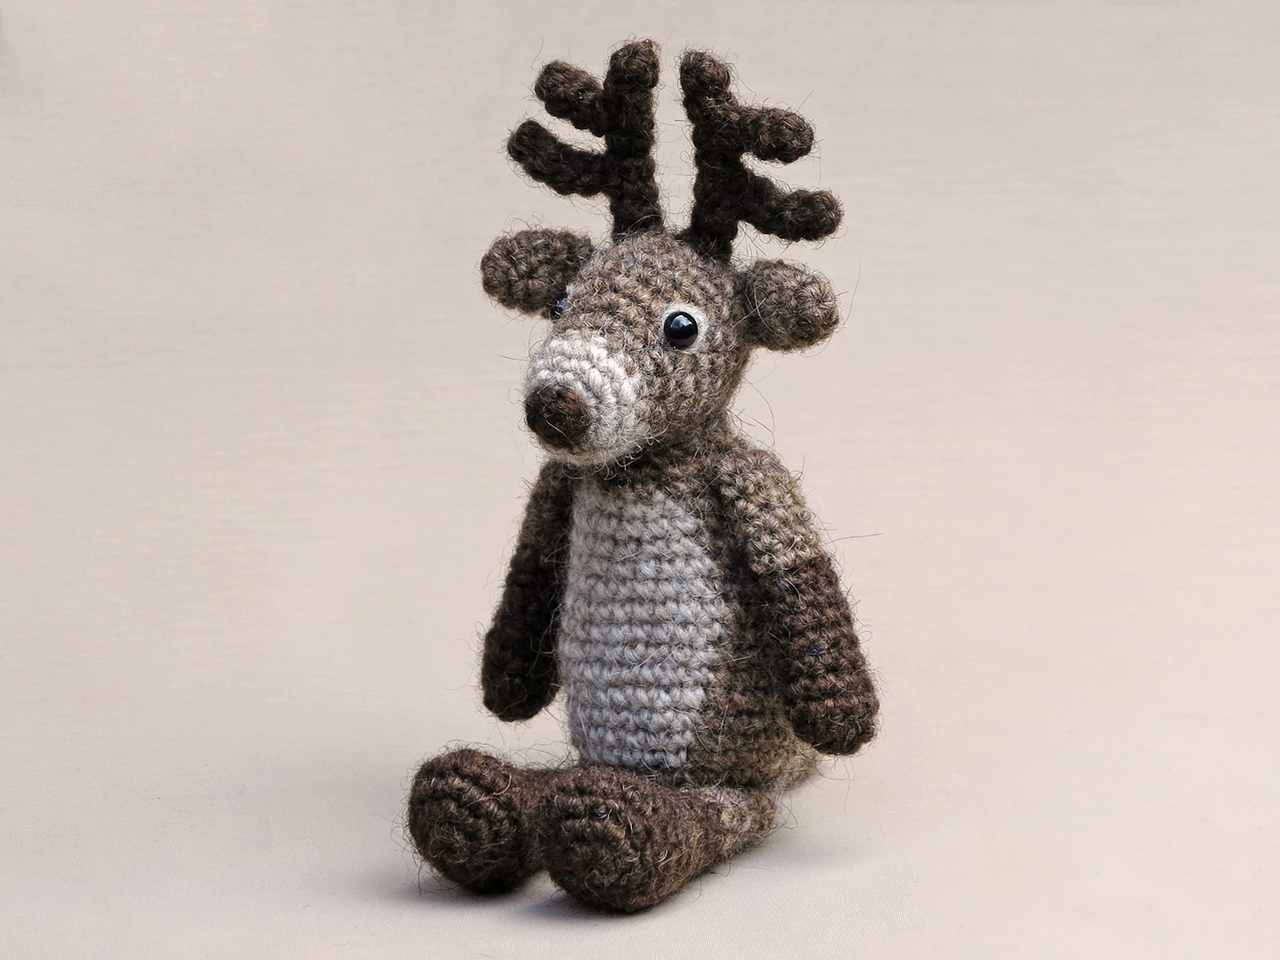
This time,  my goal was to create an original crochet reindeer pattern, which also easily can be turned into a Rudolph red nosed reindeer. When I choose the colours for Rupert, I almost couldn’t wait to see the end result. And he turned out exactly as I hoped for, I absolutely love the colour combination. He looks so rustic and warm. Also, a dark red nose will look beautiful with these colours.

I wasn’t sure to give Rupert eyepatches, because reindeer have these light eyelids but adding big eye patches did’t feel right, so I decided to go for simple embroidered lines neatly around the eyes. They make him look just as enthousiastic as in the sketch.

The antlers were also something I worried a bit about when I was working on this crochet reindeer pattern, because they needed to be in balance with the rest of the head. I was afraid they would look too big. But that isn’t at all how it turned out, they look perfect. I know real reindeer have much larger antlers, but it has to look nice on a crochet doll.

Here are some more pictures of this cute and rustic reindeer amigurumi and below them you can find info about and links to buy the pattern. As I mentioned above, Rupert is Rudolphs cousin and not in Christmas spirits all year long, but I did made him a nice bell he can wear around Christmas.

Rupert is made with Istex Lett Lopi, a 100% wool. It’s a lovely rustic and fuzzy yarn and is perfect for this crochet animal. Rupert is sitting 6.7 inch/ 17 cm tall. The pattern contains a clear and colour coded description of how to crochet and assemble this animal, with extra illustrations and example pictures at the bottom to help you get everything right. In the pattern you can also find what materials you need, the yarn colour numbers, in short, everything you need to know to make your own rustic reindeer. All the additional information you need to know about this pattern you can find in the shop listings.

The crochet pattern for Rupert you can find in my shop at Ravelry, Etsy or you can order it directly from me with the link below.

This pattern has a permanent discount if you use this link. Patterns purchased directly from me cost 5,00 eur. I will have to email the pattern manually so it can take a bit longer, but I promise, you’ll have it in a day. If not, check your spam and if it is not there either, message me to wake me up, as I might have fallen asleep or something…

I hope Rupert meets up to your expectations, happy crocheting!

Patterns

Flims, crochet hedgehog pattern

The hedgehog crochet pattern is finished, and just in time because it’s really autumn now, the perfect season to crochet hedgehogs! My previous post already showed a glimpse of Flims, but here he is in his full glory. Buy now – directly from me 🐱

Crochet hedgehog pattern, amigurumi hedgehog, haakpatroon egel

When I started working on this crochet hedgehog pattern, I wasn’t sure how to create the hedgehog prickles. I tried several techniques but they all had cons that would influence the end result. For instance, I thought the loop stitch would give the perfect prickly effect, but the loops form in the inside of the head and turning it around wasn’t an option because that would leave sloppy colour changes. Neither do I like the texture of the inside.

I decided to go for brushing and I’m absolutely glad I did. Flims is a soft animal plushy and I love him. He now is very cuddly and also has hedgehog features, because of his little snouty face, shape and colours. Flims is the soft amigurumi version of his prickly twin.

Here are some more pictures and below them you can find info about and links to buy the pattern.

Flims is sitting 5 inch/13 cm tall, he is made with Istex Lett Lopi, a 100% wool with a lot of fuzziness that works very well with brushing. I’ve used three colours of yarn and the furry back is one of those three colours but brushed with a hard brush.

The pattern contains a clear and colour coded description of how to crochet and assemble this animal, with extra illustrations and example pictures at the bottom to help you get everything right. In the pattern you can also find what materials you need, the yarn colour numbers, in short, everything you need to know to make your own prickly but soft hedgehog amigurumi. All the additional information you need to know about this pattern you can find in the shop listings.

You can buy this pattern in my Ravelry shop, Etsy shop or you can order it directly from me with the link below.

This pattern has a permanent discount if you use this link. Patterns purchased directly from me cost 5,00 eur. I will have to email the pattern manually so it can take a bit longer, but I promise, you’ll have it in a day. If not, check your spam and if it is not there either, message me to wake me up, as I might have fallen asleep or something…

I hope everyone will enjoy making this hedgehog as much as I did.

Patterns

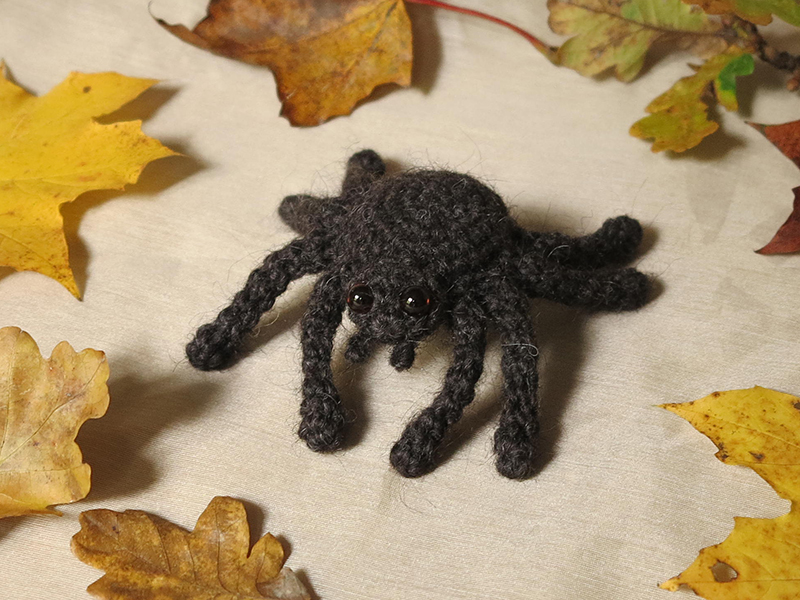
A free Halloween pattern, Mr. Creeper the spider.

Halloween is something that isn’t celebrated in the Netherlands, but I would love it. It looks and sounds like an exciting time with fun ‘rituals’ and attributes.

As a thanks to all of you who bought my patterns and because it’s just fun, I designed a cuddly Halloween spider. A fearsome fuzzy crochet spider called Mr. Creeper.

A warning for scared mums….here he is!

gehaakte spin, amigurumi spider, crochet spider

And now, the pattern to make Mr. Creeper.

For this pattern you’ll need worsted weight yarn and hook US E/3,5 mm. to get an approximately 6 inch / 15 cm tall spider, measured from front to back paw. I used the darkest brown colour of Lètt Lopi, a 100% wool. You will also need fiberfill, animal eyes, I used 7 mm eyes. Safety eyes with big backs won’t fit in the head so make sure you are going to use eyes that do fit. You also need pipe cleaners for the legs, so you can bend them into shape.

 Body

1. magic ring of 6

2. 2 sc in each around = 12

3. (sc in next, 2 sc in next) x 6 = 18

4. (sc in next 2, 2 sc in next) x 6 = 24

5. 2 sc in next 2, sc in next 10, 2 sc in next 2, sc in next 10 = 28

6-7. sc in each around = 28

8. s2tog, sc in next 10, s2tog x 2, sc in next 10, s2tog = 24

9. (sc in next 2, s2tog) x 6 = 18

10. (sc in next, s2tog) x 6 = 12

11. s2tog x 6 = 6

Now close the gap by putting the needle from the inside out, trough all the outside loops of the 6 st, clockwise. If you do it correctly, you can now pull the tail and it will close the gab. Sew in the end.

 Head

1. magic ring of 5

2. 2 sc in each around = 10

3-4. sc in each around = 10

Leave tail for sewing.

Legs (make 8)

1. magic ring of 4

2-11. sc in each around = 4

Leave tails for sewing. You can now insert the pipe cleaners. Stretch the paws so they get the length you want them to have and leave a bit of pipe cleaner sticking out, which you can later push into the body.

 Jaws

ch of 2, in 2nd ch from hook sl st. (leave both tails long enough for sewing)

 Assembling the spider.

Finish the spiders face by attaching the eyes and sew on the jaws. I sewed Mr. Creepers jaws tight by sewing both ends to the head. Now you can attach the head to the body. After this I attached the paws neatly opposite to each other, by pushing in the ends of the pipe cleaners. If they are in the right spots, sew them tight.

Ah, now he’s finished! Here’s another image to help you get everything right.

Spider

Happy Halloween!


Patterns

Balloo, crochet sheep pattern

My favourite moment of designing crochet patterns is when my new doll is finished and I can take pictures of it. It’s so much fun to do, playing with my fuzzy new friend and I can see the finished project for the first time with a fresh view. After a long time working on a project, I become sort of over-critical and can’t see clearly how it looks anymore. But when the pictures are finished I get all happy and proud.

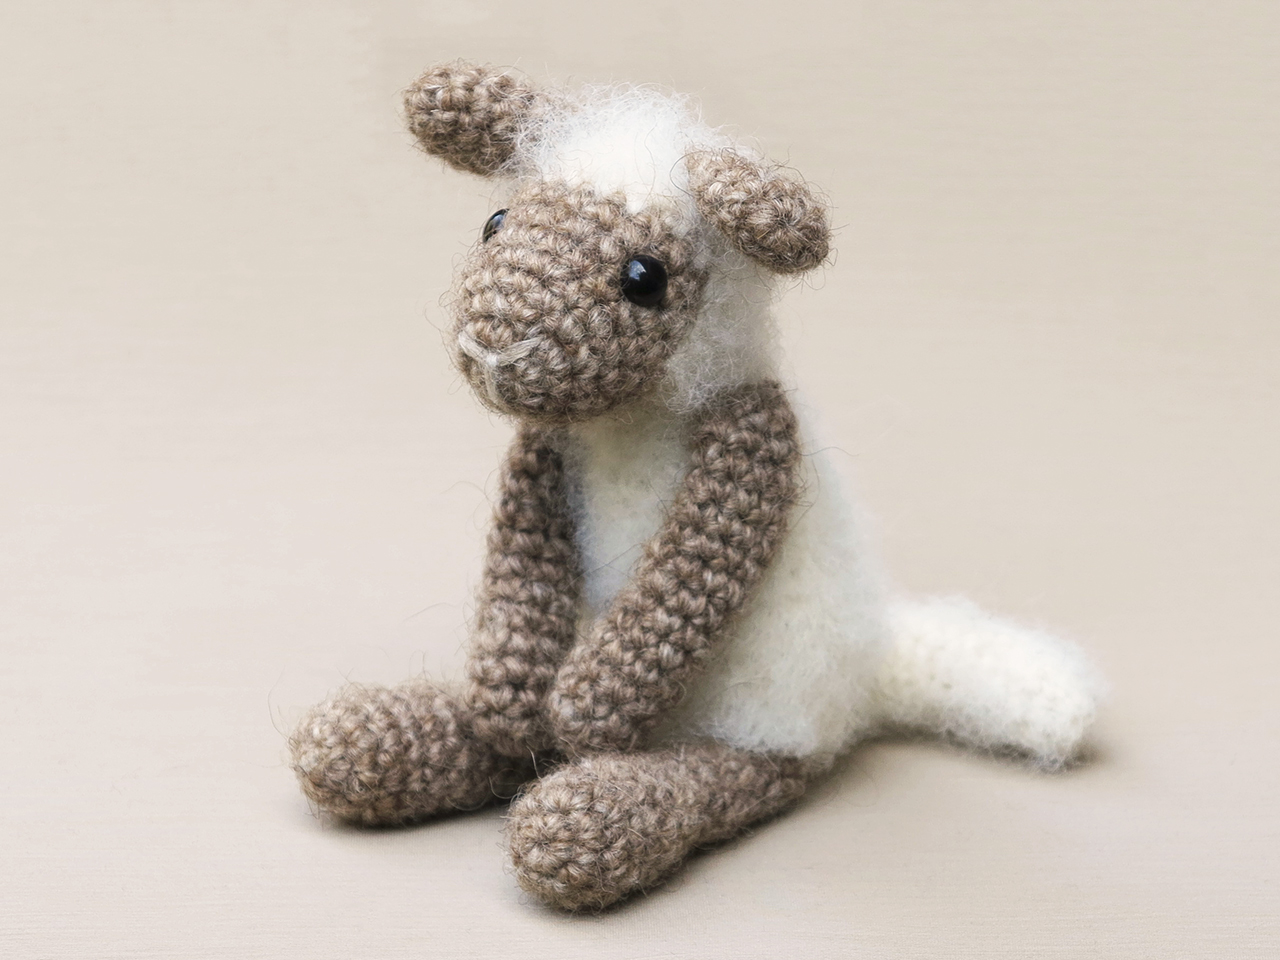
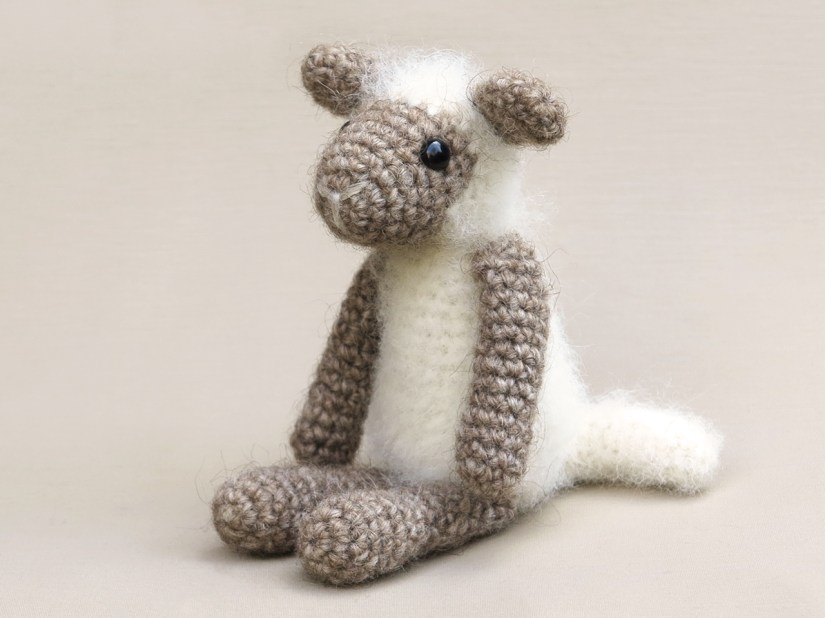
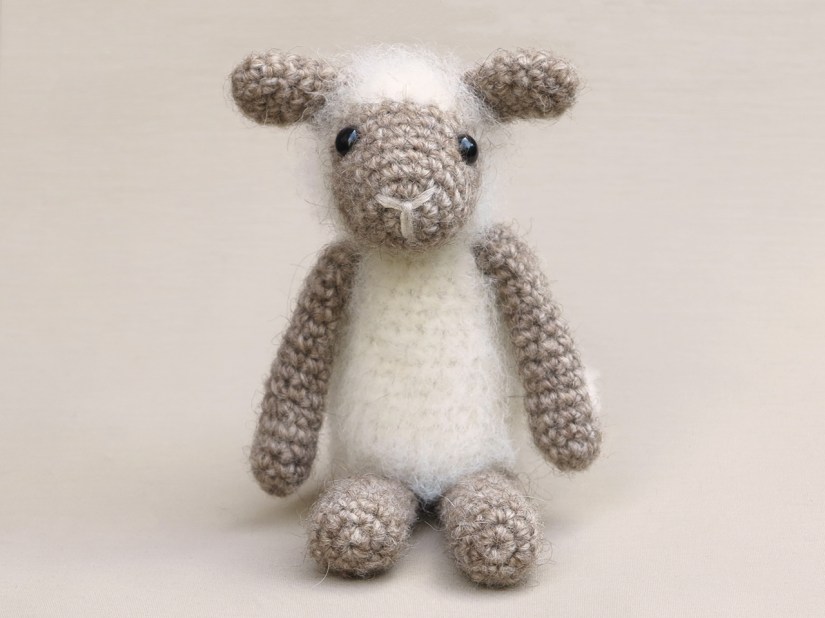
So, I present Balloo, my crochet sheep pattern. I called him Balloo, because he’s based on sheep from Drenthe and there is a big hurdle of these sheep in the surroundings of the village Balloo, nearby where I live. And actually, Balloo is a crochet lamb, not a sheep yet. Buy now – directly from me 🐱

crochet sheep pattern, sheep amigurumi

This crochet sheep is made with Istex Lett Lopi, a 100% yarn. Balloo is 5.6 inch / 14.5 cm when sitting. He’s very soft and cuddly. The pattern contains a clear and colour coded description of how to crochet and assemble this animal, with extra illustrations and example pictures at the bottom to help you get everything right. It is written in standard American crochet terms. In the pattern you can also find what materials you need, the yarn colour numbers, in short, everything you need to know to make your own fuzzy lamb amigurumi. All the additional information you need to know about this pattern you can find in the shop listings.

The Balloo crochet sheep pattern is available in my Ravelry shop, Etsy shop or you can order it directly from me with the link below.

This pattern has a permanent discount if you use this link. Patterns purchased directly from me cost 5,00 eur. I will have to email the pattern manually so it can take a bit longer, but I promise, you’ll have it in a day. If not, check your spam and if it is not there either, message me to wake me up, as I might have fallen asleep or something…
Patterns

New Teddy images

My crochet teddy bear is one of the first crochet patterns I designed. Back then I didn’t create a little studio for photographing my dolls and because of that I never had images of Teddy like the ones I make now.

So, I decided to take some new and better images of Teddy.

grizzly bear

Teddy-2

Because my old Teddy bear pictures are ‘high ranking’ in google search, I can’t, dare to replace them, even though I like these better.

This bear will always be very special to me. He’s very photogenic and has this funny expression which I adore.

You can find the original teddy post here, and the pattern is for sale here or via direct order.


Patterns

Chief, crochet wolf pattern

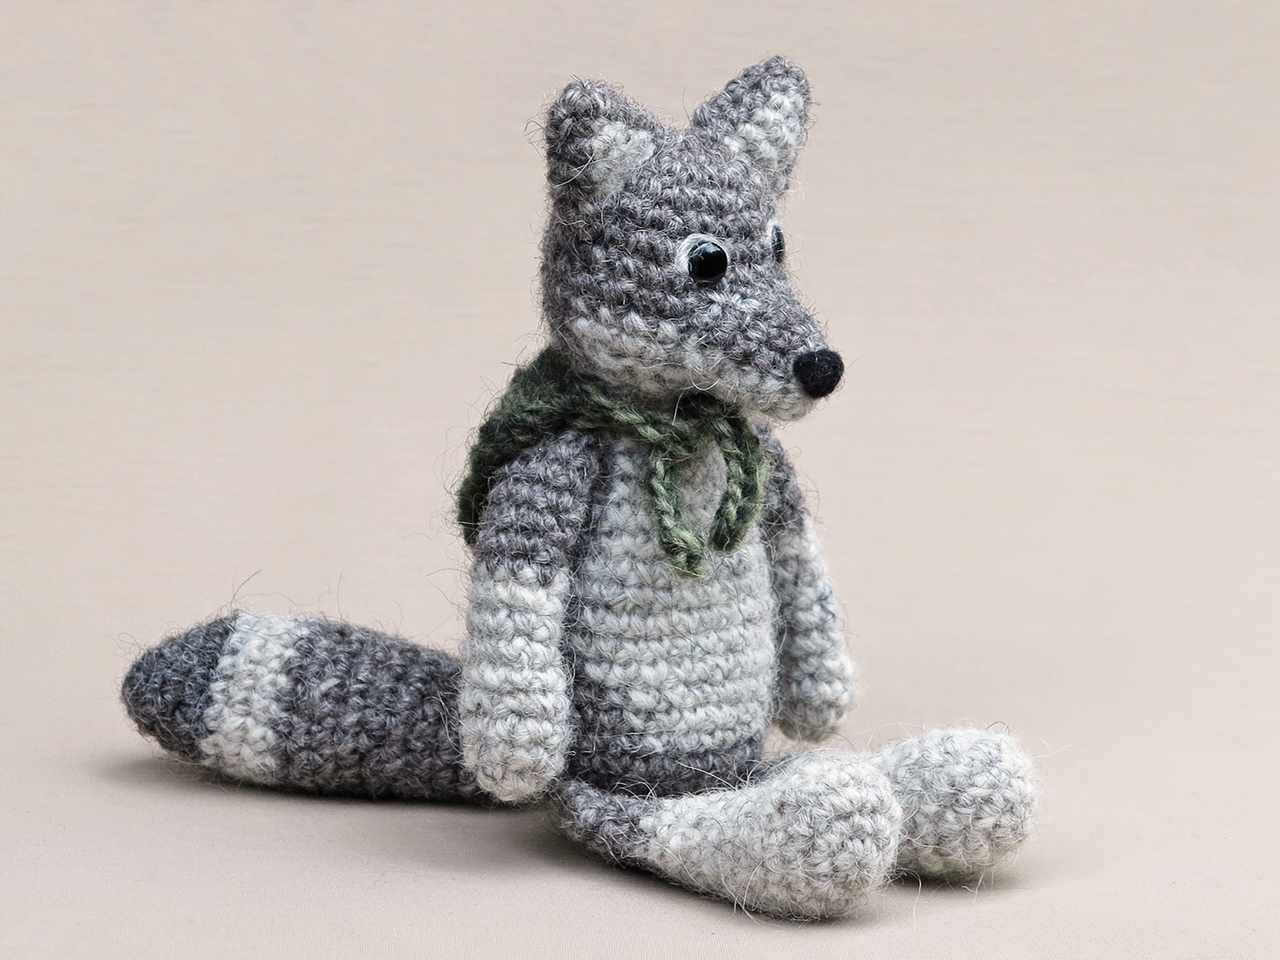
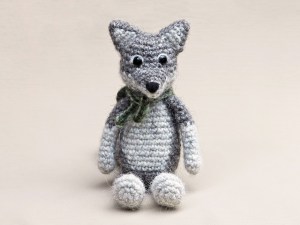
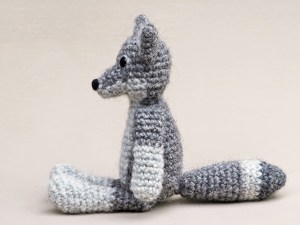
A broader chest and cheeks, a more rugged, shaggy look. Chief has become a real crochet wolf character. He’s now the leader of my forest friends. (They are friends you know, they don’t eat each other.)

Meet Chief, my sturdy crochet wolf amigurumi. Buy now – directly from me 🐱

crochet wolf pattern, wolf amigurumi, haakpatroon wolf

I wrote in my last post that it was a little strange to make him, because of the similarities to Flam the fox. But I’m satisfied with Chief. He looks like a woolen little wolf doll and looks very different than the fox.

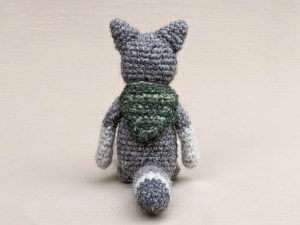
The crochet wolf has bigger cheeks because the head is wider at the bottom. Also, the light colour of the bottom of the head accentuates those cheeks. Chief’s muzzle is shaped different and points a bit downwards. His body and limbs are bigger and his tail is less pointy. That is what makes him wolf-ish. And Chief has a very sturdy accessory, a flat triangular shaped scarf, like a little cape. It makes him look very cool.

Here are some more pictures and without a scarf, this crochet wolf looks almost just as sturdy.

Chief is 6 inch/ 15 cm when sitting. He’s made with 100% wool (a worsted weight yarn). The same kind I always use, from Lett Lopi.

The pattern is written in standard American crochet terms and contains a clear and colour coded description of how to crochet and assemble the animal with example pictures next to the instructions and at the bottom. In the pattern you can also find what materials you need, the Lopi colour numbers, in short, everything you need to know to make this unique crochet animal. All the additional information you need to know about this pattern you can find in the shop listings.

This pattern is for sale in my Ravelry shop, Etsy shop and you can also order it directly from me with the link below.

This pattern has a permanent discount if you use this link. Patterns purchased directly from me cost 5,00 eur. I will have to email the pattern manually so it can take a bit longer, but I promise, you’ll have it in a day. If not, check your spam and if it is not there either, message me to wake me up, as I might have fallen asleep or something…
Have fun making this friendly wolf!

patroon gehaakte hond
Patterns

Sjuffel, crochet dog pattern

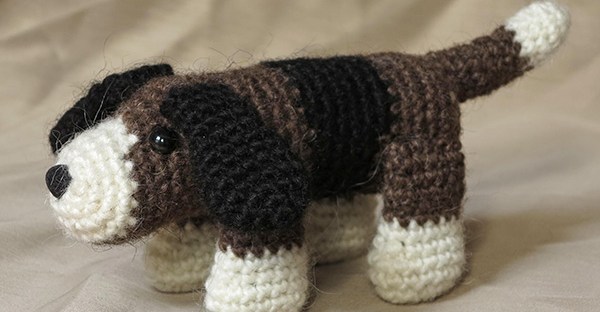
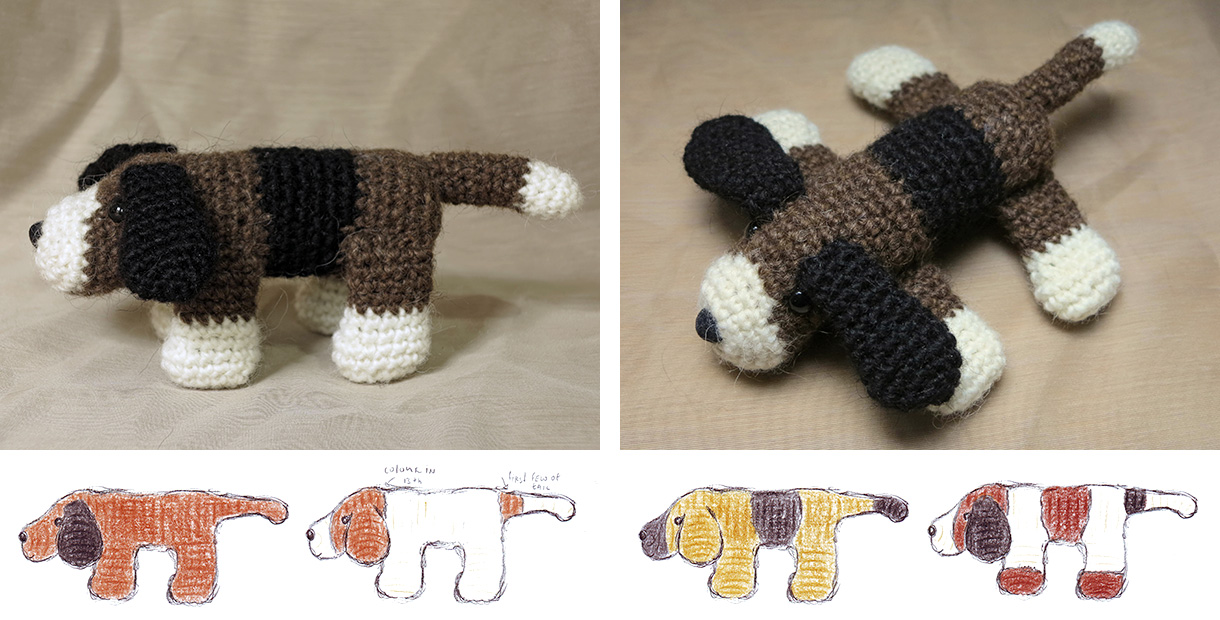
This has become the favourite crochet animal I’ve made so far. It’s always a challenge to bring the sketch to life and this time I like the finished dog better than the sketch. He’s just such a sturdy looking dog when standing up, and laying flat he’s a sweet stuffed little doggy friend. I’ve made a beagle haven’t I?

This crochet pattern is very versatile and still easy to crochet. The dog can both stand up and lay down, which makes him very lively. I also added examples of different colour options, so everyone can make the kind of dog he likes, using my examples or creating their own colour scheme.

patroon gehaakte hond, crochet dog pattern

You can find the pattern for this crochet dog in my shop and in my Ravelry shop. You can also order it directly from me hereThe dog is 7,9 inch / 20 cm long. He’s made with my favorite Icelandic fuzzy yarn. When using pipe cleaners you will be sure the dog will be steady when standing up and perfectly flat when laying down. Without the use of cleaners he’ll need a bit more help to stand good and lay nice, but he still can do it. The crochet dog pattern is written in standard American crochet terms. It contains clear instructions and many example pictures.

patroon gehaakte hond, crochet dog pattern

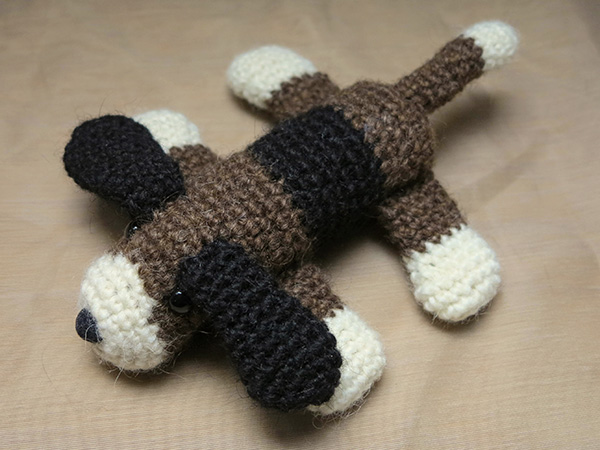
This crochet dog looks very different standing than flat. The flat one makes a good baby toy, the standing dog is more grown up.

Flatdog, amigurumi dog

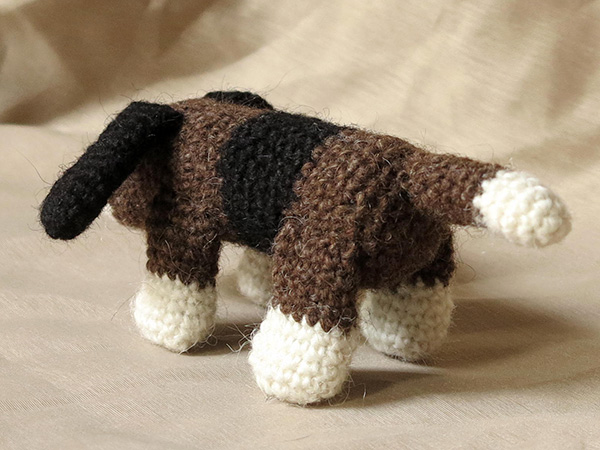
Backview

I hope everyone who was looking forward to this patterns likes what he sees!

My dog amigurumi is called Sjuffel after the basset hound puppy we had shortly when I was a kid. My father and I really, really loved dogs but my mum was a bit scared of them, but a basset hound she found the least scary. They made an arrangement with a kennel so we could have a dog puppy for ‘trial’ and if she still would be too uncomfy, we could bring him back. A silly thing to do in some way, because I immediately got attached to Sjuffel and loved him and was sad when he was gone. But I am glad we did have him! Even though it was short, it was fun. Now I have this crochet Sjuffel.

WOOF

Patterns

Dandylion, crochet cat pattern

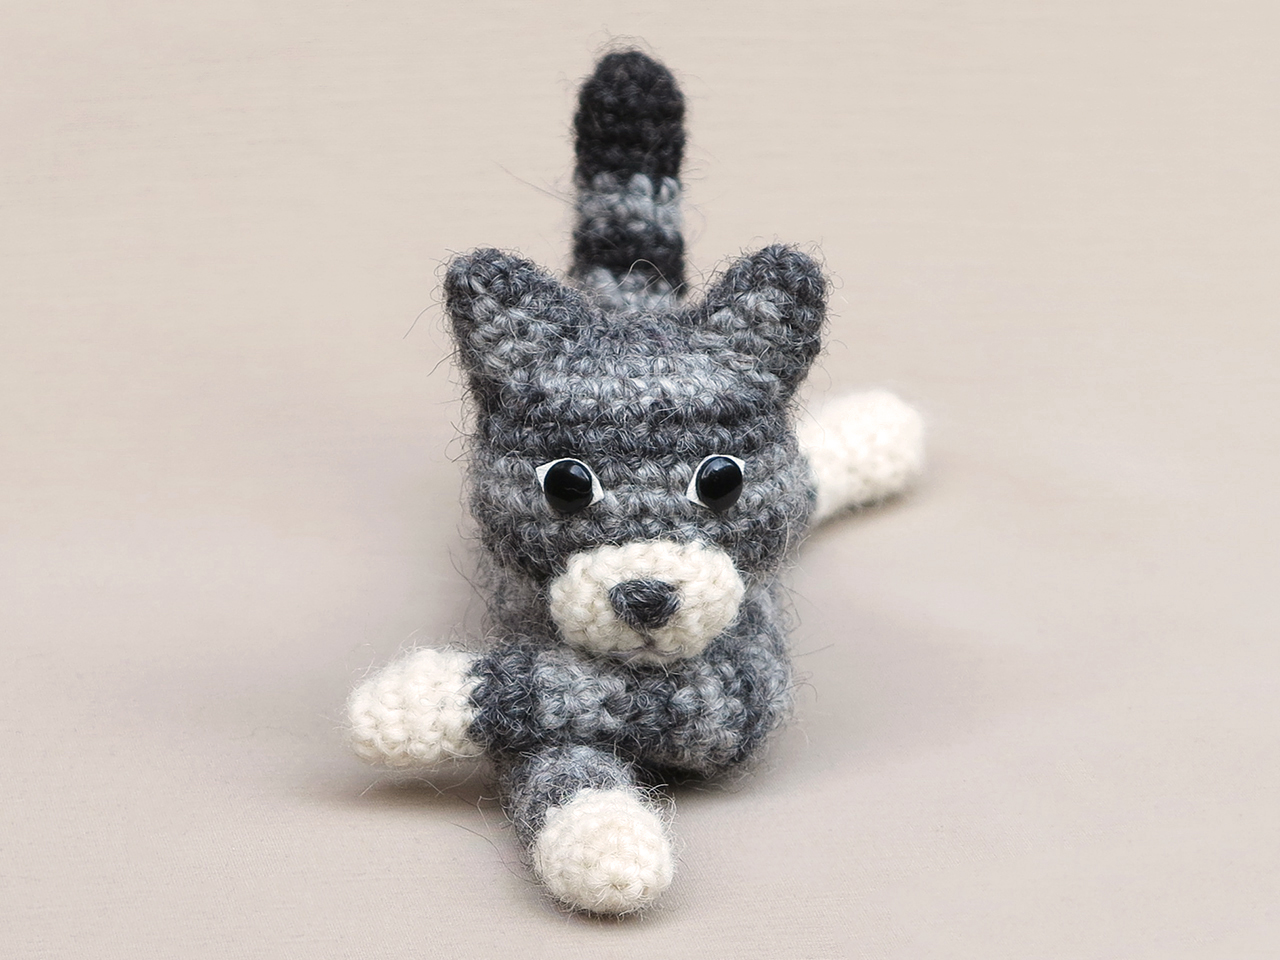
Dandylion is finished and he looks even more enthusiastic than I hoped for. As soon as I had him finished, I felt like making more. An orange striped version or a black one, maybe a wild cat. I love how he’s able to be positioned in different ways and he can surely observe you with his big eyes like real cats do. Buy now – directly from me 🐱

amigurumi cat, crochet cat

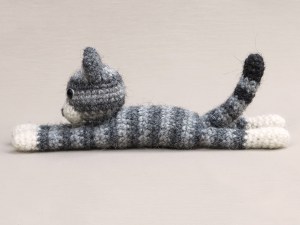
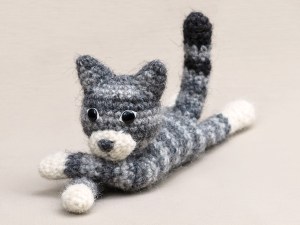
Meet Dandylion, my crochet kitty cat pattern. This is such a fun and playful cat amigurumi. He’s made with basic shapes and doesn’t look very realistic, but because of his authentic cat expression, he looks exactly like real a real cat, probably the only animal who lies like this, watching you and being up to no good.

Here are some more pictures of this mischief and scroll down for info about & links to buy the pattern.

Info about the crochet cat pattern

With this easy pattern you can make a lovely striped amigurumi cat or a cartoon version of your own cat. Just divide his colours in simple shapes and crochet ahead, it’s fun! The cat is lying 9.1 inch / 23 cm long, when made with worsted weight yarn. The pattern is written in standard American crochet terms and contains a clear and colour coded description of how to crochet and assemble the animal with example pictures next to the instructions and at the bottom. In the pattern you can also find what materials you need, the Lopi colour numbers, in short, everything you need to know to make this unique crochet animal. All the additional information you need to know about this pattern you can find in the shop listings.

The crochet kitty cat pattern is for sale in my Ravelry shop, Etsy shop or you can order it directly from me with the link below.

This pattern has a permanent discount if you use this link. Patterns purchased directly from me cost 5,00 eur. I will have to email the pattern manually so it can take a bit longer, but I promise, you’ll have it in a day. If not, check your spam and if it is not there either, message me to wake me up, as I might have fallen asleep or something…