A little wood mouse exploring the forest. Here you can find all about the pattern.

A little wood mouse exploring the forest. Here you can find all about the pattern.
I had this lovely afternoon in the forest, taking pictures of my new crochet animal, surrounded by wildlife. There were lots of birds and young chicks chatting around me, bumblebees were zooming cheerfully above the ground and, a red squirrel was laughing at me from behind a tree.

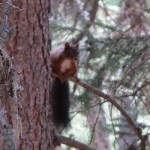
I finally managed to get a sharp picture of a squirrel, didn’t I!
While busy taking pictures of Floro and clacking away mosquitoes, I heard this strange sound behind me. Suddenly I realized that THAT’s a squirrel sound! So I turned around and saw a red squirrel spying on me from a tree. When he saw me turning around he quickly fled higher so I couldn’t see him anymore. I waited a few minutes, while being eaten, but saw him no more. A pitty, I hoped to get a picture of him, you know, me taking pictures of Floro and the squirrel who spied on us….Would be so perfect.
Well anyway, here’s a first glimpse of Floro, the pattern will be available in my shop on thursday!
The crochet red squirrel pattern is beginning to take shape. I’m very glad it is, because I was a bit worried.
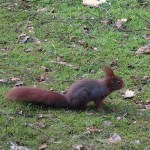
And here are some high quality, beautiful pictures of red squirrels I took. Well, maybe two, or one….Enjoy.


LOL!
These pictures could have been so beautiful! But, it’s not about the pictures, I loved watching these squirrels and the pictures are just blurry reminders of those moments.
Now back to the crochet version!
*EDIT* I just tweeted a first prototype image of the crochet red squirrel head.
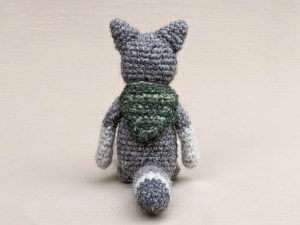
The mysterious back of the designer. Wink…
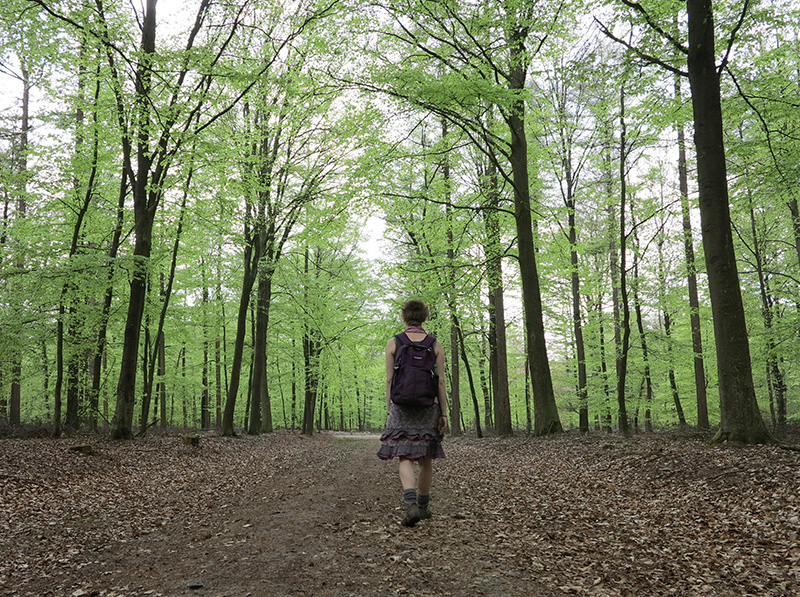
I’m sorry for the lack of interesting posts for the last two weeks. We are having a spring holiday in the Netherlands and we decided to go and enjoy the rising green in our environment. The autumn is my favorite season, but the spring makes a good second. This year we were really longing for green after a cold, grey and longer winter.
Next week I’m back to business. I’ve got two ideas for tips & tricks posts and I’m going to start on a crochet squirrel pattern. (We saw a cute’sy squirrel climbing a tree carrying nesting material!)
See you next week!

Balloo went on a little adventure and visited his relatives. Hehe, I’m just havin’ fun.
My favorite moment of designing crochet patterns is when my new doll is finished and I can take pictures of him. It’s so much fun to do, playing with my fuzzy new friend and I can see the finished project for the first time with a fresh view. After a long time working on a project, I become sort of over-critical and can’t see clearly how it looks anymore. But when the pictures are finished I get all happy and proud.
So, I present Balloo, my crochet sheep pattern. I called him Balloo, because he’s based on sheep from Drenthe and there is a big hurdle of these sheep in the surroundings of the village Balloo, nearby where I live. And actually, Balloo is a crochet lamb, not a sheep yet.

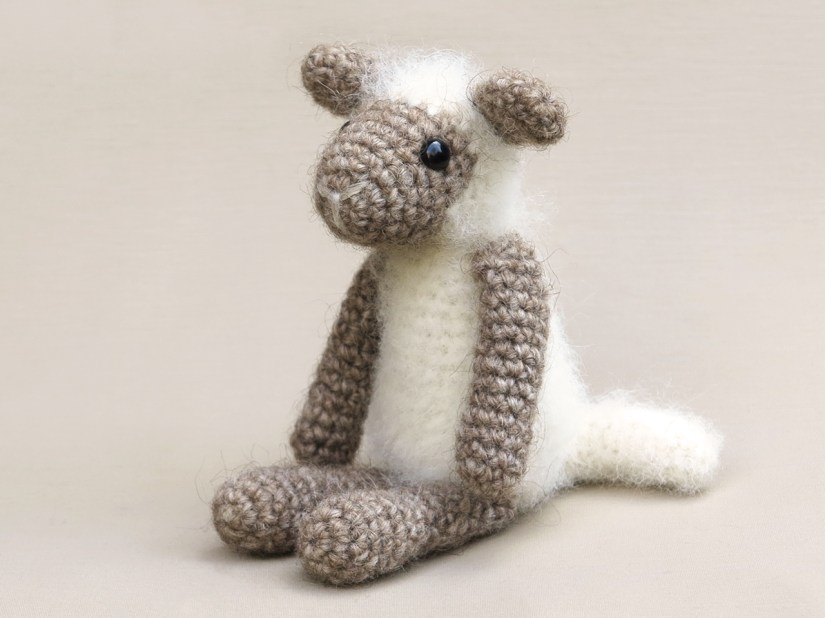
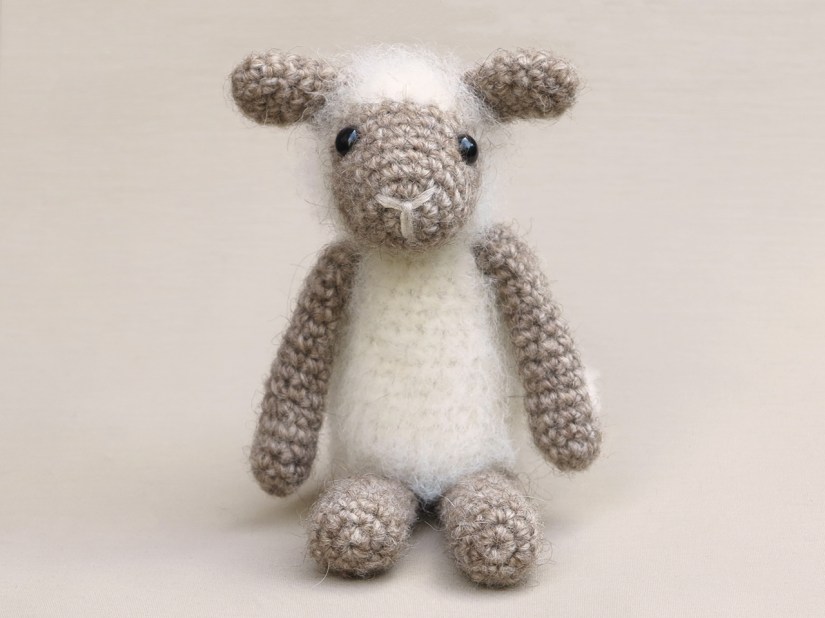
The Balloo crochet sheep pattern is available in my Ravelry shop, Etsy shop and you can also order the pattern directly from me here. It is written in standard American crochet terms. This crochet sheep is made with Istex Lett Lopi, a 100% yarn. Balloo is 5.6 inch / 14.5 cm when sitting. He’s very soft and cuddly.
The pattern contains a clear and colour coded description of how to crochet and assemble this animal, with extra illustrations and example pictures at the bottom to help you get everything right. In the pattern you can also find what materials you need, the yarn colour numbers, in short, everything you need to know to make your own fuzzy lamb amigurumi. All the additional information you need to know about this pattern you can find in the shop listings.

I opened a Twitter account and of course, needed to customize my home page. A picture of a pile of popkes seemed like a nice header. Oops, I left out the lop rabbits, stupid! They where standing right behind me on a chest…..
A while back, I also opened a twitter account, but deleted it shortly after because, well because I only had 2 followers. I was afraid to become the loneliest tweeter in the world. I’m not really the tweeting kind and wasn’t going to interact that much. Still feel that way, but I did want to ‘own’ the @SonsPopkes, because who knows what happens in the future. I will try to become a bit more social and tweet. I’ll see what happens.
Oh, I haven’t tweeted yet, but I will soon, promise!
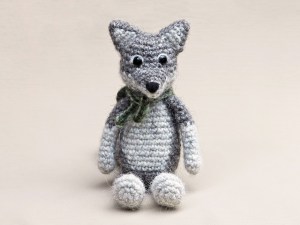
A broader chest and cheeks, a more rugged, shaggy look. Chief has become a real crochet wolf character. He’s now the leader of my forest friends. (They are friends you know, they don’t eat each other.)
Meet Chief, my sturdy crochet wolf amigurumi.

I wrote in my last post that it was a little strange to make him, because of the similarities to Flam the fox. But I’m satisfied with Chief. He looks like a woolen little wolf doll and looks very different than the fox.
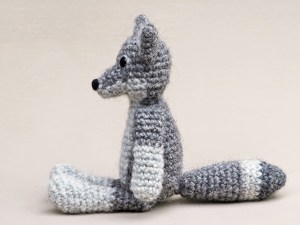
The crochet wolf has bigger cheeks because the head is wider at the bottom. Also, the light colour of the bottom of the head accentuates those cheeks. Chief’s muzzle is shaped different and points a bit downwards. His body and limbs are bigger and his tail is less pointy. That is what makes him wolf-ish. And Chief has a very sturdy accessory, a flat triangular shaped scarf, like a little cape. It makes him look very cool.
Here are some more pictures and without a scarf, this crochet wolf looks almost just as sturdy.

This pattern is for sale in my Ravelry shop, Etsy shop and you can also order it directly from me here.
Chief is 6 inch/ 15 cm when sitting. He’s made with 100% wool (a worsted weight yarn). The same kind I always use, from Lett Lopi.
The pattern is written in standard American crochet terms and contains a clear and colour coded description of how to crochet and assemble the animal with example pictures next to the instructions and at the bottom. In the pattern you can also find what materials you need, the Lopi colour numbers, in short, everything you need to know to make this unique crochet animal. All the additional information you need to know about this pattern you can find in the shop listings.
Have fun making this friendly wolf!
Because Halloween is coming, I made a little free pattern to have fun with.
Teddy is! Or maybe not…..

Here’s the pattern, a picture of just the hat is below.
Crochet Witch Hat pattern.
For this pattern I used a fuzzy worsted weight yarn and a 3,5 mm / hook E. The hat is standing 10 x 12 cm / 3,9 x 4,7 inch.
The hat is made in the round in Double Crochet stitches. Join after each round and add a chain of 3 in the beginning of each round, as I’ve written in the pattern.
GO!
1. magic ring of 4 = 4, join
2. ch 1, sc in each st around = 4, join
3. ch 3, (dc in next st, 2 dc in next st) x2 = 6, join
4. ch 3, (dc in next st, 2 dc in the next 2 st) x2 = 10, join
5. ch 3, dc in next 2 st, 2 dc in next st, dc in next 4 st, 2 dc in next st, dc in next 2 st, = 12, join
6. ch 3, (dc in next st, 2 dc in next st) x6 = 18, join
7. ch 3, dc in each st around = 18, join
8. ch 3, dc in next 4 st, 2 dc in next st, dc in next 8 st, 2 dc in next st, dc in next 4 st = 20, join
9. ch 3, dc in next 4 st, 2 dc in next st, dc in next 9 st, 2 dc in next st, dc in next 5 st = 22, join
10. ch 3, (dc in next 10 st, 2 dc in next st) x2 = 24, join
11. ch 3, (dc in next 3 st, 2 dc in next st) x 6 = 30, join
12. ch 3, (dc in next 4 st, 2 dc in next st) x6 = 36, join.
13. ch 3, (dc in next 5 st, 2 dc in next st) x6 = 42, join, sl st, weave in end.
Little grey band
1. ch of 26, join.
2. ch 3, dc x 26, join and leave long tail for sewing band to hat.
DONE

Mistakes in this pattern? Nooooo, can’t be, well if so, let me know and I’ll fix it!

