Patterns

Sno & Snoosle, crochet sea otter pattern

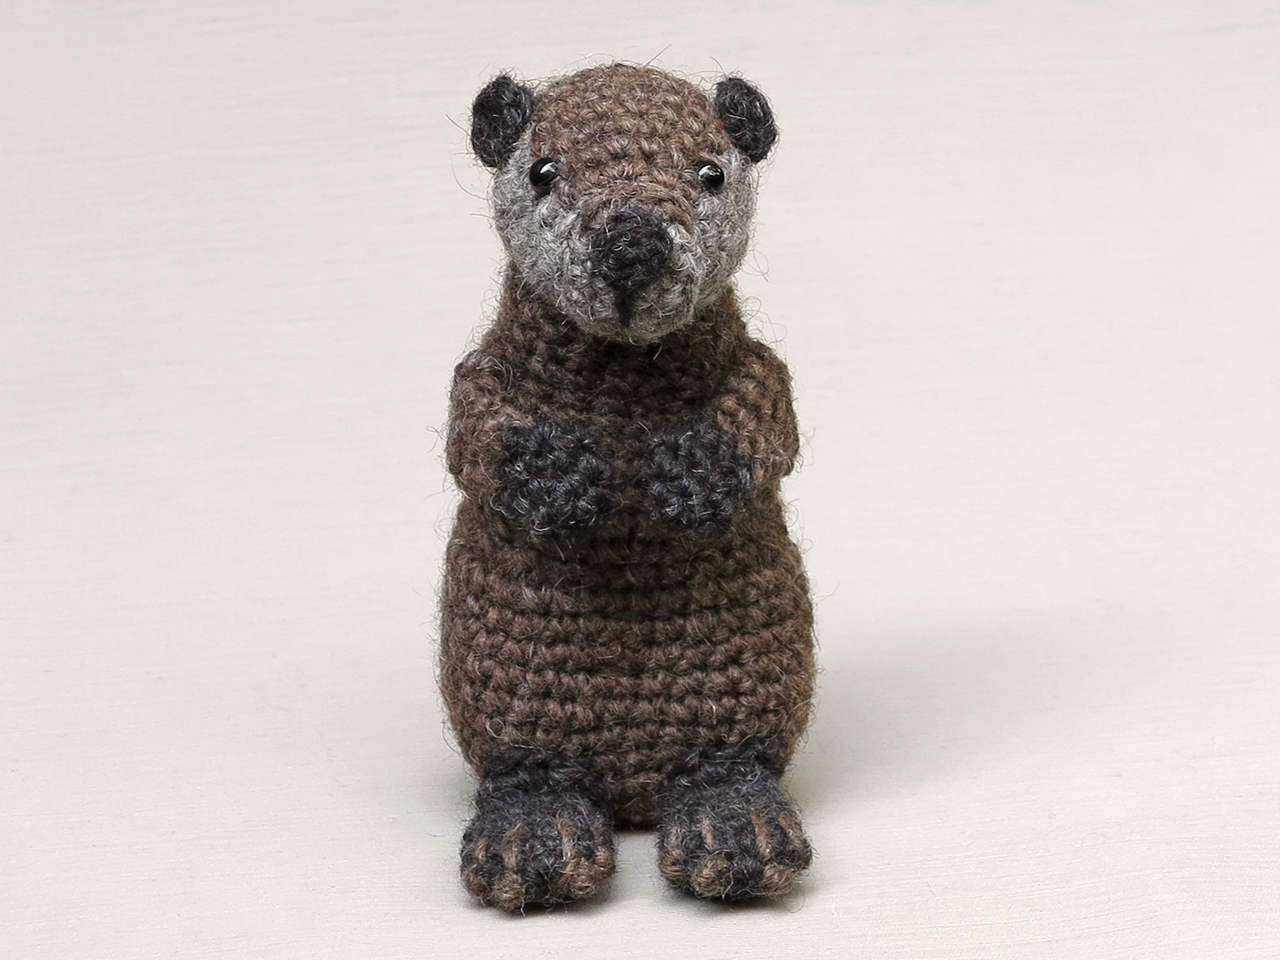
Maybe this is the most special and adorable pattern I’ve ever made. I proudly present to you a mother and her pup, Sno & Snoosle the crochet sea otters pattern.

crochet sea otter

Look at them together! They almost look as heartwarming together as real sea otters. Some animals melt my heart when I look at them. I have to admit, I’m easily melted by animal beauty. Seeing mice, blackbirds or foxes doesn’t really matter, to me they all are gorgeous. But when I was looking online at pictures of sea otters, I even got a bit emotional by some of them. The love a sea otter has for its pup is so overwhelming. The way she holds her baby, tends and dries it and the way the baby sleeps on top of her, feeling completely safe, it’s absolutely heartwarming and shows the intelligence and consciousness of them. Of course the utter cuteness of the sea otter and especially the pup helps. Baby sea otters look like living plushies. Their thick and warm coat makes them look incredibly cute and that was a huge challenge for me in the design process. How could I ever match the cuteness of a real baby sea otter?

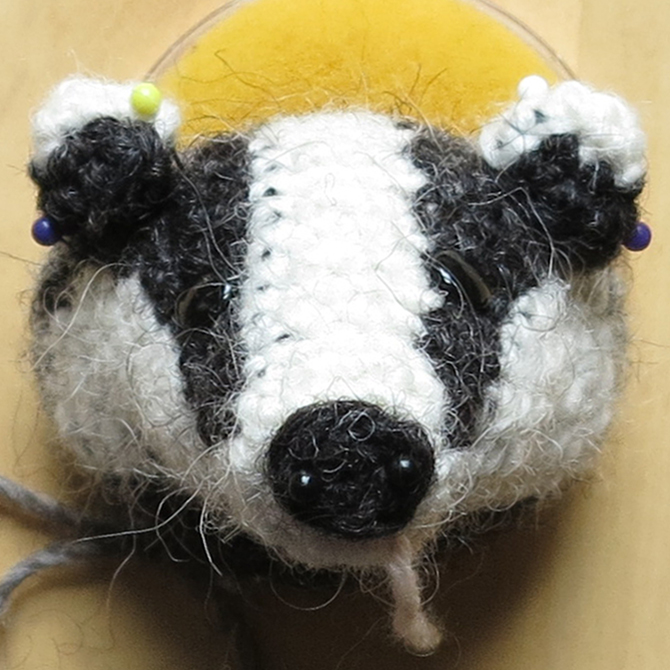
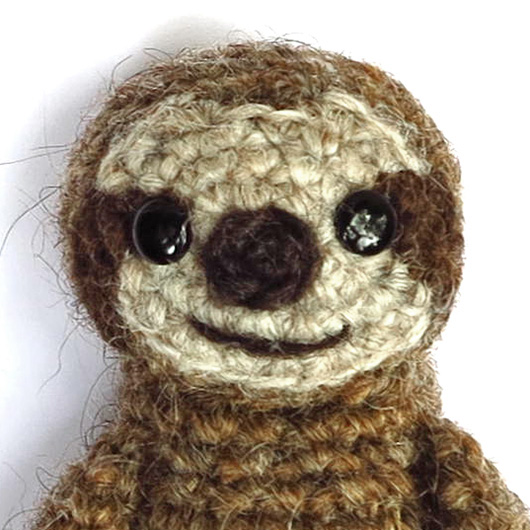
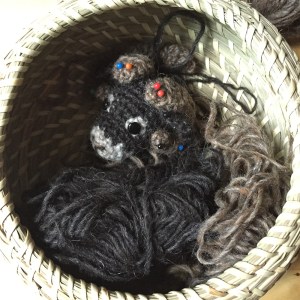
Well, I did the best I could, my first prototype pup looked more like a sloth than a sea otter, but at least I knew how not to make it. Actually, I started with the head of the adult. Most adult sea otters have a white face that looks flat, but if you take a better look, you notice they do have quite a snouty face. So, I had to find a way to make the face look flat, but with a muzzle. After several attempts I found the solution. The body of course was not easy to design either, because I wanted the otter to look upwards a bit. That meant I had to make a curved neck. Also, I wasn’t sure about how to attach the legs and tail to the body to make it look natural. When I got stuck on the adult, I started on the pup, a teeny tiny thing it is! In order to achieve making a tiny little otter, I decided to crochet the body as one piece, so you connect the tail and legs and from that point you work your way upwards. That of course was also the solution to create a realistic looking body for the adult otter. How splendid that worked out.

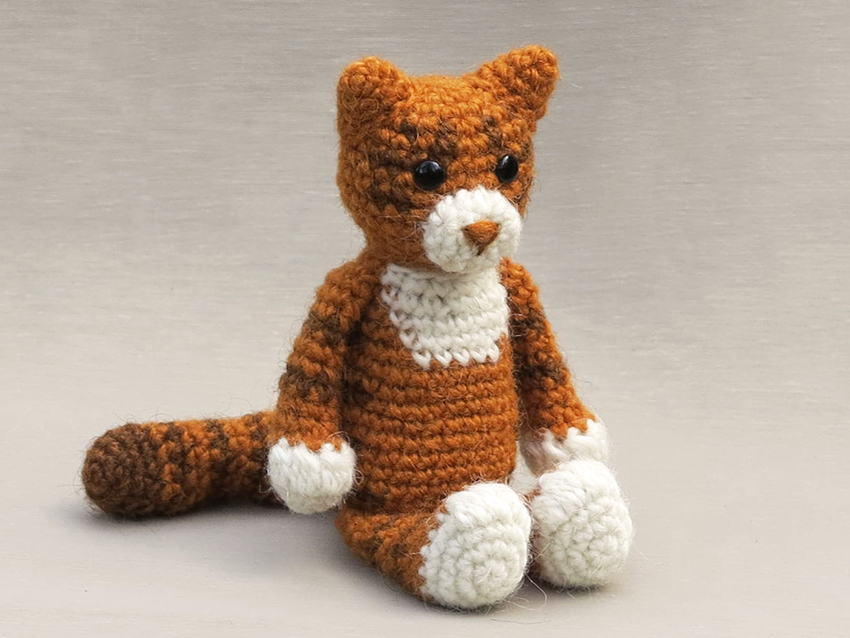
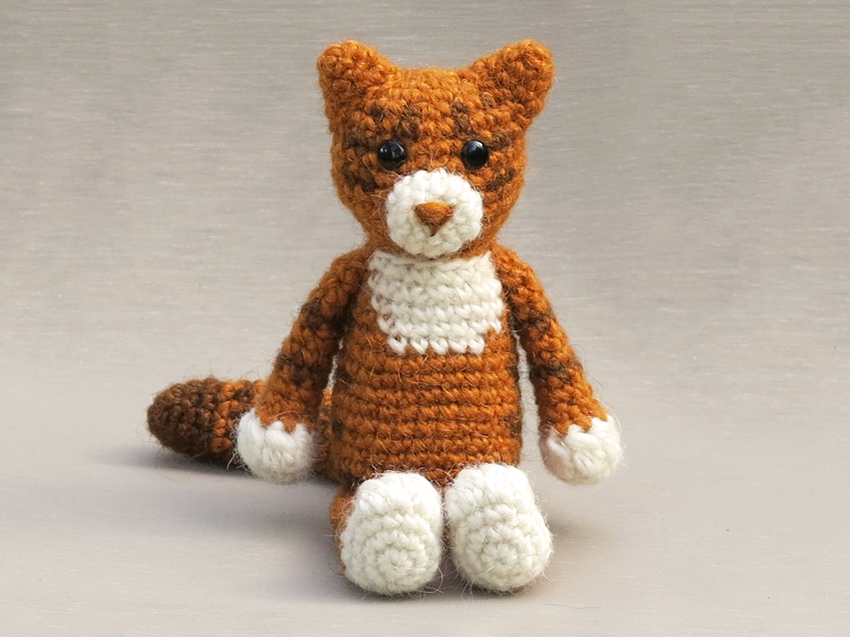
Because I like this text to be as short as possible, I’m not going to tell more about the process. But I do want to add that I am ever so delighted with the result. I absolutely love my sea otter amigurumis. Here are some more pictures and below them you can find info about and links to buy the pattern. And yes, the baby is part of this crochet sea otter pattern!

Info about & links to buy the pattern

Sno and Snoosle are made with Istex Lett Lopi, a 100% wool with a lot of fuzziness. If you use the recommended yarn, your adult otter will be 8 inch / 20 cm and the baby 5.5 inch / 12 cm long.

The pattern is written in US terms and contains a clear and colour-coded description of how to crochet and assemble the animals, with extra illustrations and example pictures at the bottom to help you get everything right. In the pattern you can also find what materials you need, the yarn colour numbers, in short, everything you need to know to make your own adorable sea otter duo. All the additional information you need to know about this pattern you can find in the shop listings. You can buy this pattern in my shop at Ravelry, Etsy or order it here.

This pattern has a one dollar release discount till Friday the 22nd of Februari.

Patterns

Floki, crochet beaver pattern

It’s my pleasure to present a new crochet animal pattern to you! This time I made a rather nibbly little creature. I proudly present to you Floki the beaver amigurumi.

Realistic crochet beaver pattern

A crochet beaver pattern has been on my list of animals for a long time, and now I have finally made one. I’m so glad I did. This beaver turned out to be a little doll but he is also very realistic. Before I start making a crochet animal, I think about how I picture the animal, and with beavers it’s their relaxed way of living that is striking to me. They are kind of plump creatures and whatever they do, they do it with total ease. I really like watching them.

So, for this beaver amigurumi I had in mind to create a ‘relaxed’-looking doll, nicely shaped with big webbed feet. For the body I wanted to try a different method of shaping, by crocheting the leg- and hip-shapes directly into the body with some extra increases. It worked out quite well, but after the body was stuffed, the shapes became a bit less noticeable. I decided a bit of extra shaping was needed after the body was stuffed, so I sewed a few stitches through the completed body to recover the intended dent. That worked out perfectly and resulted in chubby little hips, and a small tummy even emerged above the hips, how lovely! The dent that formed at the back could easily be covered underneath the big tail, which creates the bottom of the back before the actual tail starts.

The idea of how to make the feet looked webbed came pretty easily after the cute little toes I made for the realistic hedgehog. I had in mind to give the beaver the same little toes (nails), this time in a contrasting colour. Now if I embroidered four lines halfway over each foot, starting in the nails, I could create the impression of webbed feet. Luckily for me, my plan worked. The arms I kept small and basic, as beavers have such cute little front paws.

Now I’m being all positive about the process, but I had some difficulties. My hedgehog pattern had become so amazing that it felt like I had to make something just as perfect. And with every piece I made for this beaver, I was thinking ‘is this good enough?’ It was silly, really. I had to let that feeling go, because it is nonsense to think that hedgy is the best thing I ever made and now everything has to be just as perfect. I’m totally being honest here: I actually thought of abandoning the beaver. Fortunately, I’m not the kind of person to give up on something, and I had my mind set on finishing this beaver, so after a while that feeling disappeared and I started to really love the little creature I was making. I had so much fun I even made him a little stick. Here are some more pictures of little Floki, and below them you can find all the info you need to get the pattern.

This realistic crochet beaver is made with Istex Lett Lopi, a 100% wool with a lot of fuzziness. He is 5.5 inch / 14 cm high when made with this yarn. The pattern includes the instructions for the little stick. 🌿

The pattern is written in US terms and contains a clear and colour-coded description of how to crochet and assemble this animal, with extra illustrations and example pictures at the bottom to help you get everything right. In the pattern you can also find what materials you need, the yarn colour numbers, in short, everything you need to know to make your own beaver amigurumi. All the additional information you need to know about this pattern you can find in the shop listings. You can buy this pattern in my shop at Ravelry, Etsy or order it here.

This pattern has a one dollar release discount till Friday the 9th of November so get your copy in time!

Chit and Chat

Something new and excitingly different

After finishing my otter pattern, I jumped right into my next project. All those free days are fun but they can make one, hence me, a bit, well very lazy.

Because I knew many crafters are pining for a Son’s Popkes giraffe pattern, I started designing one right away. However, designing the giraffe’s head made me wonder about that longing for this pattern you all seem to have. Why on earth would you want a pattern with so many colour changes? Even I got completely tangeld up in all the strands and had to unravel (myself) many times.

Okay I’m just joking around. It isn’t that bad. As long as you keep your three skeins of yarn untangled, the head works up just fine.

The thing that was difficult for me to decide was how to divide the colours. I want my giraffe to look realistic but also basic. Two colours made him look too simple, so I chose three colours.

But where to use which one? The brown was easy, that colour is for the spots.

I had a hard time deciding where to use the camel and beige.

When my final design for the shape of the head was finished, I made two different coloured versions to see what looked best.

I made a version with a darker, camel snout with a beige/ brown spotted skin and a version with a light, beige snout with a camel/ brown spotted skin.

Because it seemed most realistic and looked the best in my opinion, I decided to go for the camel snout option. I probably am not going to change my mind, but am curious what you think looks better.

I am looking forward to hearing from you. Cheers!

Stories, Uncategorized

It’s time for something new

I’m so happy to announce that I have finished the updates. Last week I updated the last 14 patterns and now all my patterns are text edited for correct English and proofed a last time. The older patterns also have extra head shots of the animals so it’s easier the see where the eyes, ears, muzzles or bills go. And the patterns might even look more fancy than the most recent ones because of the decorative images of the animals on their backs. I will add those to the newest patterns too, but will do that ‘in between’ because it isn’t really necessary but just looking great. Adding those images made this experience more fun for sure, just look at them!

It was a huge endeavour and in the end I really got tired of it, but it was worth it. For most patterns that got a big make over, I’ve send a Craftsy and Ravelry update message. But I forgot for some and for the rest of them I skipped the messages. I didn’t want to bother you peeps with loads of emails. Here’s a list of the patterns I have updated in case you would like to have an updated version. Send me a message and your receipt and I’ll email or send the new version to your library.

There are a few patterns I made temporarily unavailable because I felt like making new and better versions of them. Basil the otter is the one I am starting with, Monty the marmot, the lop rabbit and Sjuffel the dog will follow, but I am not sure when because I also want to make a completely new pattern, a giraffe that is, after the new Basil. When I look at my work now, I am so proud. Thanks for all of your support, you crafters are fabulous!

Now we are updated. Hope to be here soon with a glimpse of a new otter.

Patterns

New updates

Hi there, here’s an update on the progress of the updates. I am using the word ‘update’ so often these days I’m even dreaming it, lol. But I don’t mind doing it. The lovely thing about updating older patterns is, and I mean the big updates with new pictures and all, is that it reminds me of how beautiful some of the older animals are. Because their pictures looked less impressive and new crochet animals shift my attention, I seemed to have forgotten about them. But look at this!

When I added this picture to Dandylion’s pattern I thought ‘wow’! Despite his basic shape, Dandylion is the funniest and most mischievous looking crochet cat you can find. I really enjoyed updating his pattern.

I also updated Teddy’s and Balloo’s pattern. With the new pictures, they too look like I designed them recently and I love how they look now.

In short, these are the new updates:

Together with my editor, I’ve re-written the instructions for Dandylion’s head, which you don’t crochet in a spiral. With these new instructions you get an almost invisible colour change. It’s brilliant! And the pictures are new, but that’s obvious.


When I took new pictures of Balloo, I realised he looked much more like a lamb than a sheep! The pattern has new and improved pictures.


Teddy is the first original Son’s Popkes pattern. Now he finally shines bright in his new pictures. The former pictures had some pillows as background and a messy piece of fabric. Not very professional, but despite that people loved him.


Next week I’m doing an update on Chief and Rupert. Their bellies need to be replaced by the fancy neater bellies I design nowadays and they can use better pictures too.

Happy Easter dear crafters, I really need a little break.

Art, Stories

Last post this year featuring your work!

What better way to end this blogging year by, than with your fabulous work. Just look at all these gorgeous, funny, mischievous and whimsical looking creatures and how they all seem to have their own personalities.

This was a good year full of Popkejoy!

Have a wonderful new year dear crafters, may the crafty force be with us all in 2018!

Art, Stories

Badger update

Hi crafty folks, I just wanted to give you and update on the progress of the badger. Here is a little teaser image for you.

I have a first badger finished and it is already sitting on my bedside table. Now you probably are thinking ‘what am I supposed to do with that info?’ Well, when a doll is finished, I always bring it with me to the bedroom, because I want to have it close to me. You know, like when you were a kid and put your new shoes next to your bed. Or was that only me?

Anyway, now you probably will understand I love this badger plushy to bits. It wasn’t easy to create this more realistic shaped pattern and I got stuck many times. I will tell all about that when I publish the pattern. What I can say now is that this crochet badger means a lot to me. Badgers are me favourite animals and after seeing one in the wild this summer it is very special to now have a homemade miniature badger next to my bed. I think this badger radiates my love for the animal and will make a very special pattern for all animal and badger lovers out there.

And one more thing. This crochet badger is brushed and to be sure all the proportions are good before I could do the promo and pattern photoshoot, I had to finish a first badger. I also want pictures in the pattern of how you assemble the animal, so I needed an unfinished doll for that purpose. I am happy to say everything turned out good so that means I will have two almost identical badgers. Maybe I will sell one off them. I have to think about that.

See you next week 🦊

Chit and Chat

Realistic animals

For a long time I have been fantasising about making realistic animals. Even now, most of my patterns are more realistic looking than many crochet animal doll patterns around, but they are dolls. The idea of making a real looking animal is extremely tempting. It makes me feel excited and I think I’m able to do it.

This Summer I was so incredibly lucky, I saw a badger in broad daylight, in the middle of the afternoon and very closeby. It was amazing, I was completely flabbergasted. The badger was foraging in bushes very close to where we walked, then saw us and disappeared till it decided to cross the path a bit further away from us anyway and passed us again. We had enough time to be amazed first and then got a proper look! It felt like the badger was there just for me to see it.

Now you can guess the realistic animal I am going to make, yes, a badger! I’m looking so forward to start working on it. And no worries, I will never stop making ‘Popkes’ (little dolls), that’s just too much fun. And because I never made a realistic animal before, I have now idea if I will succeed. Let’s hope it will work out and there will be a pattern in the nearby future.

Back to little dolls for now, there is one that is almost ready to get published, the sloth. And oh, what a joy I had making the sloth.

At first, I didn’t even felt like making a sloth. Ashamed as I am, I must admit I found them quite hideous. Many people seemed to like them a lot and I often got requests if I could make a pattern for one. Then I decided to ask in my Ravelry group which animal pattern people were looking forward to and the sloth won.

By change, I had just bought the cutest ever sloth calendar and started to look better at them. I got enchanted by their utterly sweet and loving face. They might have the strangest body proportions, but they have the most kind face you can imagine. I soon started to love them and couldn’t wait to get the pattern ready. Here’s a little preview of my sloth’s sweet and mischievous face.

We’ll meet here soon when I publish the pattern!


Uncategorized

An exciting new design

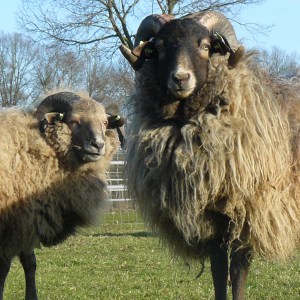
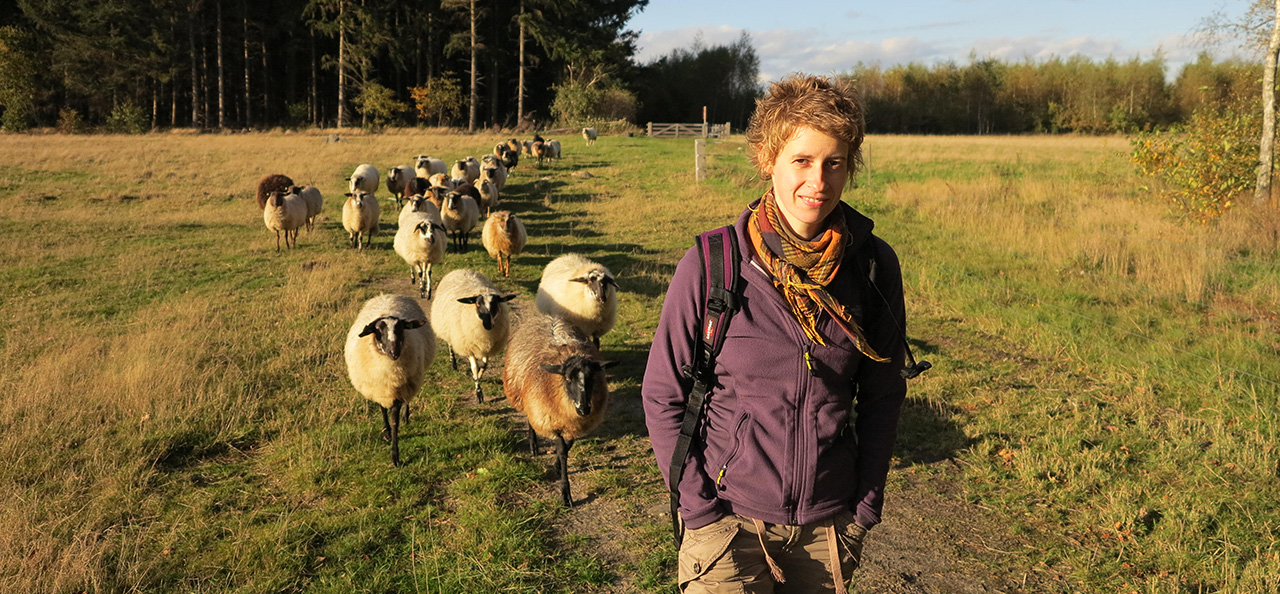
Sometimes a small coincidence can make all the difference. After I finished the piglet pattern, I started thinking about what animal to make next. Usually, I already know what to make next when I am working on another one but this time that wasn’t the case. That was until I saw this lovely crochet horned sheep on someone’s Instagram feed. It was not made in my style but it looked so nice and interesting that I could immediately visualise how I could make a fabulous sheep, it was instant inspiration. In fact, it made me so excited I wanted to start right away!
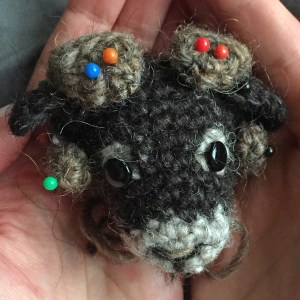
And I did. The sheep is already finished and looking spectacular. Now only the pattern needs to be written, edited and tested and I can hit publish.

I assume you are curious about the kind of sheep I made. I based my sheep on a local heather sheep called Drents heideschaap. It is a sheep I often see on our hikes through the countryside. The sheep are curious and friendly grazers with a slender build and long tails. The males have these gorgeous horns that grow in a lovely curl.

In my ‘about’ story I added a picture on which you see me walking with a tail of curious sheep, that is them indeed, but just the hornless females. In the last picture below (from the web) you see how the males look with their impressive horns.

Oh, I am so excited to show you the finished sheep and hope to be able to do so by the end of this week. Here are some glimpses and one funny pic of a curious young sheep I met this week.

See you at the end of the week!

Patterns

Martouf, crochet cat pattern

Finally I had the time to publish my latest pattern. Meet Martouf, an orange tabby crochet cat!

crochet cat pattern

When designing this pattern, I tried to make a simple and striking, but also very versatile crochet cat. Martouf has become an orange and white tabby cat. I also thought of making him a brownish tabby or a black & white cat, there were so many options! Cats are one of my favourite pets and I love their diversity in looks. It was hard to choose which kind to make. And making my own cat, a mad black one, was not an option because that would make this pattern a bit too basic. The cat had to be multi coloured.

And that diversity in looks presented another lovely challenge too. What if I could create a pattern that makes all sort of cats?

So, with that in mind I started designing and for every body part of the cat, I looked if there were easy colour changes to add to the pattern, so one could make a different looking cat.

This cat pattern has become so versatile, most types of cats can be made with it. For instance, in the part for the head, you can find an extra instruction of how to create a white line between the eyes. And the part for the body offers a second instruction to make a complete white belly. In the pattern you can find several of these instructions that can help you make your own cat.

Here are some more pictures of Martouf and below it you can find info about and links to buy this crochet cat pattern.

Info about & links to buy the pattern

This very versatile cat is made with Istex Lett Lopi, a worsted weight wool. It is 14 cm / 5.5 inch when sitting. The pattern is easy to crochet and offers many suggestions and instructions to create a different looking cat.

All the additional information you need to know about this pattern you can find in the shop listings. You can buy this pattern in my shop at Ravelry, Etsy or order it here. It contains a clear and colour coded description of how to crochet and assemble the cat, with example pictures at the bottom to help you get everything right. In the pattern you can also find what materials you need, the yarn colour numbers, in short, everything you need to know to make your own playful friend.

This pattern has a one dollar release discount till Tuesday the 11th of April.