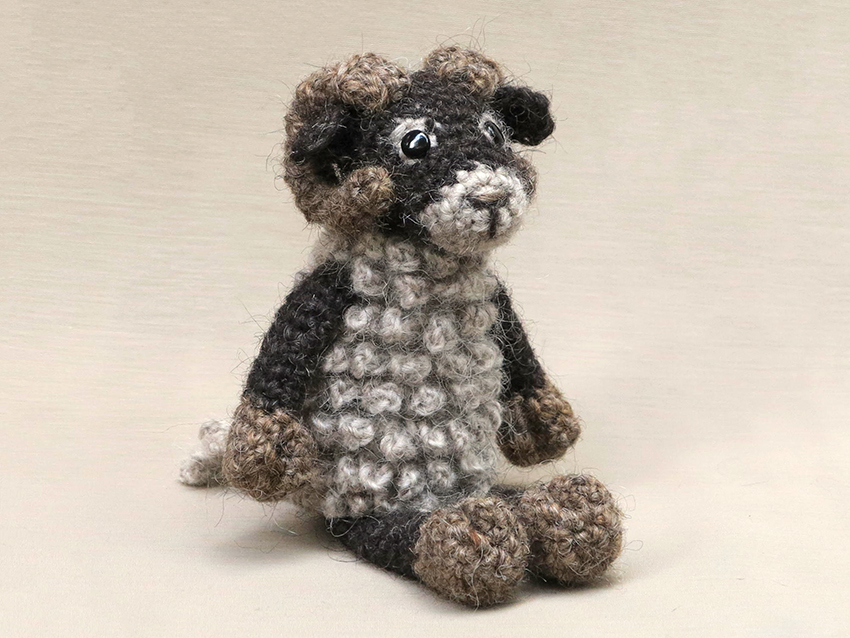
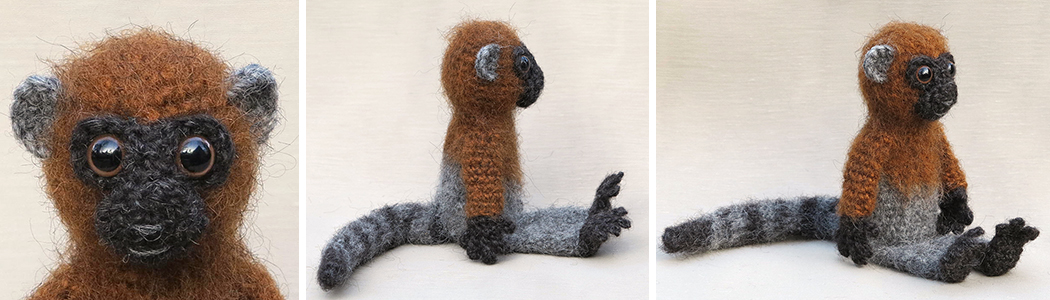
He is here! This is Misu, my crochet sloth amigurumi.

Isn’t he a doll!? Designing this pattern was such a joy. For starters, I haven’t always been a sloth lover as I mentioned earlier but researching this animal made me love it so much. What a very special creature indeed. Now I totally understand why so many people love this animal to bits. Sloths have the most cheerful and loving faces and an always smiling mouth.
That mouth and how it in fact shapes the face, has been the base of my design. The most important thing was to create a face around that smiling mouth. For this reason I decided to tilt the head and make what is normally the top of the head, the front of it. This results in a different layout of the face. When you normally see the lines of the rounds go vertical, now you see the circles. I used the shape of a crocheted ball in my advantage to create a smiley face and to get very smooth colour changes. Sloths have a light round patch in the middle of their head that forms their face. I could have used a big sewn-on patch to create that look, but I knew I could get the same result and even better, with the tilted head and by using the shape of the rounds to create a perfect coloured circle. Even the dark eye patches sloths have, look very neat with this technique. And the best thing is, there’s practically no sewing to do. You only need to sew on a nose and mouth, but that’s it!
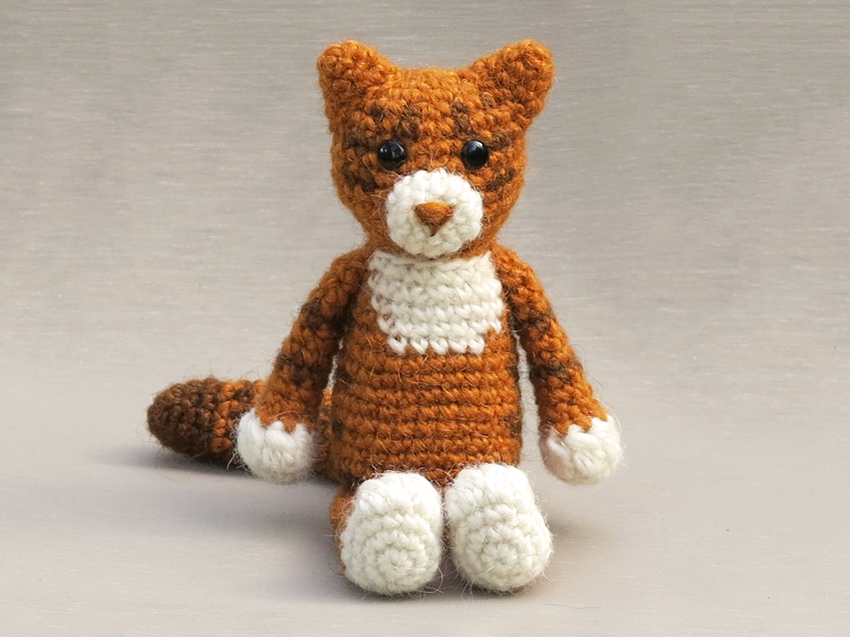
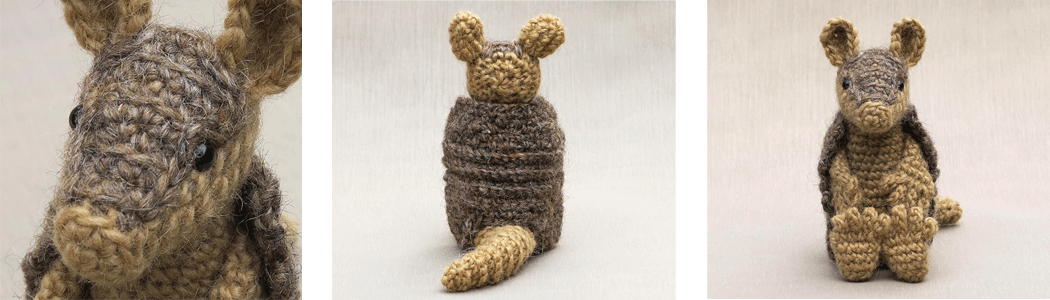
Another special thing about sloths is their huge claws. The claws is something I missed when I looked at other crochet sloths online and I understand why they aren’t there. Big claws do not look very cute on a plushy. Being a bit of a perfectionist, I strongly felt my crochet sloth did need to have claws, but they had to be cute claws. So, I made a bunch of claws, some big, some even bigger and darker and finally managed to get a very visible claw that looked very cuddly because it almost automatically folds around the edge of the paw. What about that! Just what I was looking for.
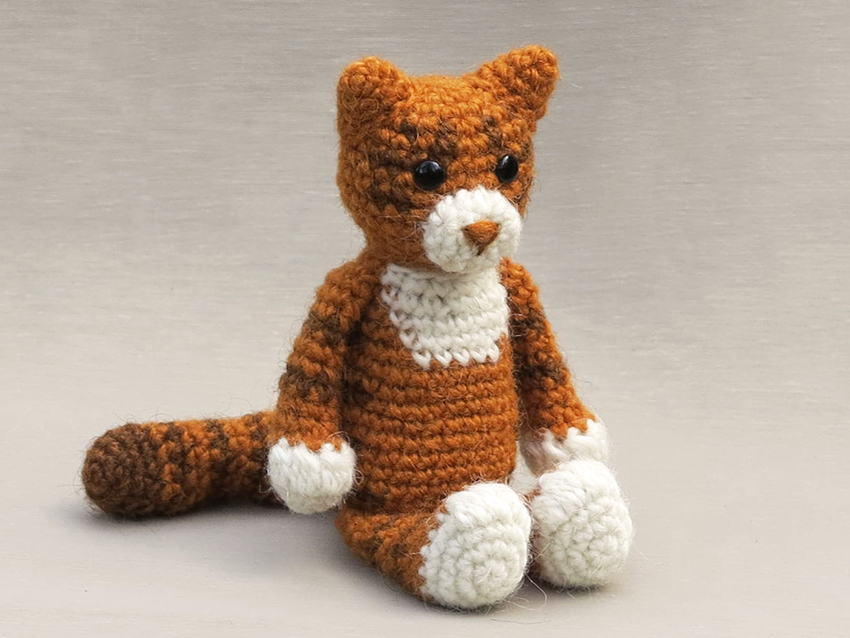
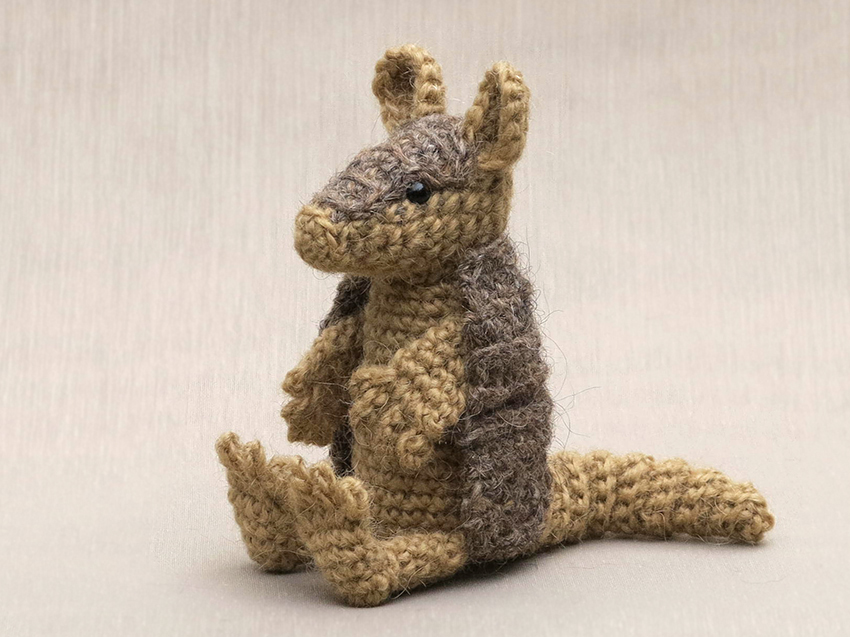
I think Misu is beyond doubt the cutest crochet animal I have ever made. It must be that smile. My sloth amigurumi is not a perfectly realistic shaped animal but doll shaped, for the sloth there doesn’t seem to be much difference. Especially when you look at the profile picture of Misu below, even in doll shape he looks so sloth-like. It is unmistakable, really cool if I might say. I chose to not brush the surface of this crochet sloth, but I think that will look awesome as well, makes him even look more fuzzy, like a real sloth.
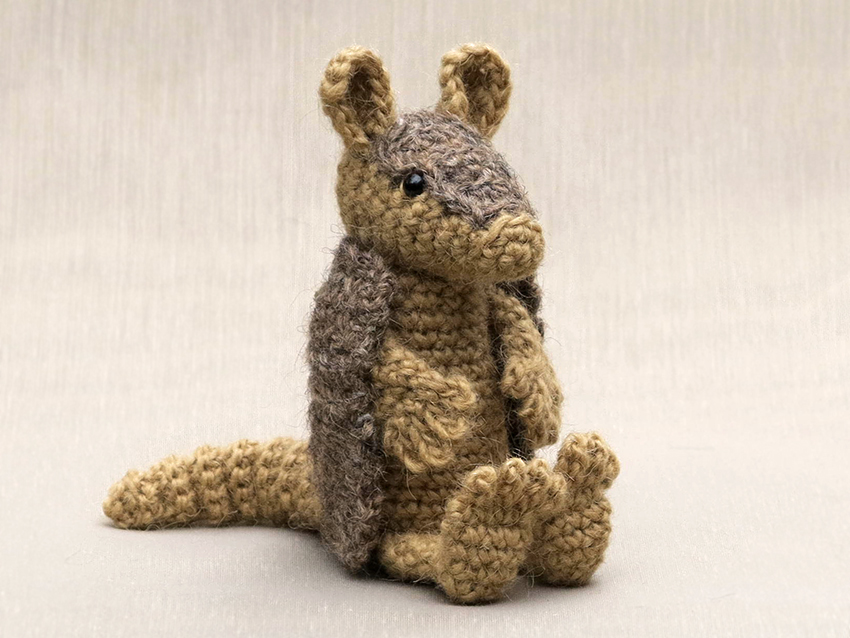
Here are some more pictures of my mischievous looking crochet sloth and below them you can find all the info you need and links to buy the pattern.


Info about & links to buy the pattern
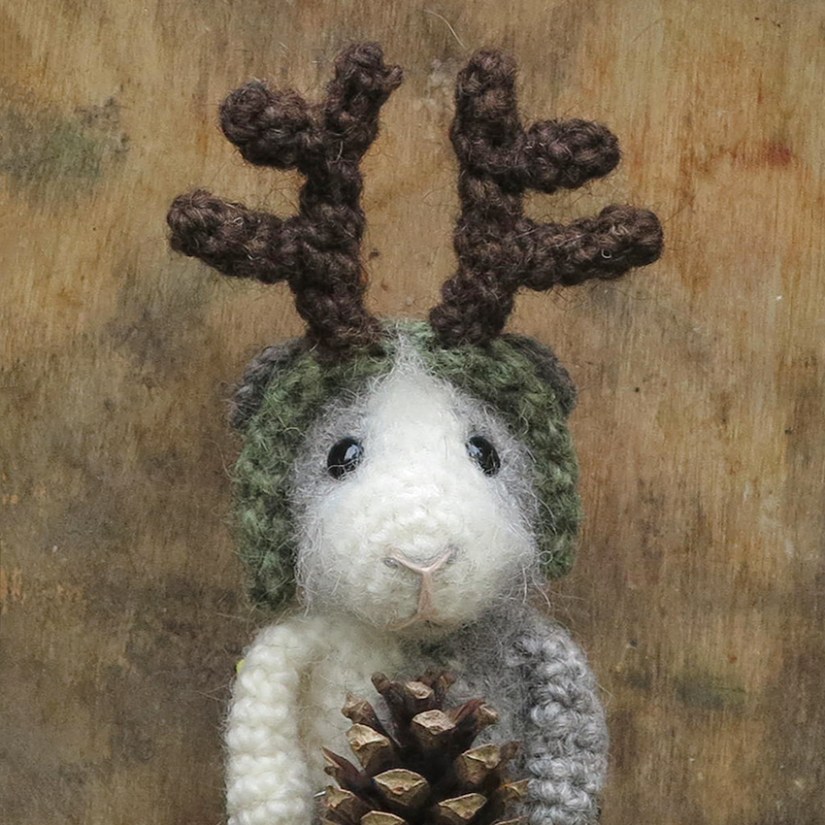
Misu is made with Istex Lett Lopi, a 100% wool with a lot of fuzziness, which suits the sloth fur very well. He is sitting 5.2 inch/ 13 cm tall.
The crochet sloth pattern contains a clear and colour coded description of how to crochet and assemble it, with extra illustrations and example pictures at the bottom to help you get everything right. In the pattern you can also find what materials you need, the yarn colour numbers, in short, everything you need to know to make your own relaxed friend. All the additional information you need to know about this pattern you can find in the shop listings. You can buy this pattern in my shop at Ravelry, Etsy or order it here.
This pattern has a one dollar release discount till Halloween Tuesday!