A little wood mouse exploring the forest. Here you can find all about the pattern.
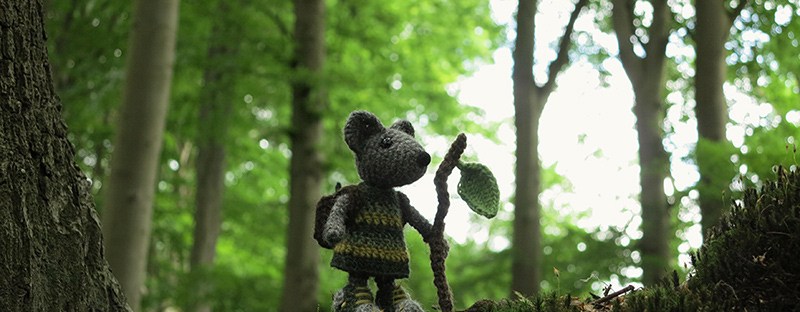
A little wood mouse exploring the forest. Here you can find all about the pattern.
Most of my crochet animals are made in multiple colours. So, changing colour is something you’ll need to do often when making one of my patterns.
How to do it?
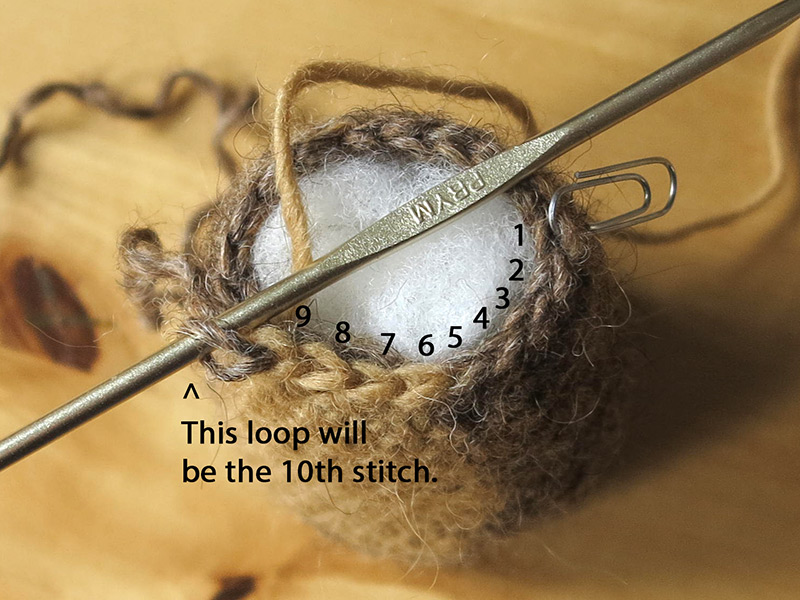
1. Always change colour in the last loop of a stitch, so the loop on the hook you end with, is the new colour. Not the stitch in which you changed colour will have the new colour but the next one. In terms of crochet, if it says ‘change colour in the 5th stitch’, the 6th stitch is in the new colour. This way you get the neatest result.
This image is an example of how the round ‘sc in the next 6, s2tog, sc in the next 12 = 19 (change colour to B in 5th, to MB in 9th)’ looks like in stitches.
2. I never cut the yarn between the colour changes but leave it where I change. When I’m back to using that colour, I take the thread and make sure it is at least as long as the row of stitches in the new colour, so there won’t be any tension on the thread in the inside of the piece, but it is gently placed to the side. Make sure the thread is not too short, your piece has to stay flexible enough, you don’t want it pulling together.
This all means that sometimes there are several skeins of yarn attached to your project. If you don’t like that, you can cut the yarn every time you change colour, but I just don’t have the patience for it and also prefer the result you get when you don’t cut the yarn. I added an image to illustrate how it looks.

I had this lovely afternoon in the forest, taking pictures of my new crochet animal, surrounded by wildlife. There were lots of birds and young chicks chatting around me, bumblebees were zooming cheerfully above the ground and, a red squirrel was laughing at me from behind a tree.
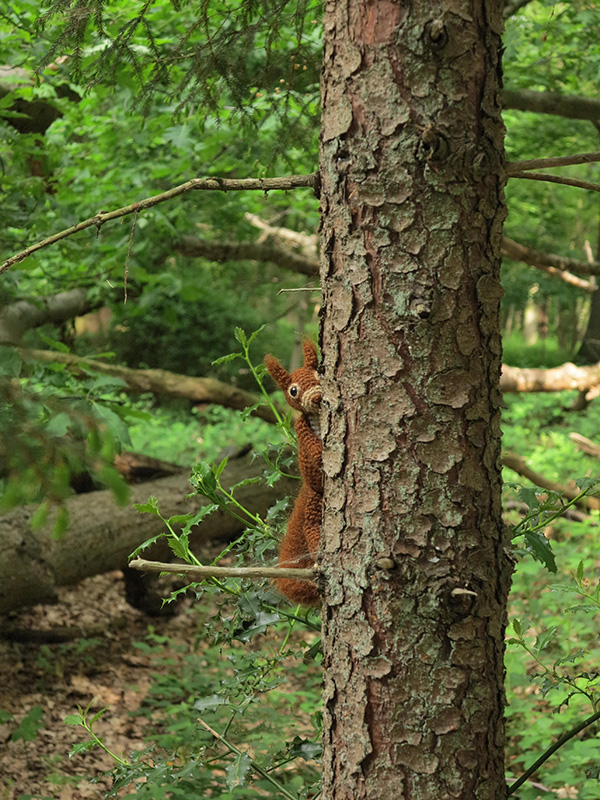
I finally managed to get a sharp picture of a squirrel, didn’t I!
While busy taking pictures of Floro and clacking away mosquitoes, I heard this strange sound behind me. Suddenly I realized that THAT’s a squirrel sound! So I turned around and saw a red squirrel spying on me from a tree. When he saw me turning around he quickly fled higher so I couldn’t see him anymore. I waited a few minutes, while being eaten, but saw him no more. A pitty, I hoped to get a picture of him, you know, me taking pictures of Floro and the squirrel who spied on us….Would be so perfect.
Well anyway, here’s a first glimpse of Floro, the pattern will be available in my shop on thursday!
The crochet red squirrel pattern is beginning to take shape. I’m very glad it is, because I was a bit worried.
And here are some high quality, beautiful pictures of red squirrels I took. Well, maybe two, or one….Enjoy.
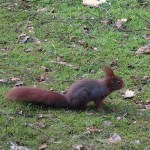

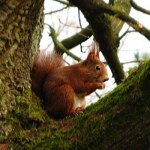

LOL!
These pictures could have been so beautiful! But, it’s not about the pictures, I loved watching these squirrels and the pictures are just blurry reminders of those moments.
Now back to the crochet version!
*EDIT* I just tweeted a first prototype image of the crochet red squirrel head.
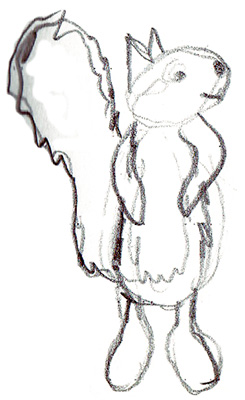 F0r a while now I’m working on the crochet red squirrel pattern, in my head and on paper that is, and I decided to post this sloppy sketch. I can’t get a clear representation in my head of how I want the squirrel to look. I have ideas, but am not sure it will work out in crochet. I tried to make the perfect example drawing but I’m just not able to because of these little doubts.
My boyfriend commented on the drawings, about them being too serious and said: ‘draw the kind of squirrel you see, without the hips and realistic features’. So, I drew this sloppy sketch in a few seconds and it’s the best image of the idea in my head, funny how it works….
I’m just going to start crocheting the squirrel now, based on my ideas. My squirrel has to become a lively fellow, not the sitting kind you see all around. That is the typical squirrel position, but to me squirrels are lively, speedy, wild little beasties. I know my popkes don’t look particularly wild and speedy, but they are lively. The squirrel will have that doll-ish feature, but has to be an original addition. I’m always careful to not make my popkes to similar, they have to represent the animal they are and be original at the same time. The doll shape however has my preference for that, because it makes the animals flexible.
Let’s see what happens!
This post is a renewed version of an older post of mine. Because I developed new skills and discovered more techniques, I found the old expression post to be a bit outdated. In this post I’ll explain how I design a crochet animal face.
One of the most challenging elements in making crochet dolls is giving them the right expression. That’s what finishes the doll and can make it either beautiful and striking or kind of ridiculous looking. Making the face is complicated and comes very closely, even though it seems quite simple, just a few stitches right? It usually takes me a while and I have to ‘take it out’ a few times before my doll has the right expression. Here are a few samples of faces I’ve made so far. Below the images I’ll explain how I get the right expression.
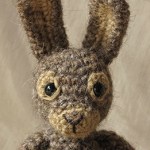
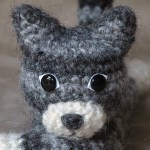
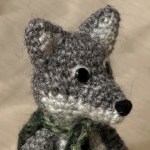
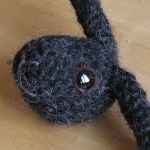
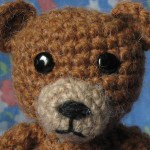
1. A patch behind the eyes makes him look more like a wild bunny. The starting chain forms his mouth.
2. A playful cat needs wide eyes, so a felt patch behind the eyes. He also has a perplexed little mouth, like real cats.
3. Wolfs have a brighter spot above their eyes. For this crochet wolf I decided to add a small thread to create that wolf expression.
4. Starfox really has a sturdy expression, he also has green eyes. So I made a felt patch, black lashes and big white eyebrows.
5. This is a very happy brown eyed bunny. Just the eyes looked a bit dull I decided. So he has felt patches behind his eyes and a cheerful embroidered mouth.
6. I wanted to give this crochet bear a funny looking face. To get that expression I made his mouth unsymmetrical.
To give my Popke the right expression, I play a little with the embroidery thread. A symmetric mouth for example gives a neat look, but maybe not the right one. The distance between the eyes is also very important. A description of how to set them, I don’t think will help much, you just have to experiment on each and every doll you make. There are some rules, like far apart is cute and close together not very smart looking, but I tend to ignore those rules and just see what looks best for a particular doll. The tip in this topic is therefore, don’t underestimate the importance of the expression. Take your time and experiment. If you’re not satisfied after trying many times, just stop and try again the next day or so, when you’re fresh again. That usually does the trick for me.
And another small tip, it’s very important to see for yourself and experiment on your version of a Popke. Maybe you don’t like the felt patch for your lop rabbit or the white eyebrow on your wolf. Just rock out and do what you like.
A tutorial will follow.
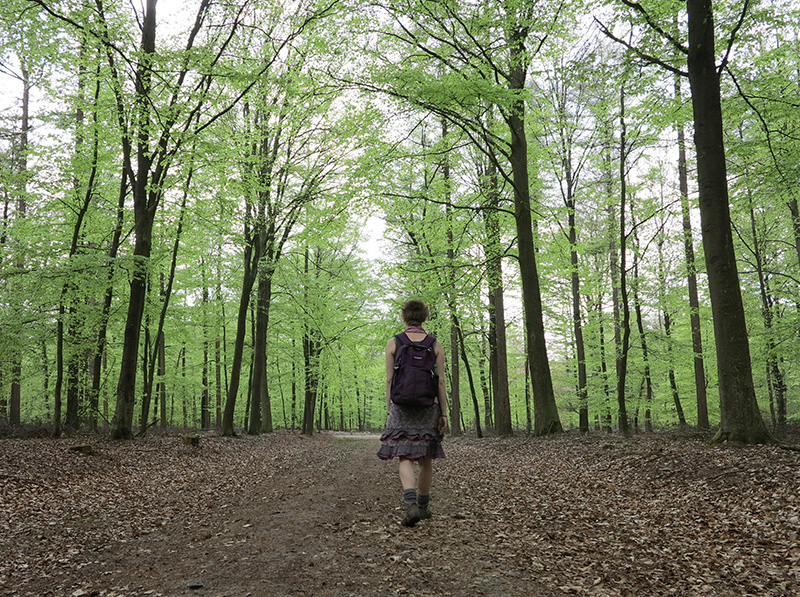
The mysterious back of the designer. Wink…
I’m sorry for the lack of interesting posts for the last two weeks. We are having a spring holiday in the Netherlands and we decided to go and enjoy the rising green in our environment. The autumn is my favorite season, but the spring makes a good second. This year we were really longing for green after a cold, grey and longer winter.
Next week I’m back to business. I’ve got two ideas for tips & tricks posts and I’m going to start on a crochet squirrel pattern. (We saw a cute’sy squirrel climbing a tree carrying nesting material!)
See you next week!

Balloo went on a little adventure and visited his relatives. Hehe, I’m just havin’ fun.
My favourite moment of designing crochet patterns is when my new doll is finished and I can take pictures of it. It’s so much fun to do, playing with my fuzzy new friend and I can see the finished project for the first time with a fresh view. After a long time working on a project, I become sort of over-critical and can’t see clearly how it looks anymore. But when the pictures are finished I get all happy and proud.
So, I present Balloo, my crochet sheep pattern. I called him Balloo, because he’s based on sheep from Drenthe and there is a big hurdle of these sheep in the surroundings of the village Balloo, nearby where I live. And actually, Balloo is a crochet lamb, not a sheep yet. Buy now – directly from me 🐱
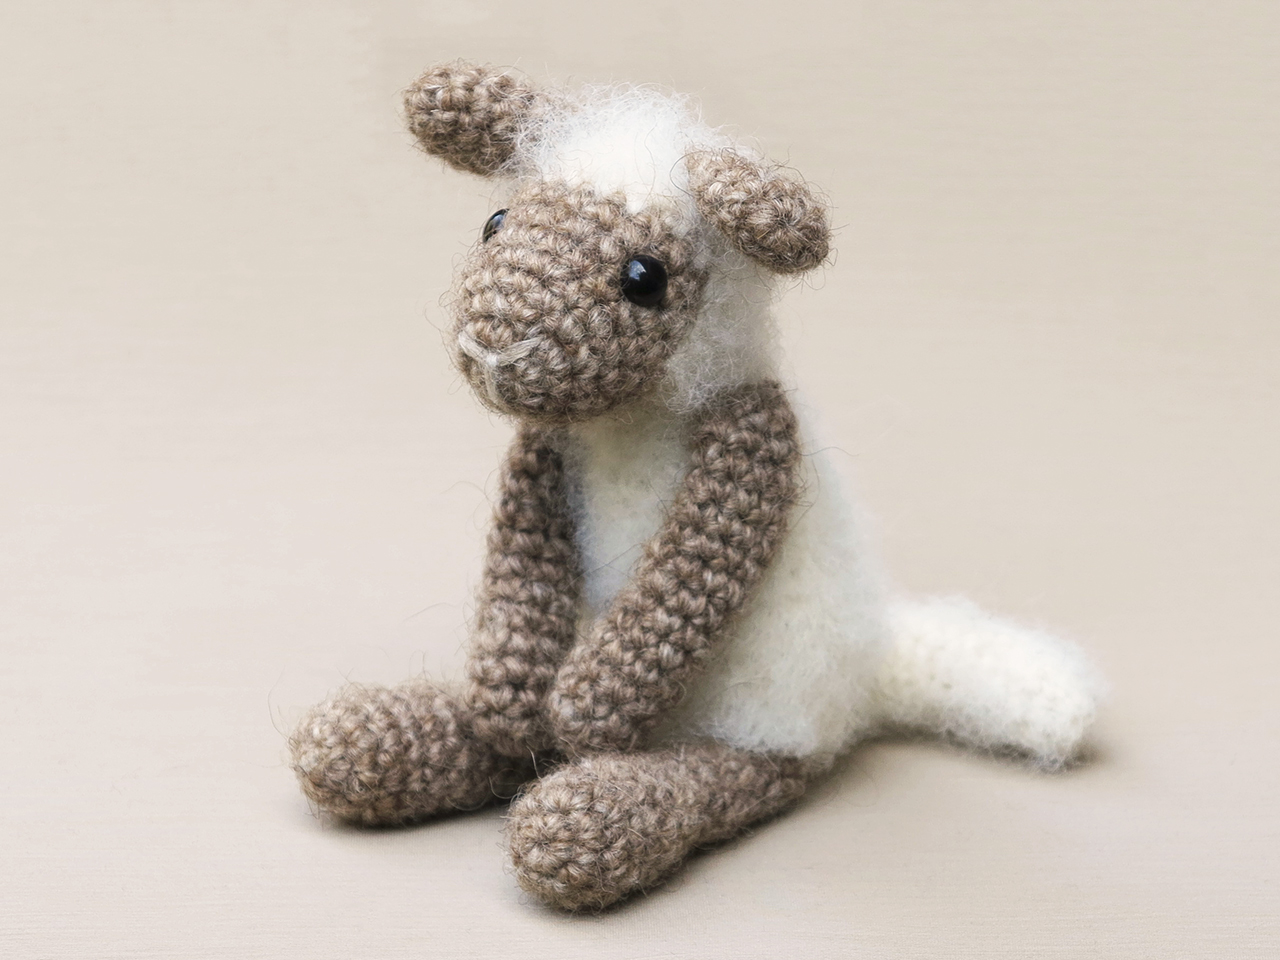
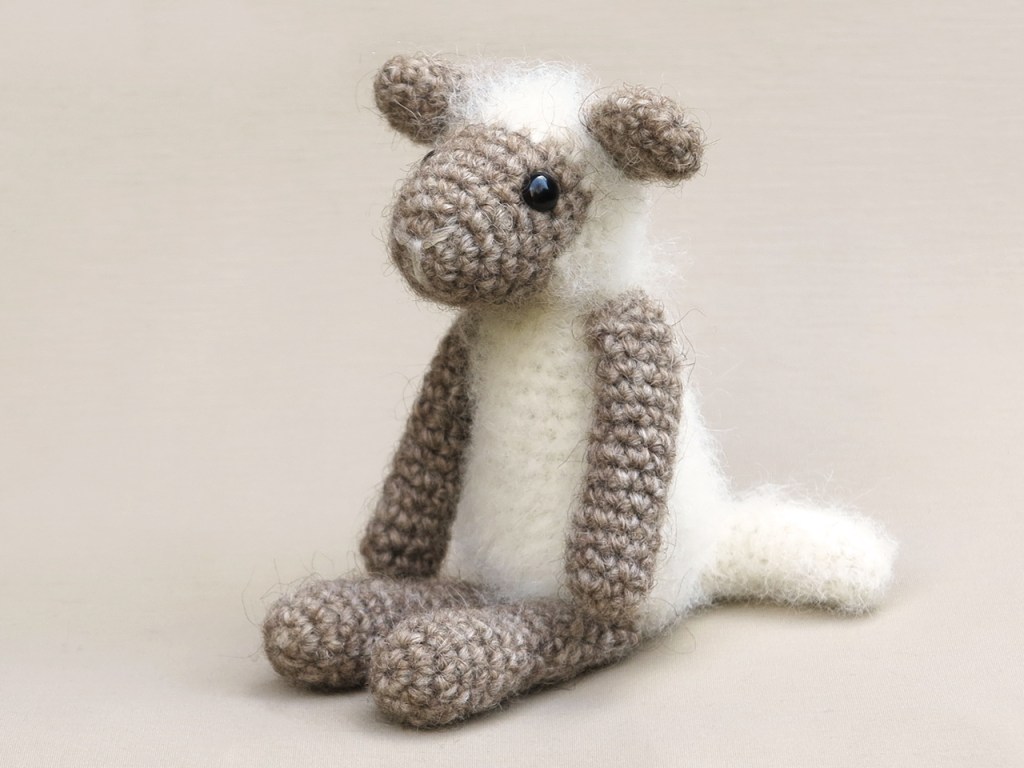
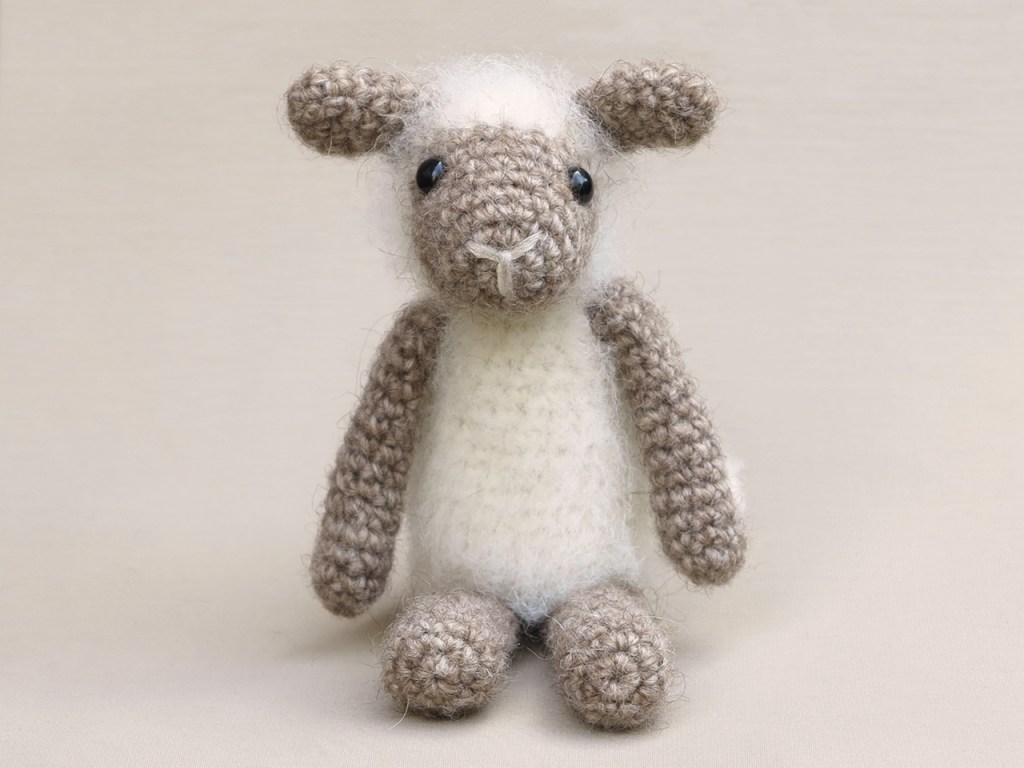
This crochet sheep is made with Istex Lett Lopi, a 100% yarn. Balloo is 5.6 inch / 14.5 cm when sitting. He’s very soft and cuddly. The pattern contains a clear and colour coded description of how to crochet and assemble this animal, with extra illustrations and example pictures at the bottom to help you get everything right. It is written in standard American crochet terms. In the pattern you can also find what materials you need, the yarn colour numbers, in short, everything you need to know to make your own fuzzy lamb amigurumi. All the additional information you need to know about this pattern you can find in the shop listings.
The Balloo crochet sheep pattern is available in my Ravelry shop, Etsy shop or you can order it directly from me with the link below.
This pattern has a permanent discount if you use this link. Patterns purchased directly from me cost 5,00 eur. I will have to email the pattern manually so it can take a bit longer, but I promise, you’ll have it in a day. If not, check your spam and if it is not there either, message me to wake me up, as I might have fallen asleep or something…

