Uncategorized

Moser, a crochet mole pattern

mole amigurumi, crochet mole pattern

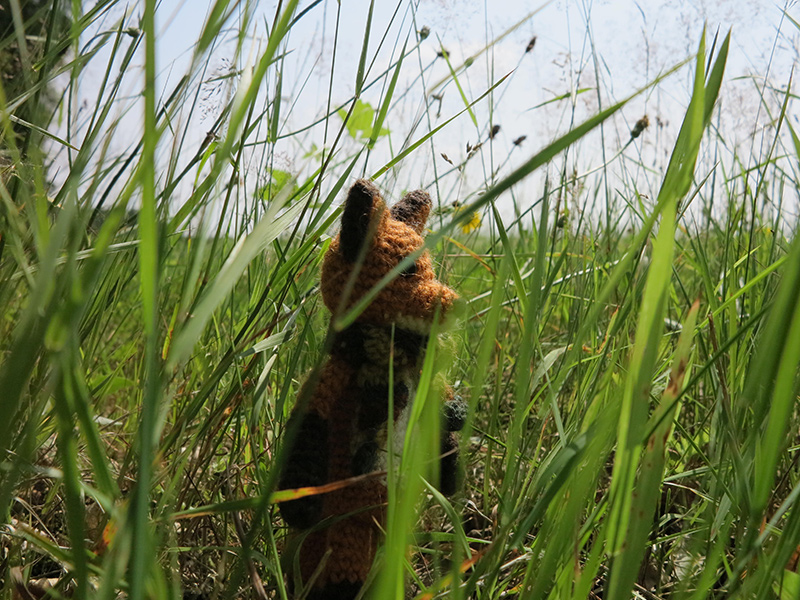
He finally is finished, my crochet mole pattern. He is without doubt the most cartoonish looking crochet animal I have made so far. When I looked at the pictures in this post, I felt happy. Moser looks like a little digger and resembles a real mole, but he could as well be a character from a children’s book.

Moser2

When I designed him, I kept in mind that moles are not natures most loved creatures. I adore them nonetheless, but I knew I had to design this crochet mole doll in a special way.

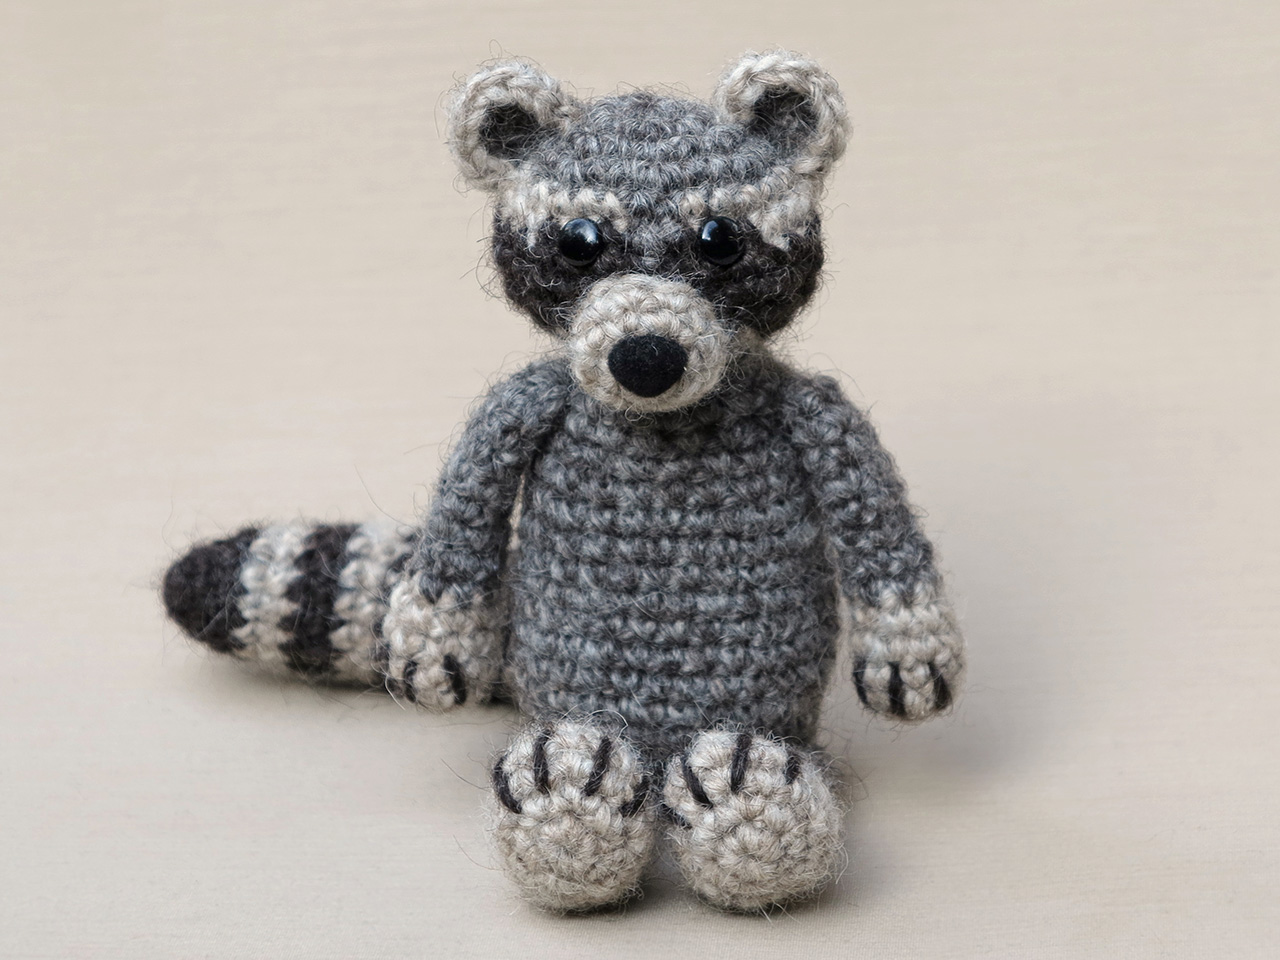
To give him that extra bit of character he needed, I exaggerated the size of his arms and legs. Especially when I finished the big feet I saw what I was looking for, they made him a very funny looking crochet animal. When I started working on this crochet pattern, I was a little bit concerned about how I was going to design the fingers and toes. I had never made such shapes before but felt it was an absolute must to have fingers and toes. Surprisingly, it was much easier than I expected and fingers and toes are easy to crochet for all of us.

After a year or so, I decided to make Moser a very handy accessory, a miners safety helmet. It’s something moles can’t go without. I added the miners safety helmet to the pattern, so anyone make him with the cool helmet. Here are some more pictures of the crochet mole. Below them picture you can find more info about the pattern.

Info about the crochet mole pattern.

Moser is 4.6 inch / 11.5 cm tall standing, when made with a worsted weight yarn. I’ve used 5 mm animal safety eyes and needle felted a very pink nose. The pattern for this cartoonish and wooly crochet mole you can find in my shop at Ravelry, Etsy or order it here.The pattern contains a clear description of how to crochet and attach the animal with example pictures at the bottom to help you get everything right. In the pattern you can find what materials you need, the Lopi colour numbers, in short, everything you need to know to make this funny looking doll.


Patterns

Wasby, crochet raccoon pattern

What’s with all that racket? It is Wasby, my new crochet raccoon pattern. Here he finally is! I’ve called him Wasby, as raccoons are called ‘wasbeer’ in Dutch.

With a nice frontal picture, meet my crochet raccoon!

This crochet raccoon pattern was a bit of a tricky one to make. When I started, I had many ideas of how to make this animal. I didn’t want the head to be round but it had to have wide cheeks like a real raccoon. The thing I had in mind of how to shape those cheeks didn’t work out that wel, so I had to think of something different. Also, the raccoon should not become too chubby, but just a bit, which meant I had to make a bunch of bodies before I got the right size. I wasn’t sure about the right colour for the hands and feet….dark or light? I made some test versions and decided to go for light and added some extra little details with the dark yarn.

I am very pleased with the end result. Wasby has become the raccoon doll I pictured. He has the right proportions and I love his realistic looking face. The fun thing about patterns like these are, you can do whatever you like, if you prefer dark feet, just go for dark. I’ve chosen rustic colours to make this raccoon, but white, grey and black will do too. You could even give the raccoon a more brown fur colour instead of grey.

Here are some more pictures of Wasby and below them you can find info about and links to buy this pattern.

Isn’t he a ferocious little crochet raccoon? This is my favourite picture of him. Wasby is sitting 5.1 inch/ 13 cm tall.

The crochet pattern for Wasby the raccoon you can find in my shop at Ravelry, Etsy or order it here. Wasby is made with Lett Lopi, a 100% wool. I have chosen to use a light beige for the light parts of the raccoon and the darkest brown you can find for the dark parts. It gives him a more warm and rustic look. In the pattern you can find a clear and colour coded description of how to crochet and assemble this animal, with extra illustrations and example pictures at the bottom to help you get everything right. In the pattern you can also find what materials you need, the yarn colour numbers, in short, everything you need to know to make your own whimsical raccoon amigurumi. All the additional information you need to know about this pattern you can find in the shop listings.

Art, Stories

Leaves and hedgehogs

Hedgehogs are fond of leaves. They love to rustle through them, to find food and when winter is arriving they nestle themselves in a nice pile of leaves and other bedding materials to keep them warm and cosy.

I couldn’t think of a better season to design a crochet hedgehog pattern. Here’s a first glimpse of Flims in a beautiful coloured autumn scenery.

Flims-leaves

I’m not finished yet with the pattern but it will be available next week.

Now I’m back to enjoying my favorite season, like hedgehogs rustling through the leaves, sniffing in all the lovely smells and watching the beautiful colours of autumn. I wish it could last forever….